Holtey Classic Hand Planes
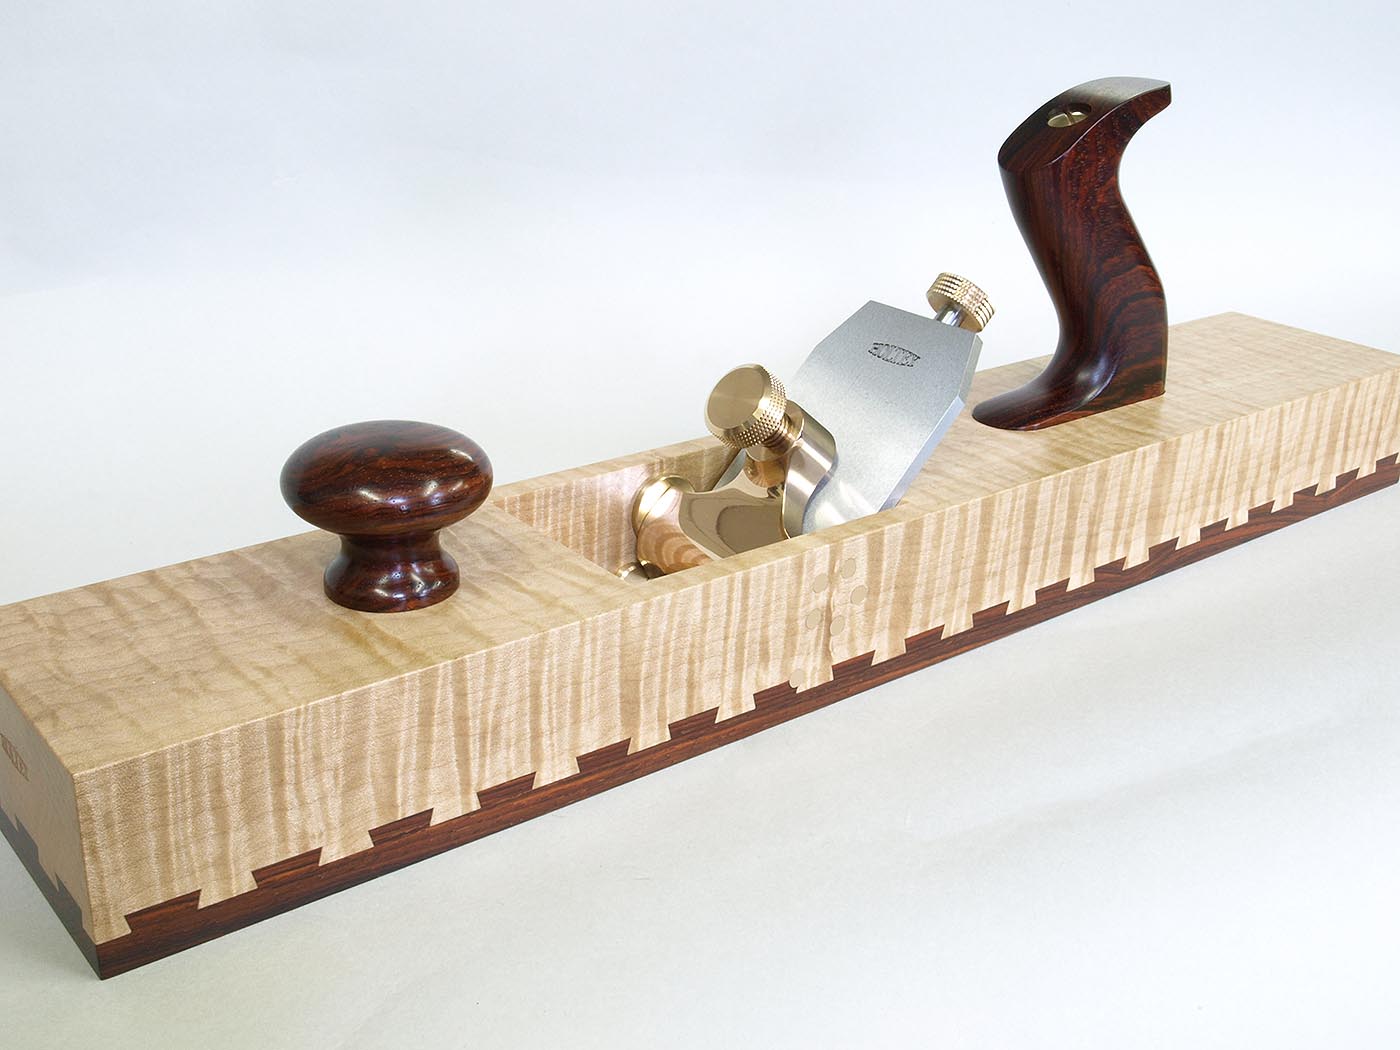
T21 Panel plane
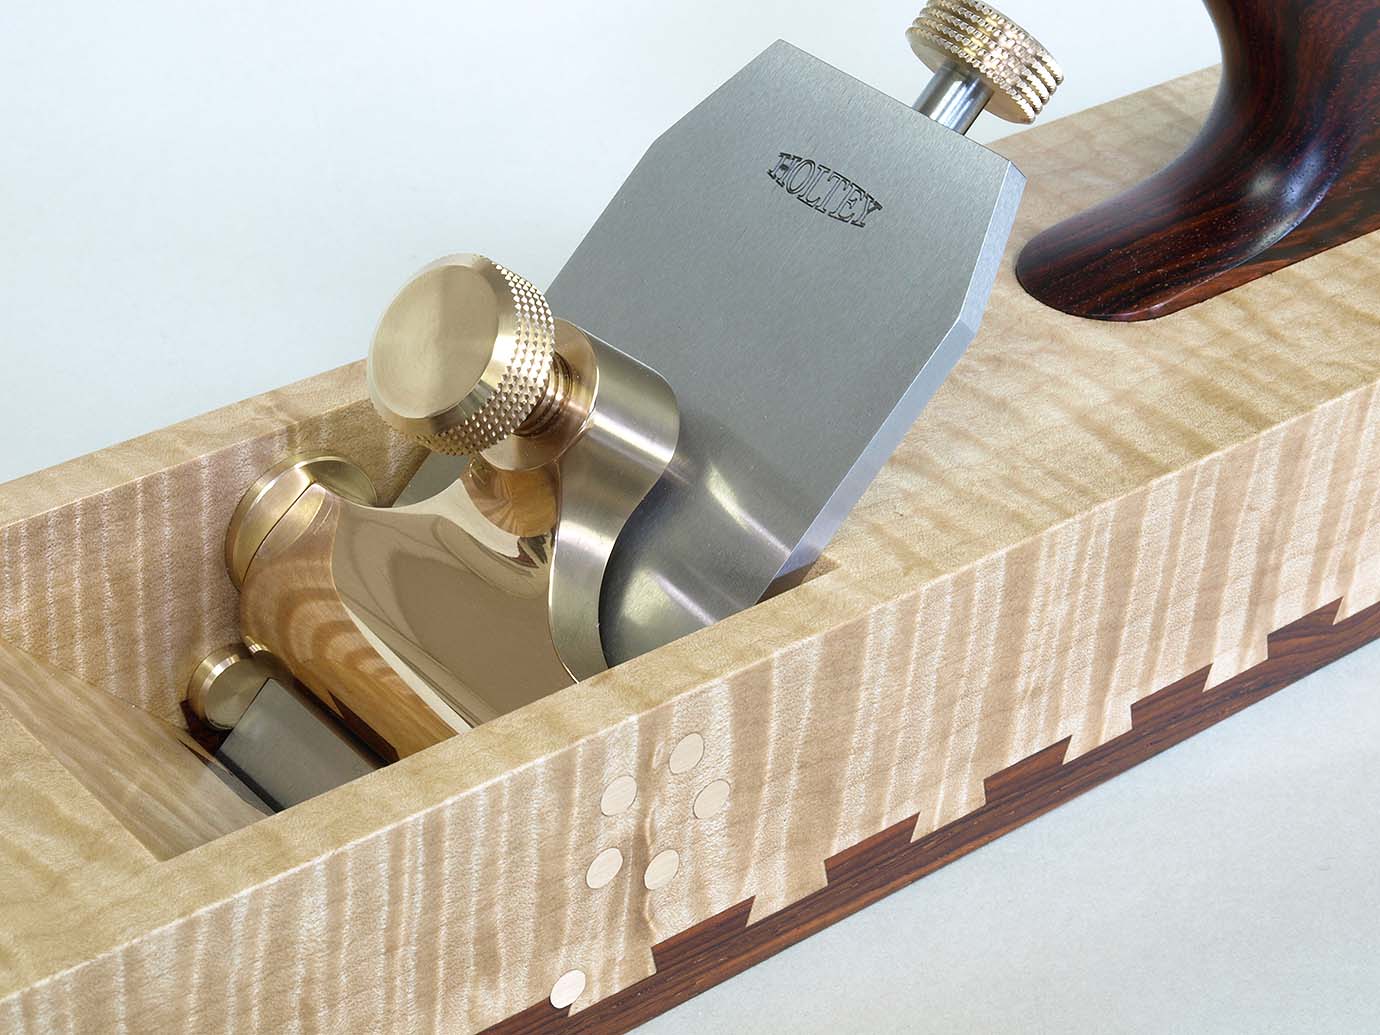
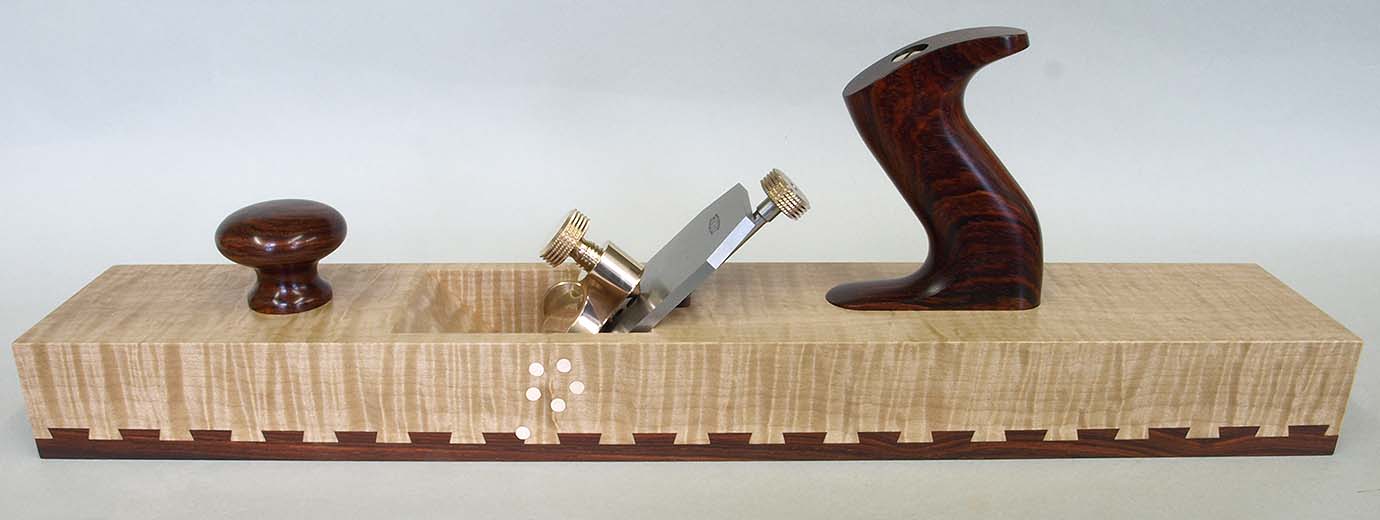
Here is my T21 Transitional panel plane, constructed with curly maple with a dovetailed rosewood bottom and brass fittings. A few were also made in solid rosewood.This wooden bodied plane is made with a dovetailed jointing system set at 45 degrees from the line of the plane. This gives the illusion of dovetails on all sides - which is of course impossible.
The T21 panel plane is 19 7/8" long and 3 3/8" wide with a blade width of 2 3/8" in A2 steel. The plane weighs 5lb 5oz.
When I made the T21 planes I posted some work in progress pictures on my blog and the pictures of cutting the dovetails generated a lot of interest. I have posted them below as a photo-essay on the making of the T21.
precision engineering without compromise
Making the T21 panel plane
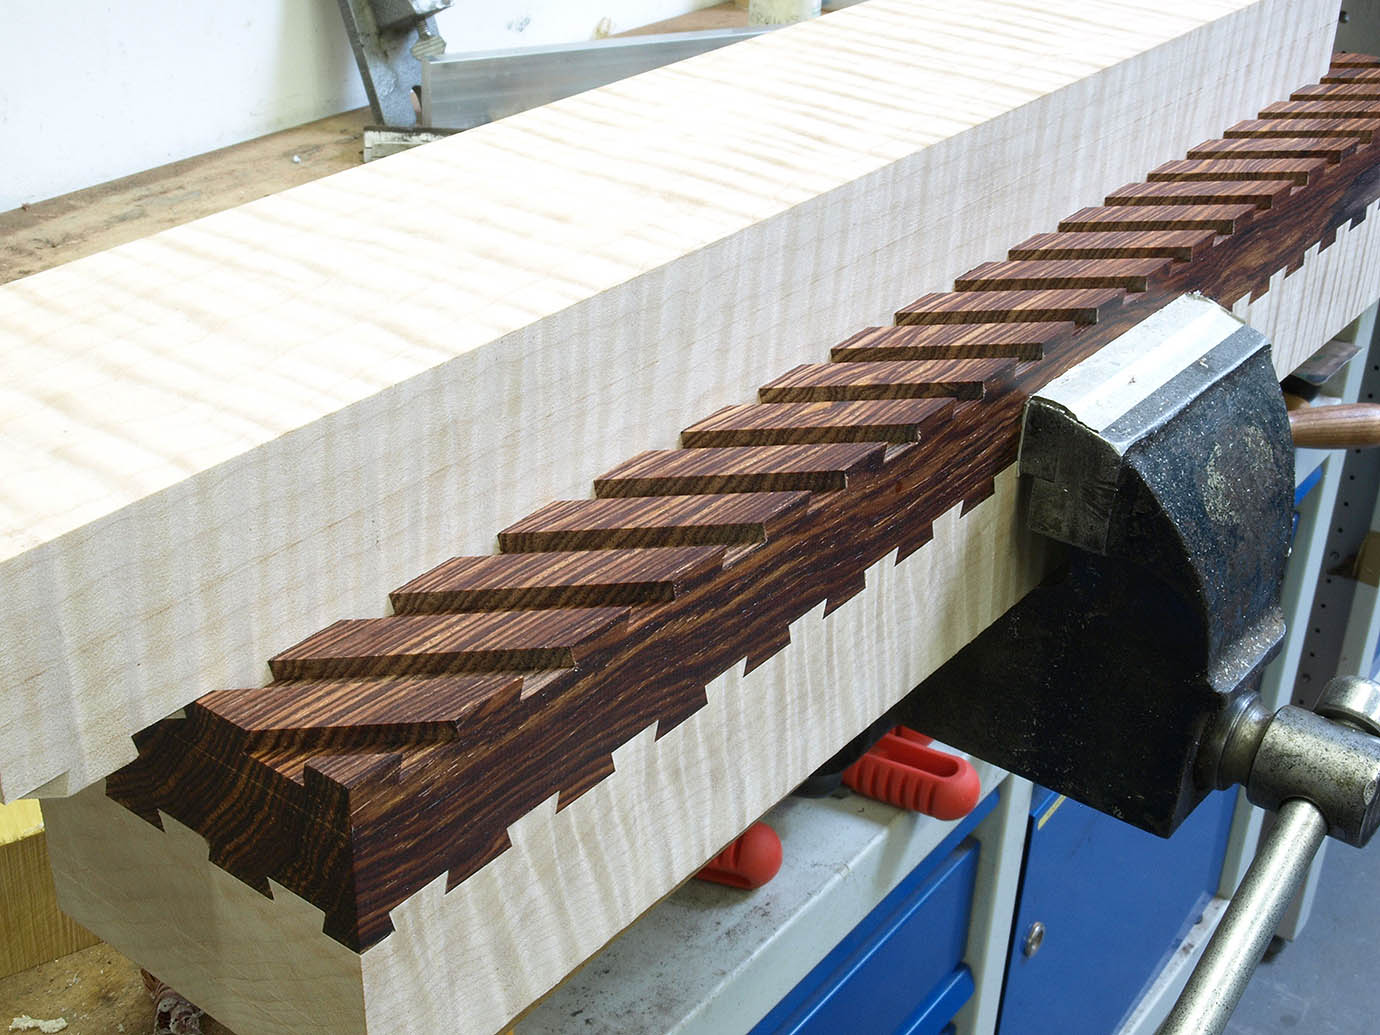
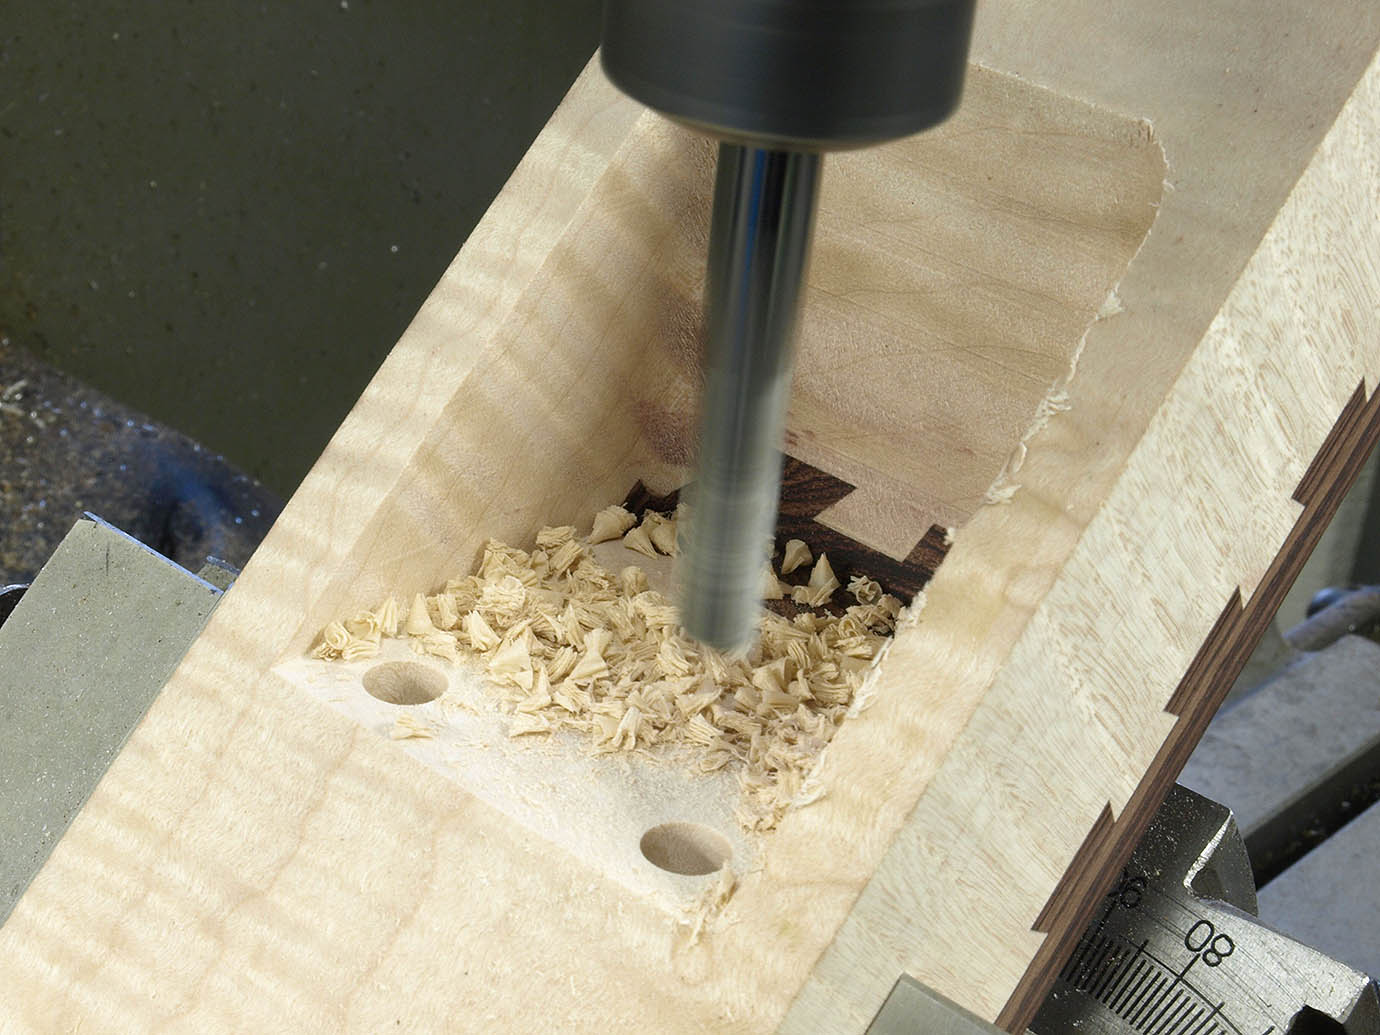
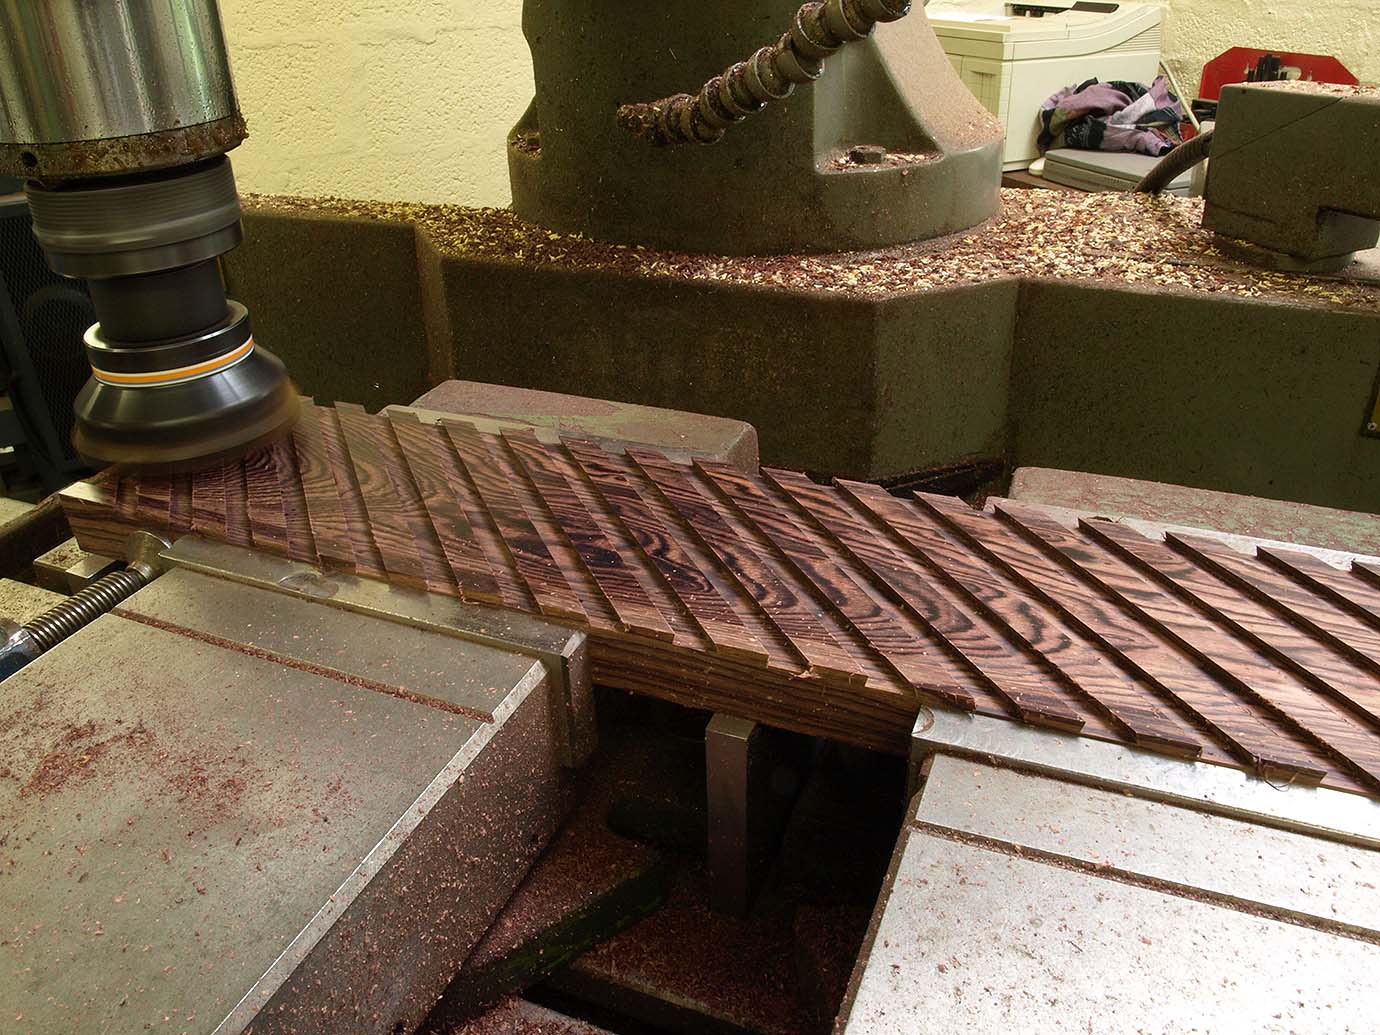
These workshop pictures, originally posted to my blog, show work in progress on the T21 panel plane.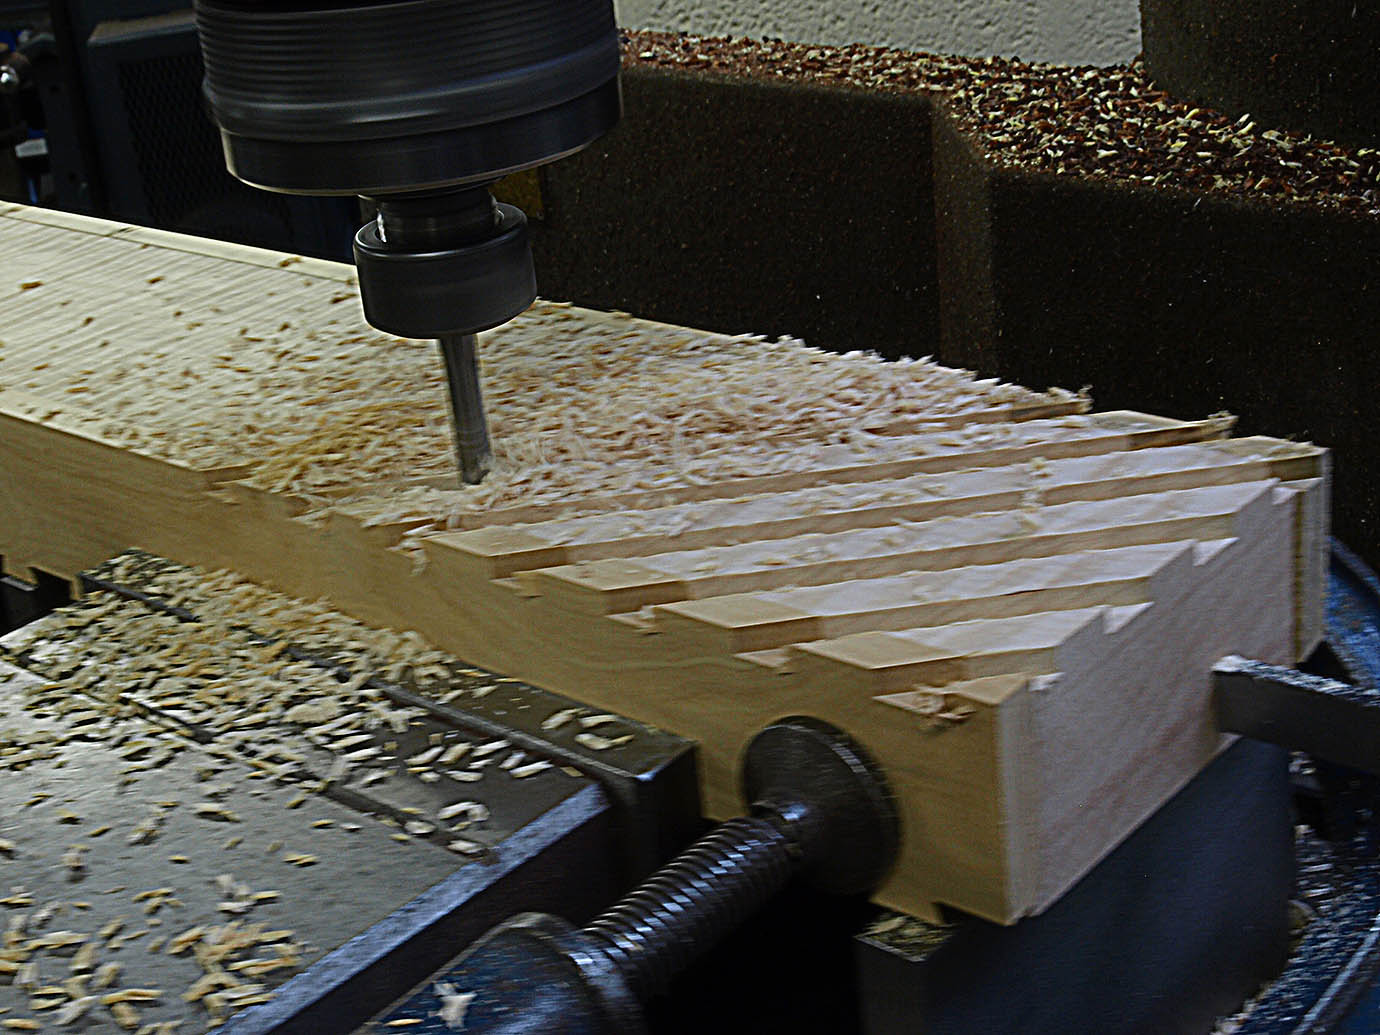 This picture shows the main body of the plane - Curly Maple - having the dovetailed area roughed out with a straight cutter to be followed up with a dovetail cutter. Sizing will then be critical.
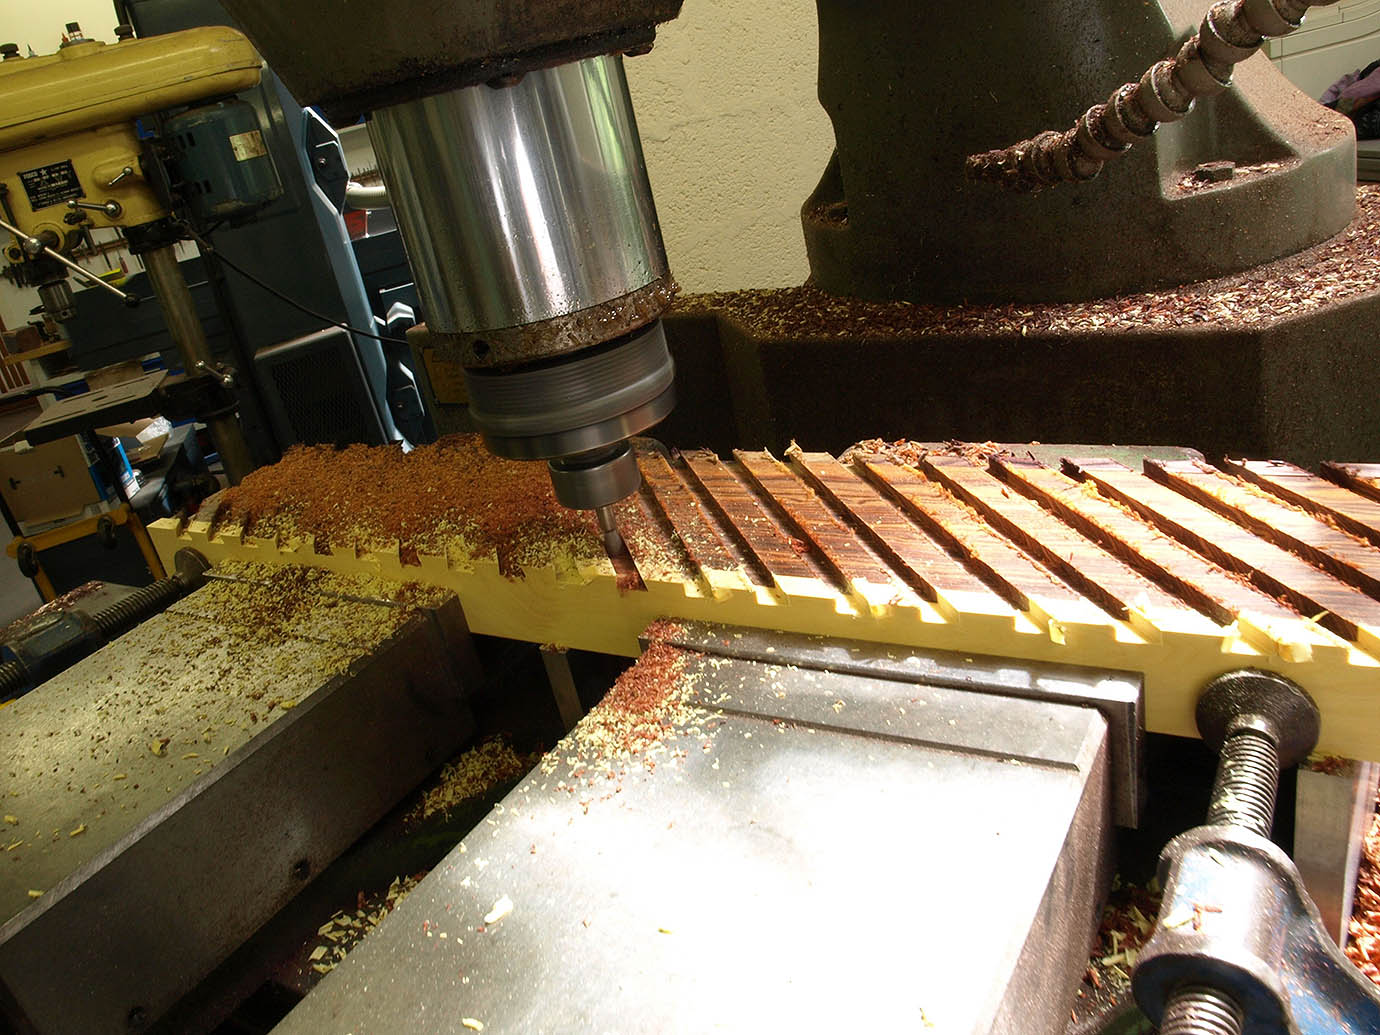 Shows the dovetail form being applied to the bottom of the plane - Rosewood (Dalbergia cubilquitzensis). An allowance is made on the depth of the dovetail enabling further finishing to remove the rough edges.
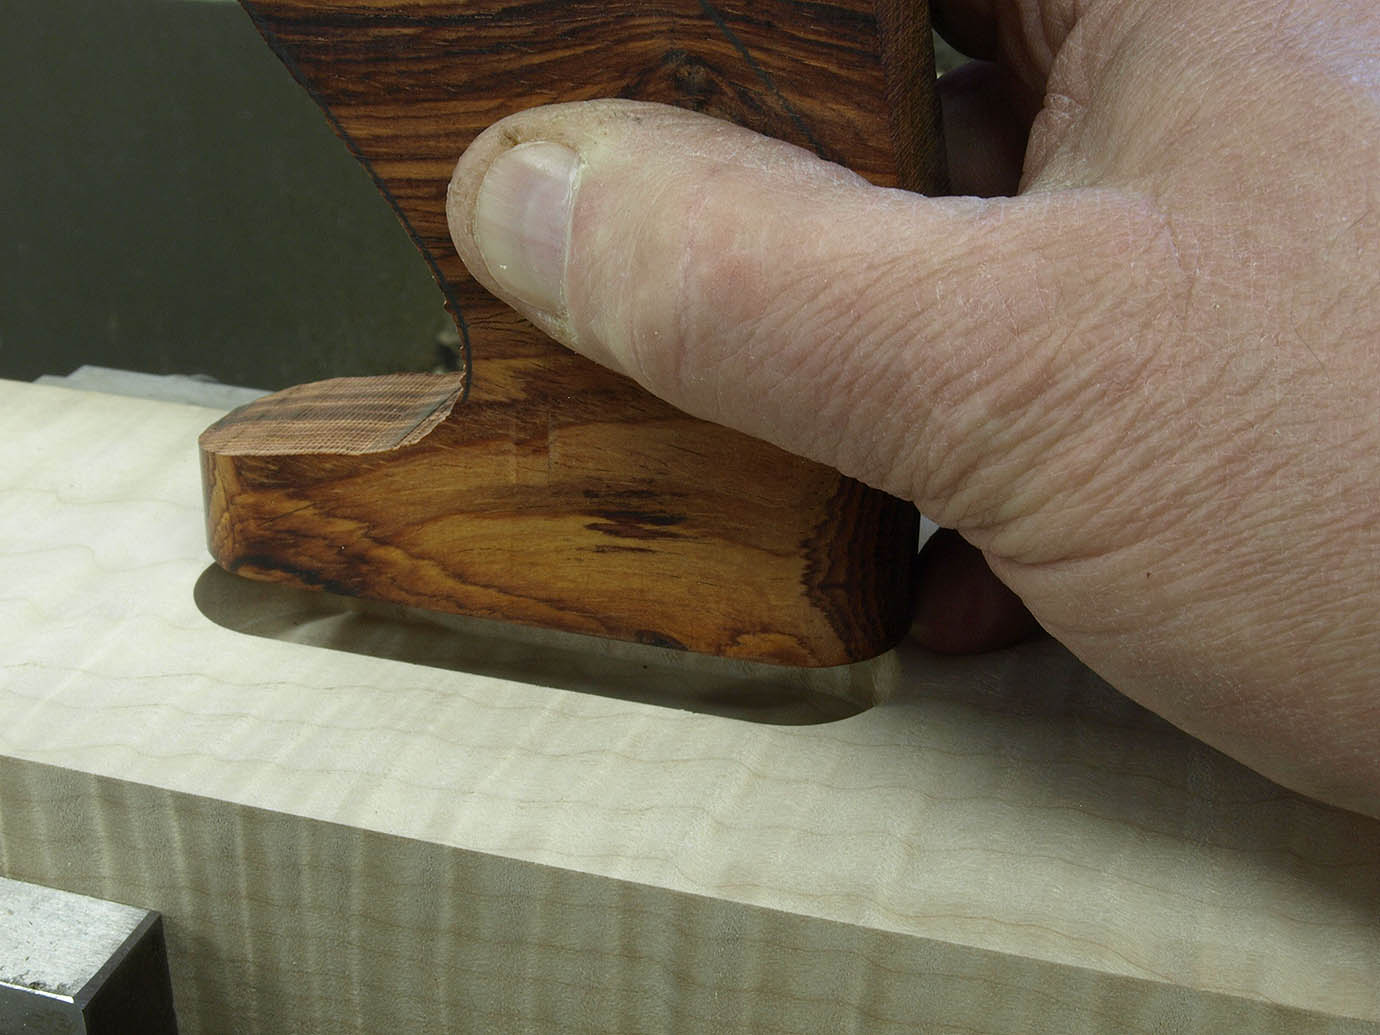
 Demonstrating the need to plane a small amount off the top to put a sharp and precise fit all round.
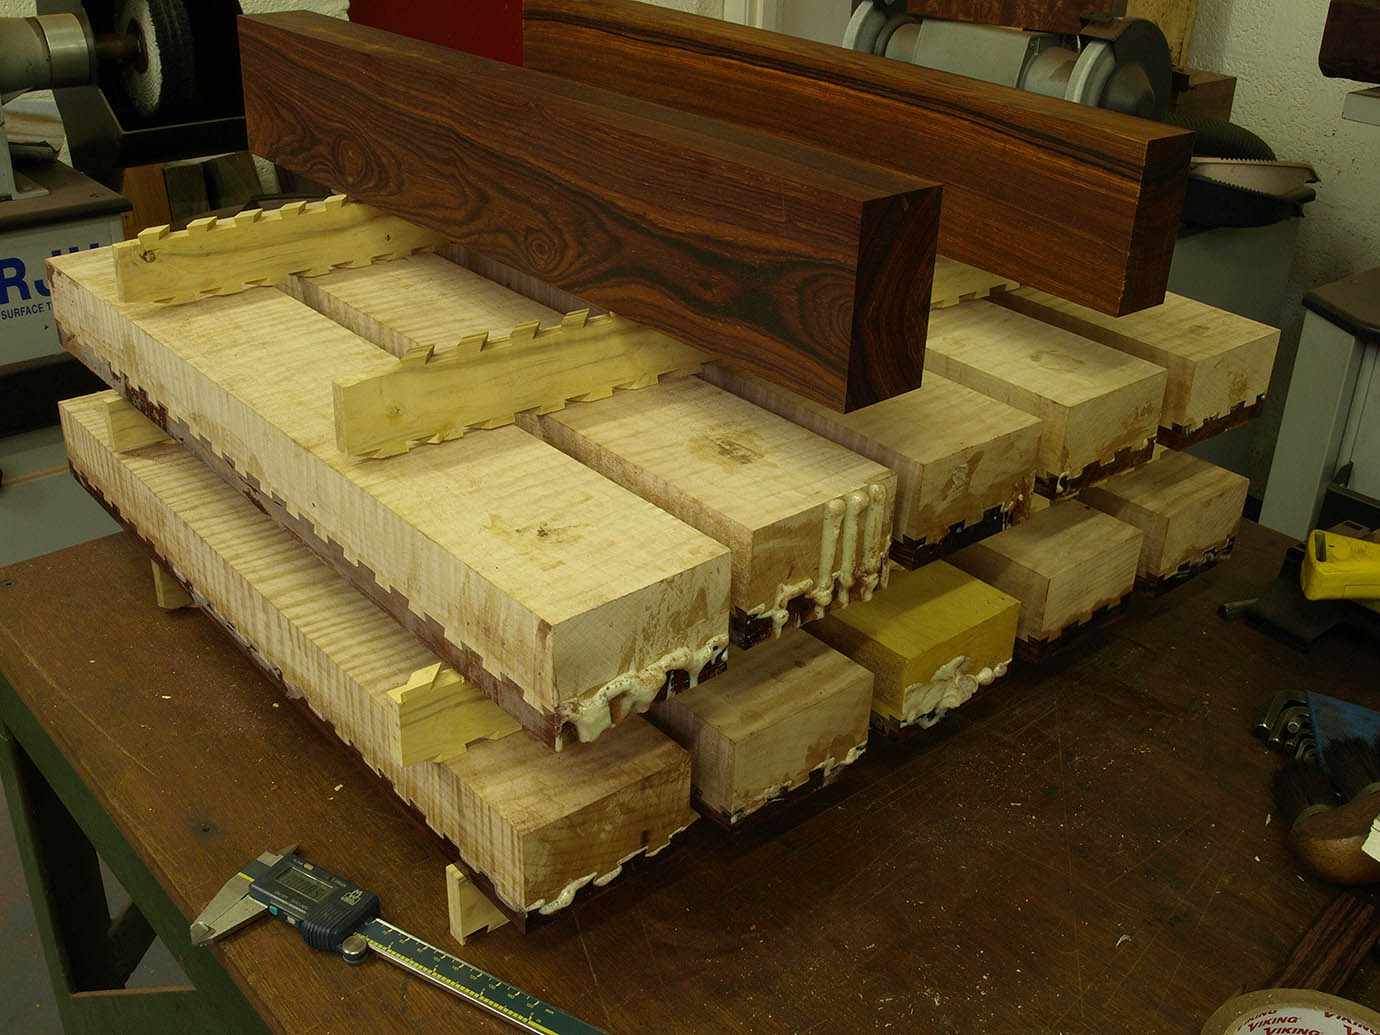 Once the joints are complete it is important that the gluing takes place very quickly as the wood is already settling, otherwise the joints won't fit. After the gluing they are stacked for curing.
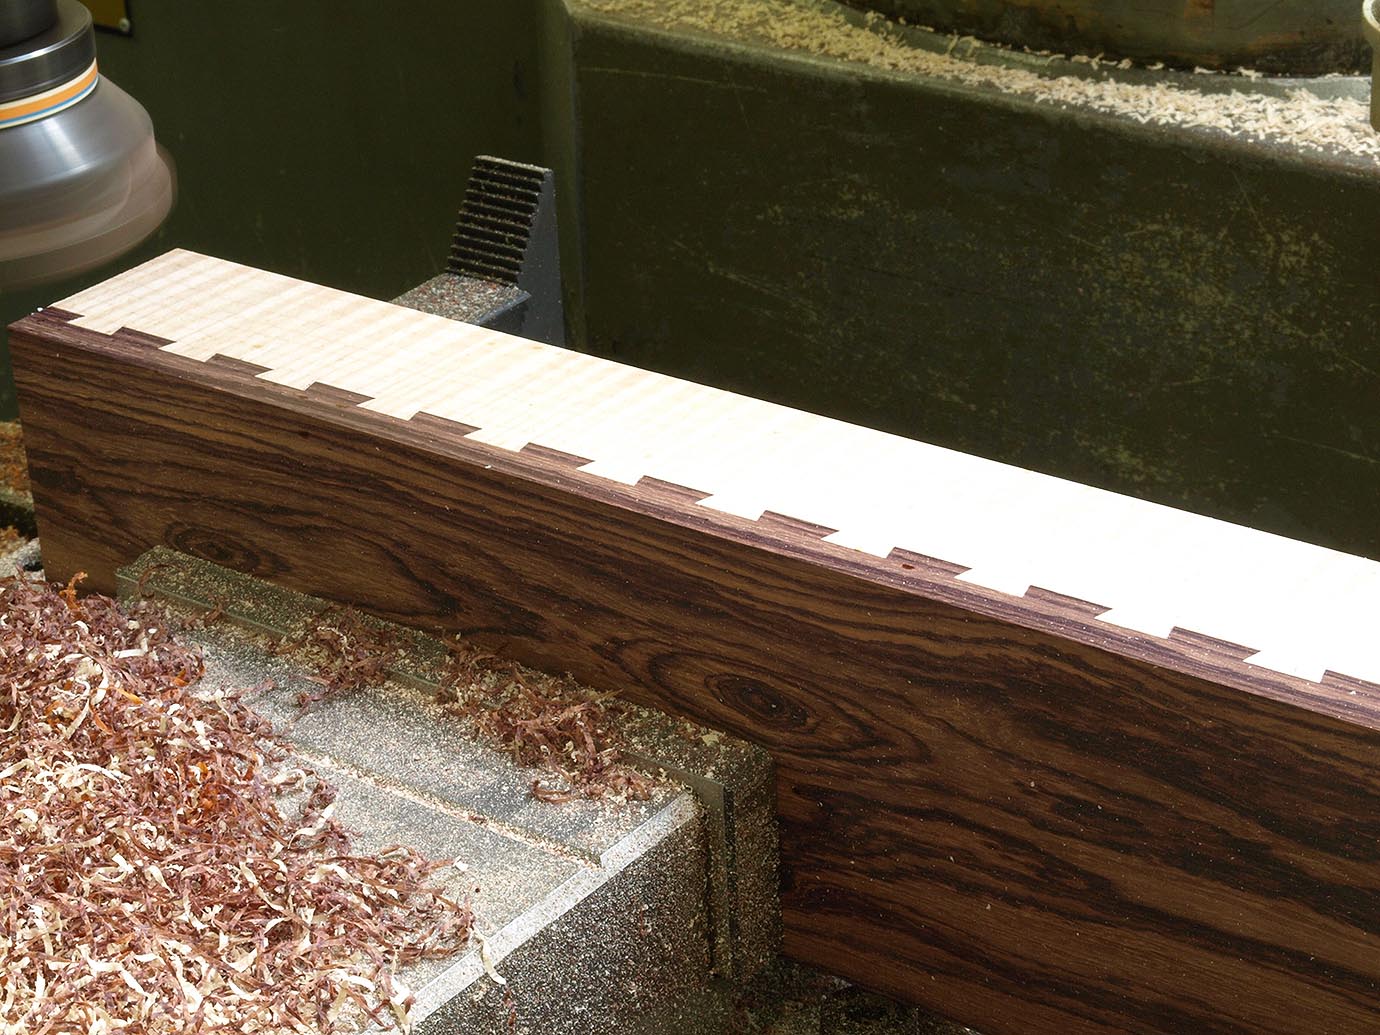 One of the exciting parts of the work is to plane the sides flush. This is done using a face cutter with some very sharp tips, especially as the Curly Maple shells off very easily.
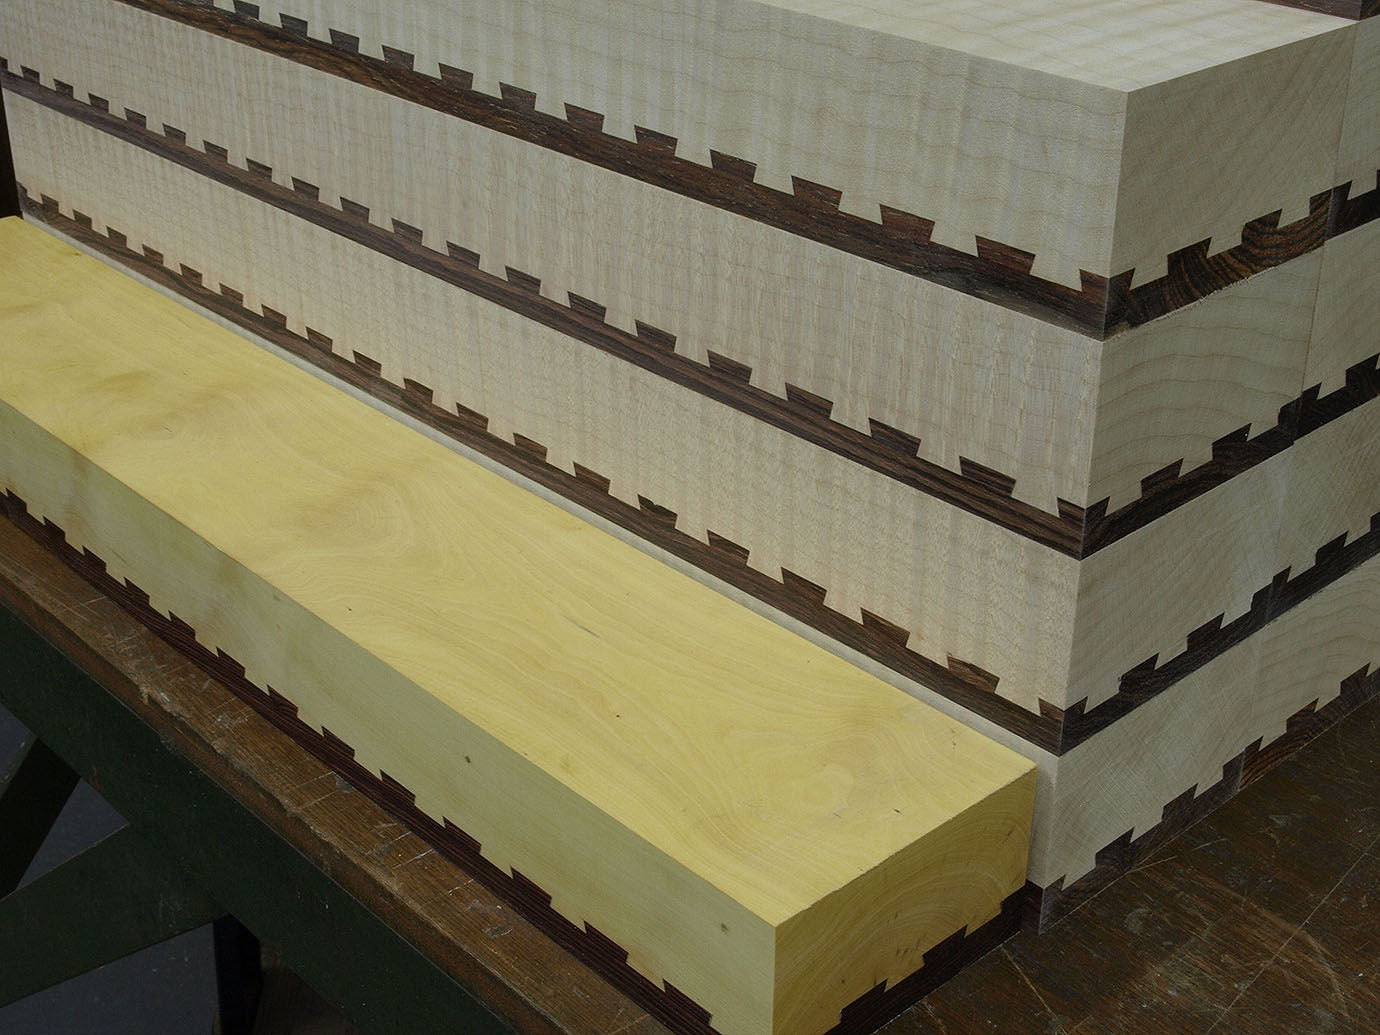 This can be a satisfying view at this point but there is still a long way to go. There is one with a Boxwood body (special commission).
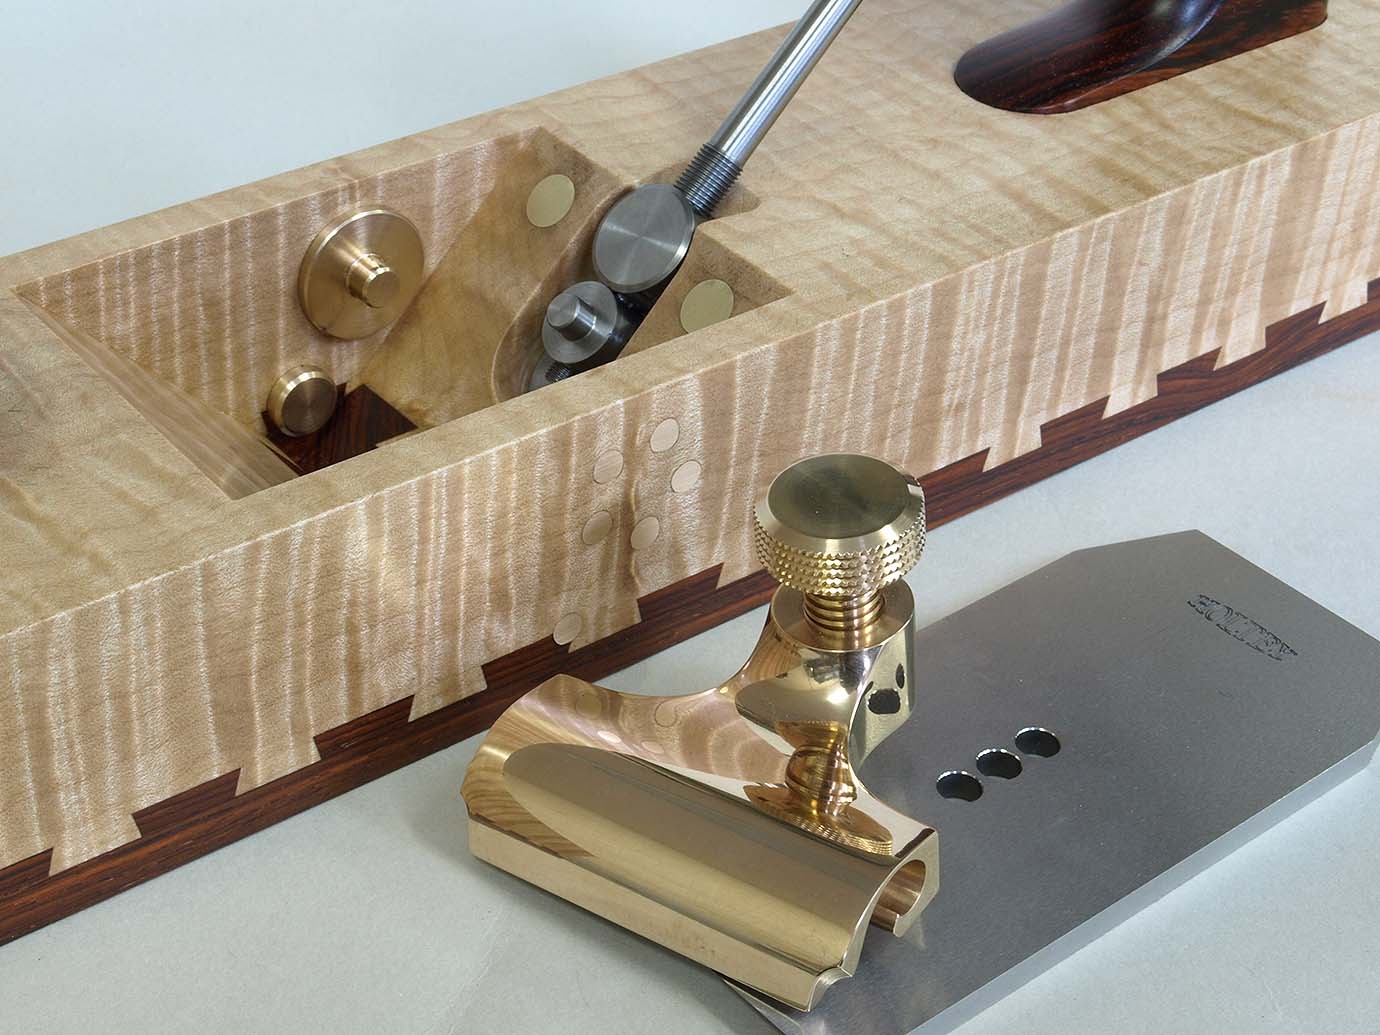
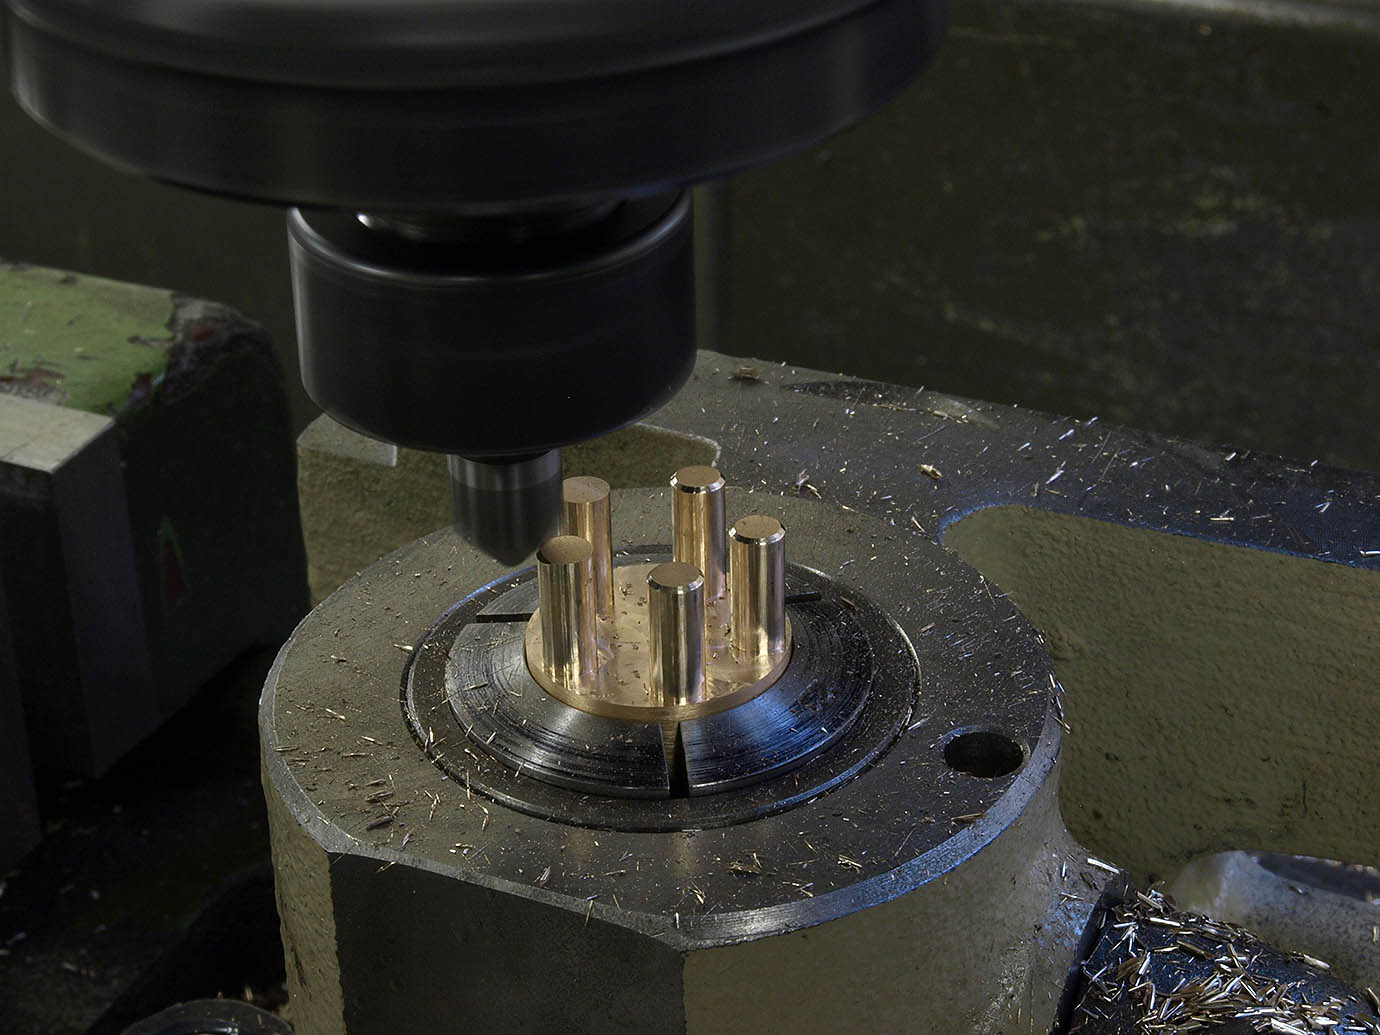
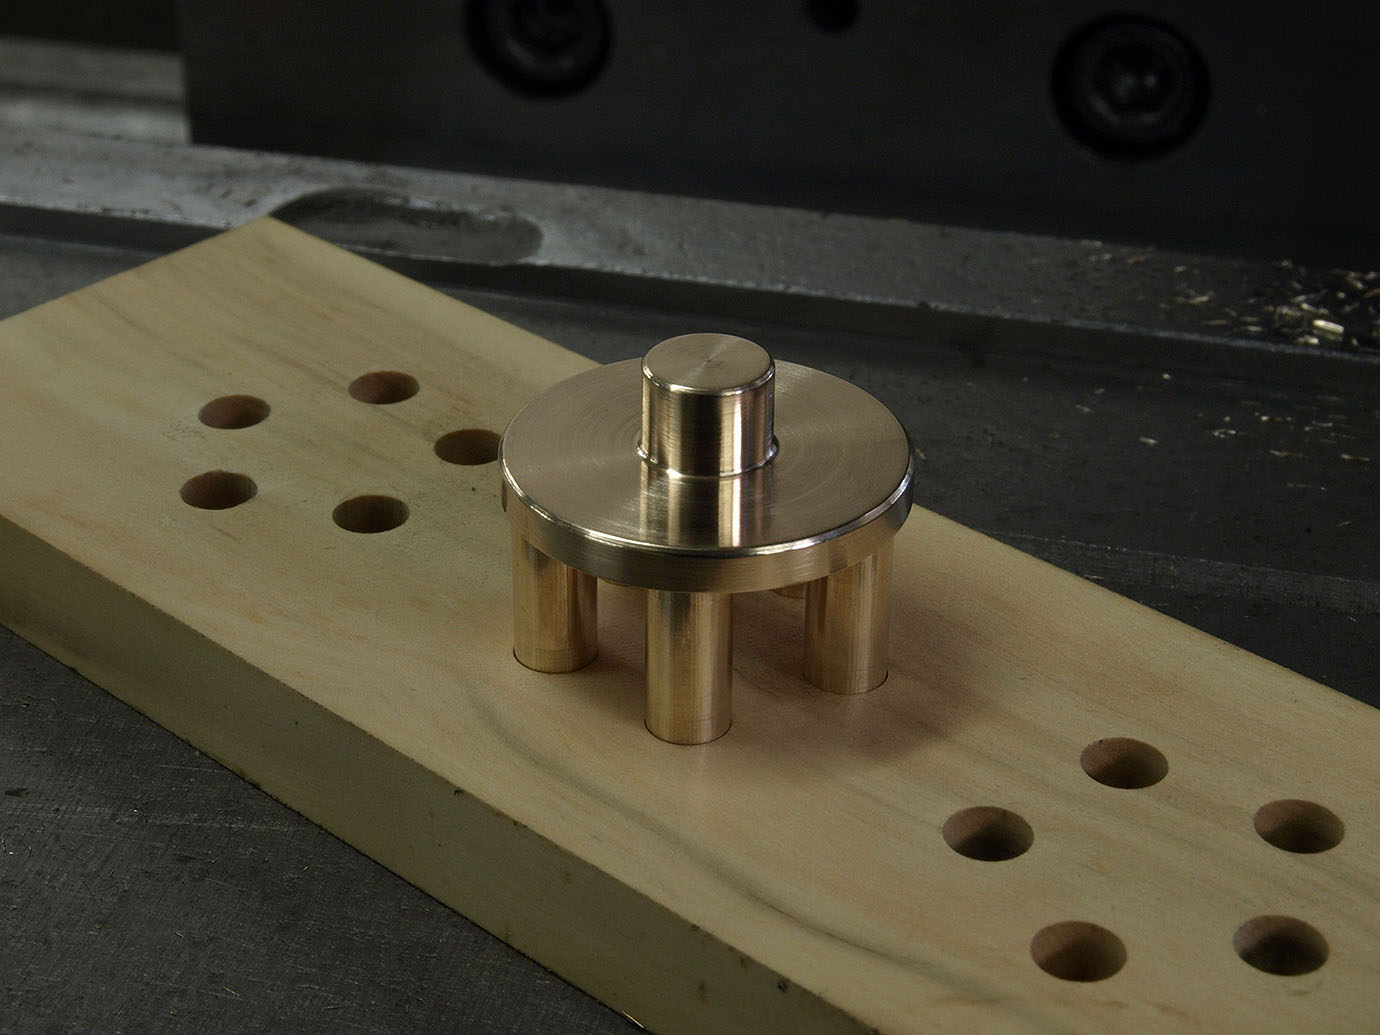
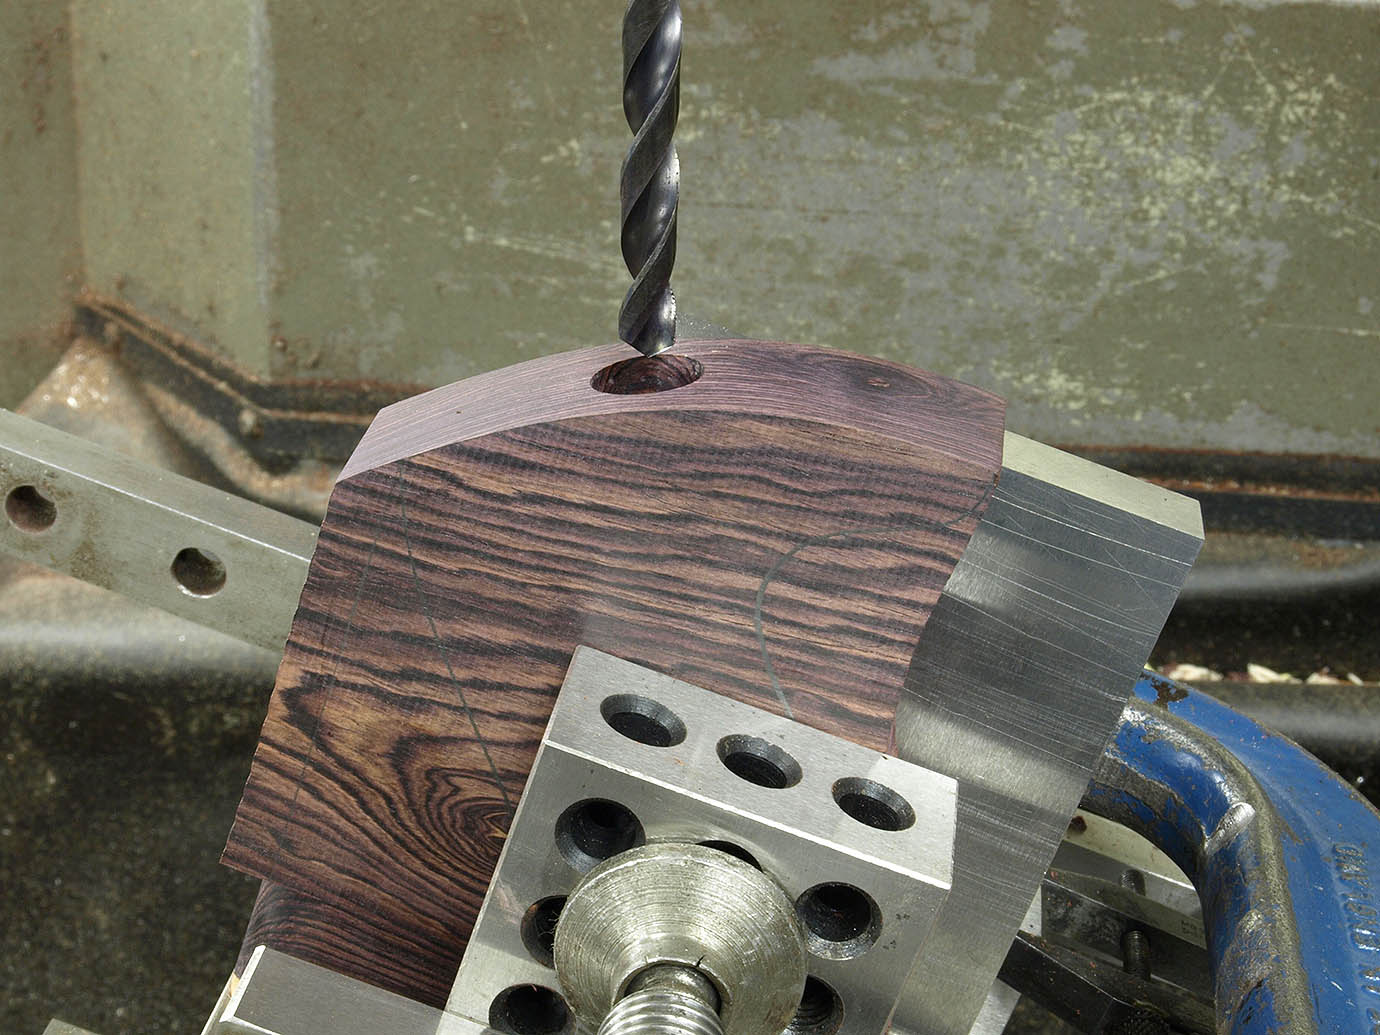
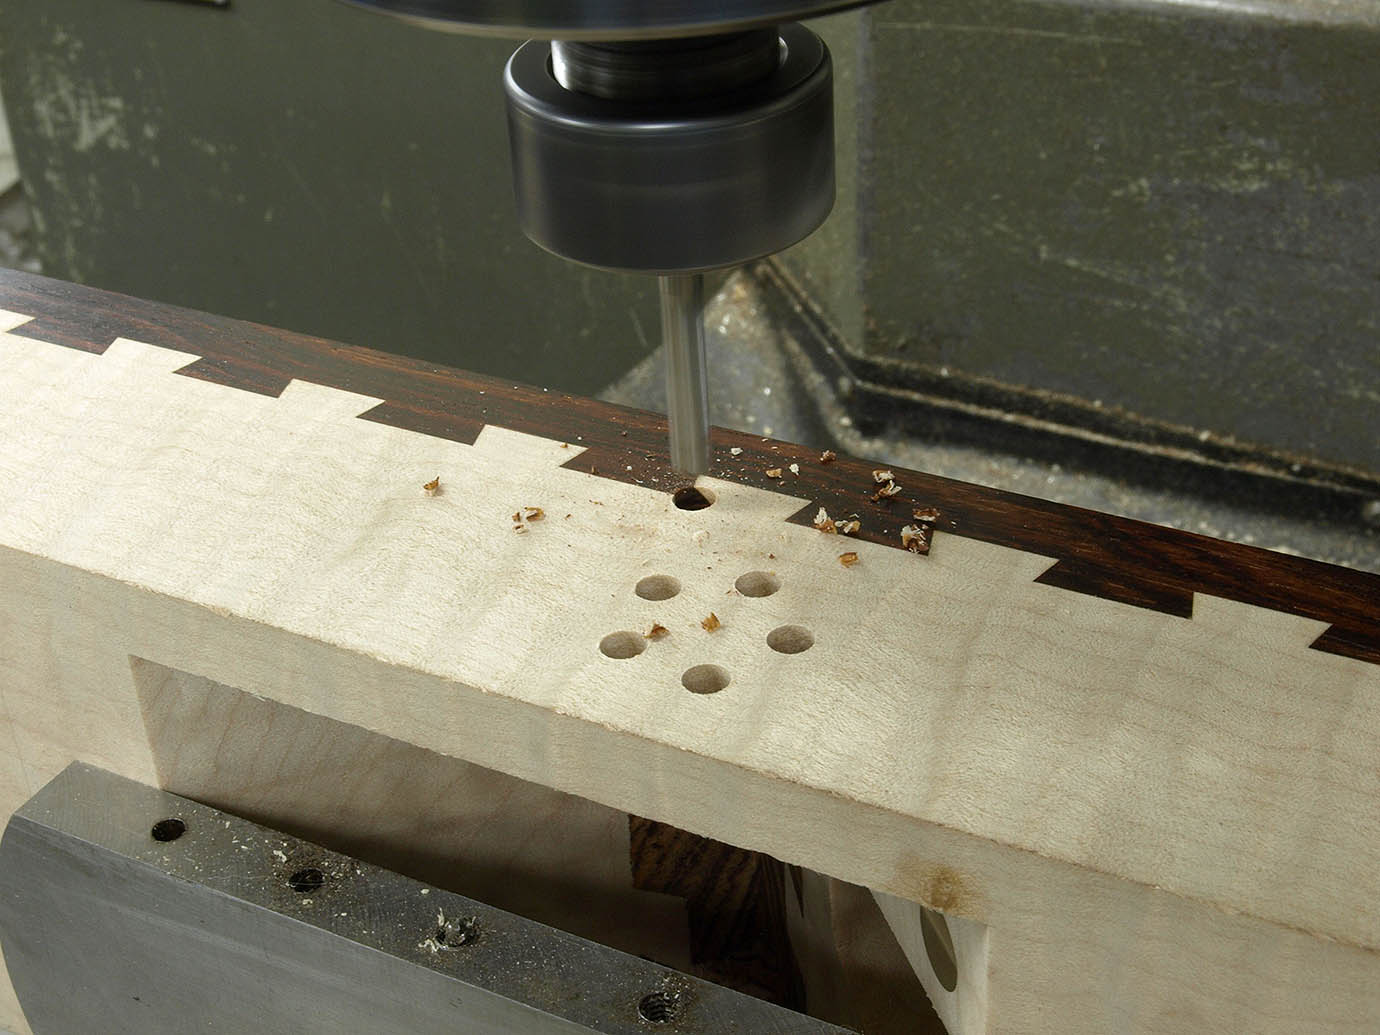 Drilling the holes for the 'spider' which carries the lever cap whilst spreading the load in the local area.
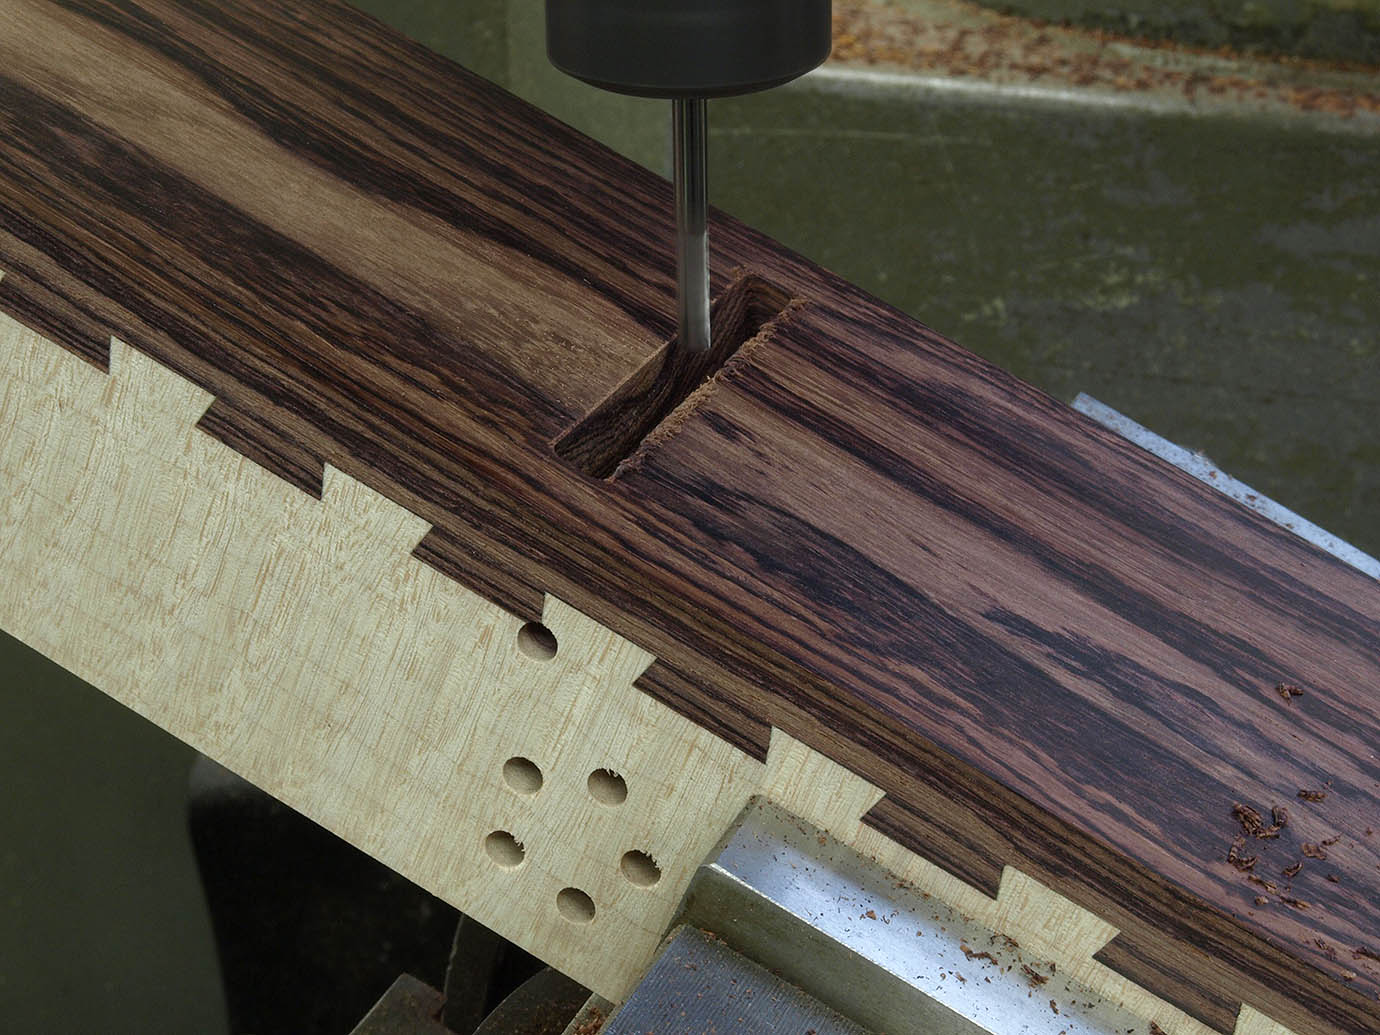 This shows the mouth detail being worked prior to the final finishing by hand, which is where I can control the mouth dimensions.
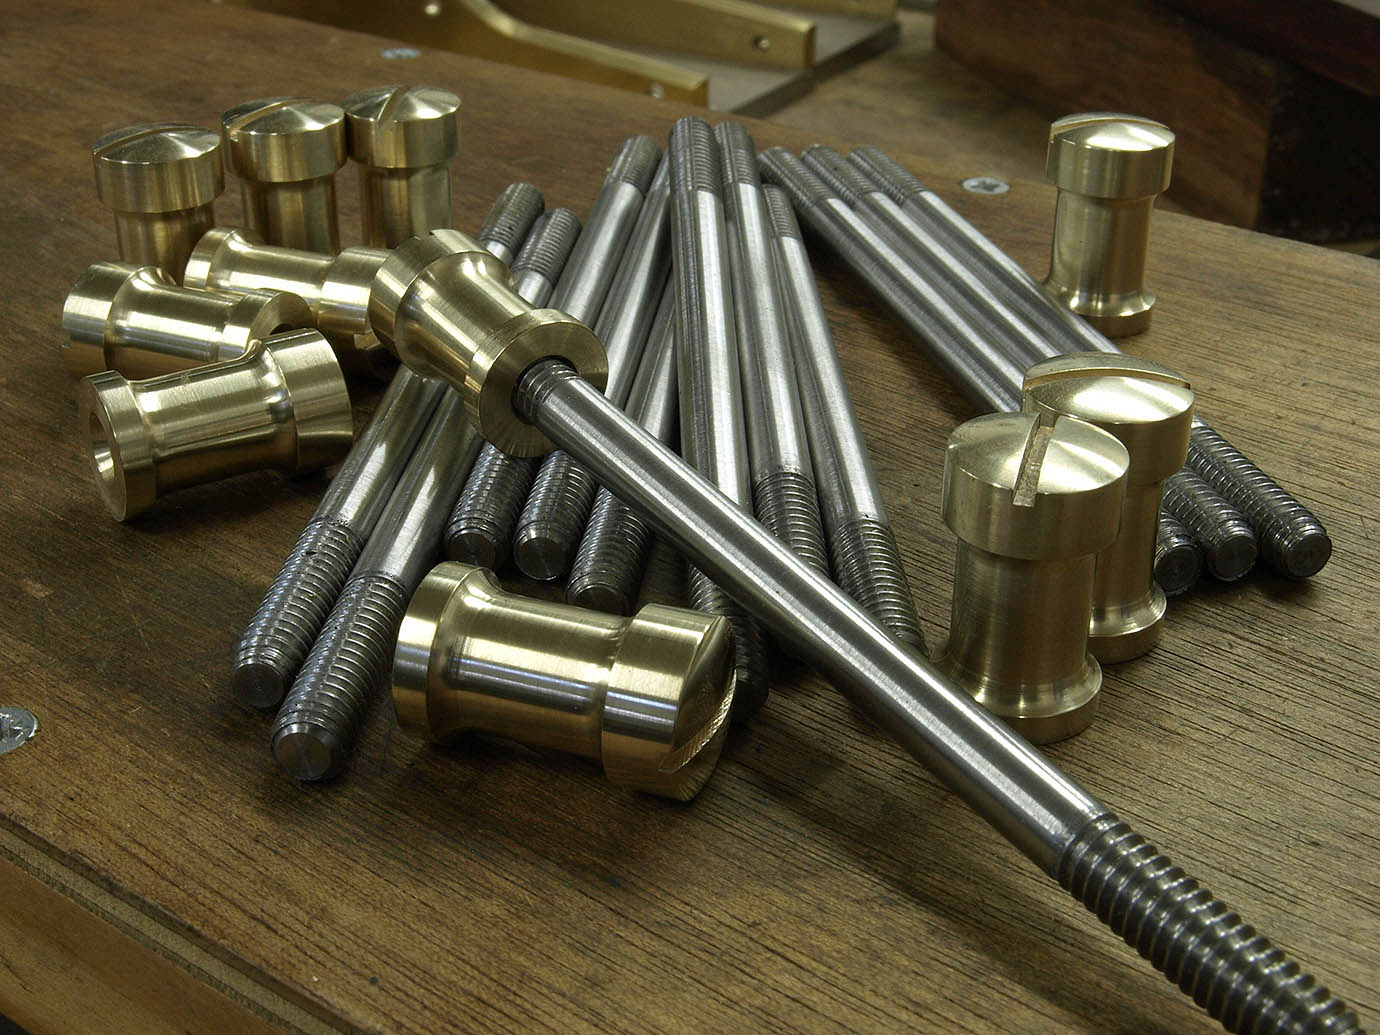
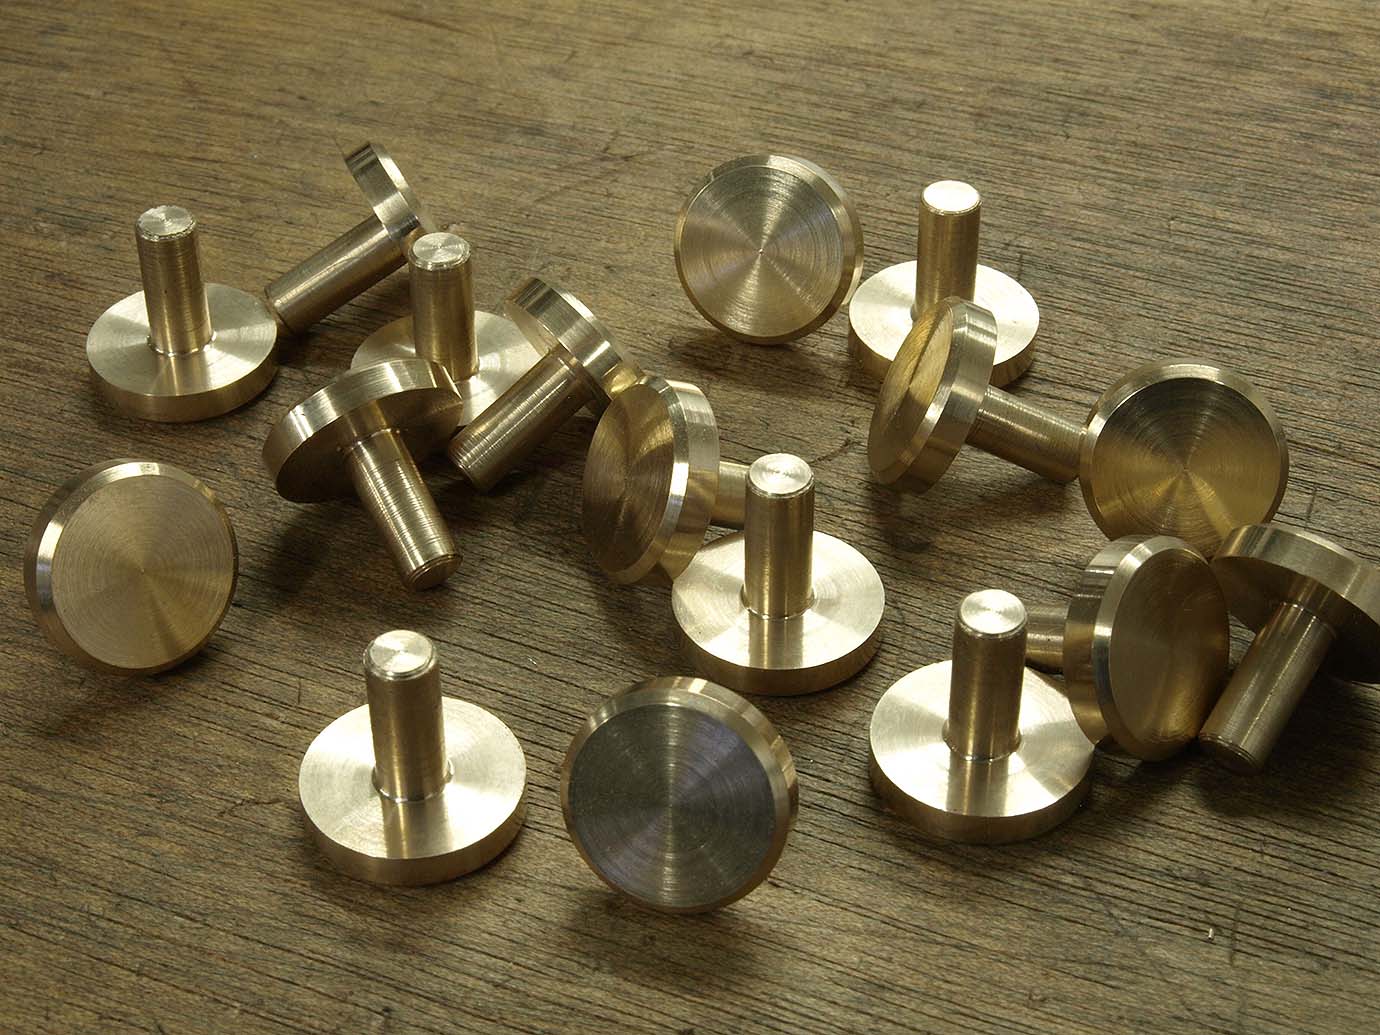 These are the blade kickers made from naval brass - as in all my brass fittings - and this concludes all the fittings in the throat area.
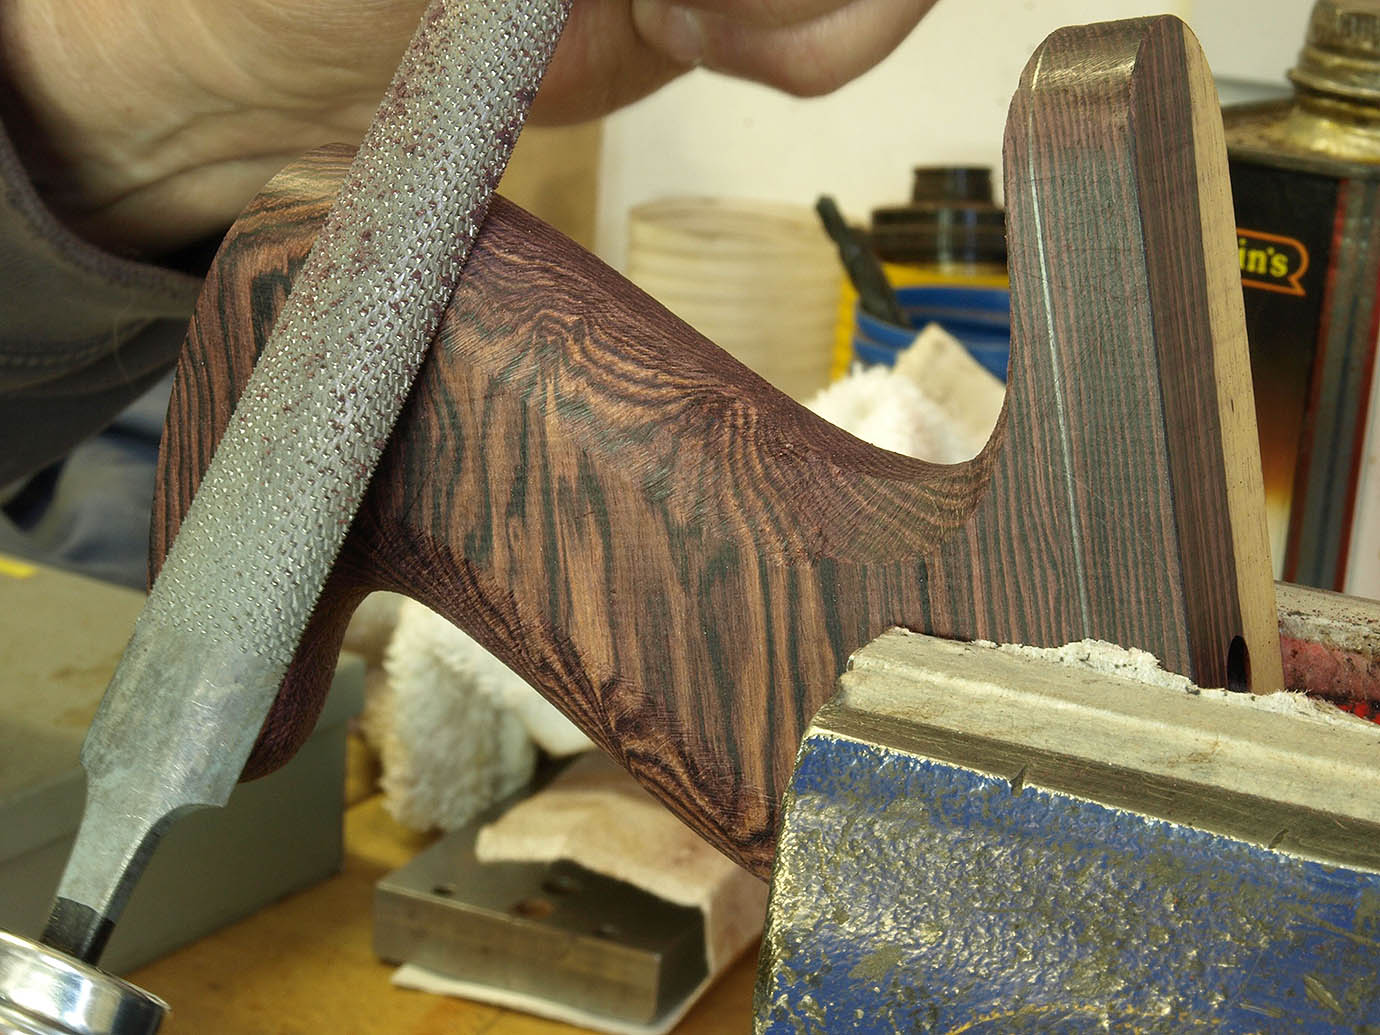
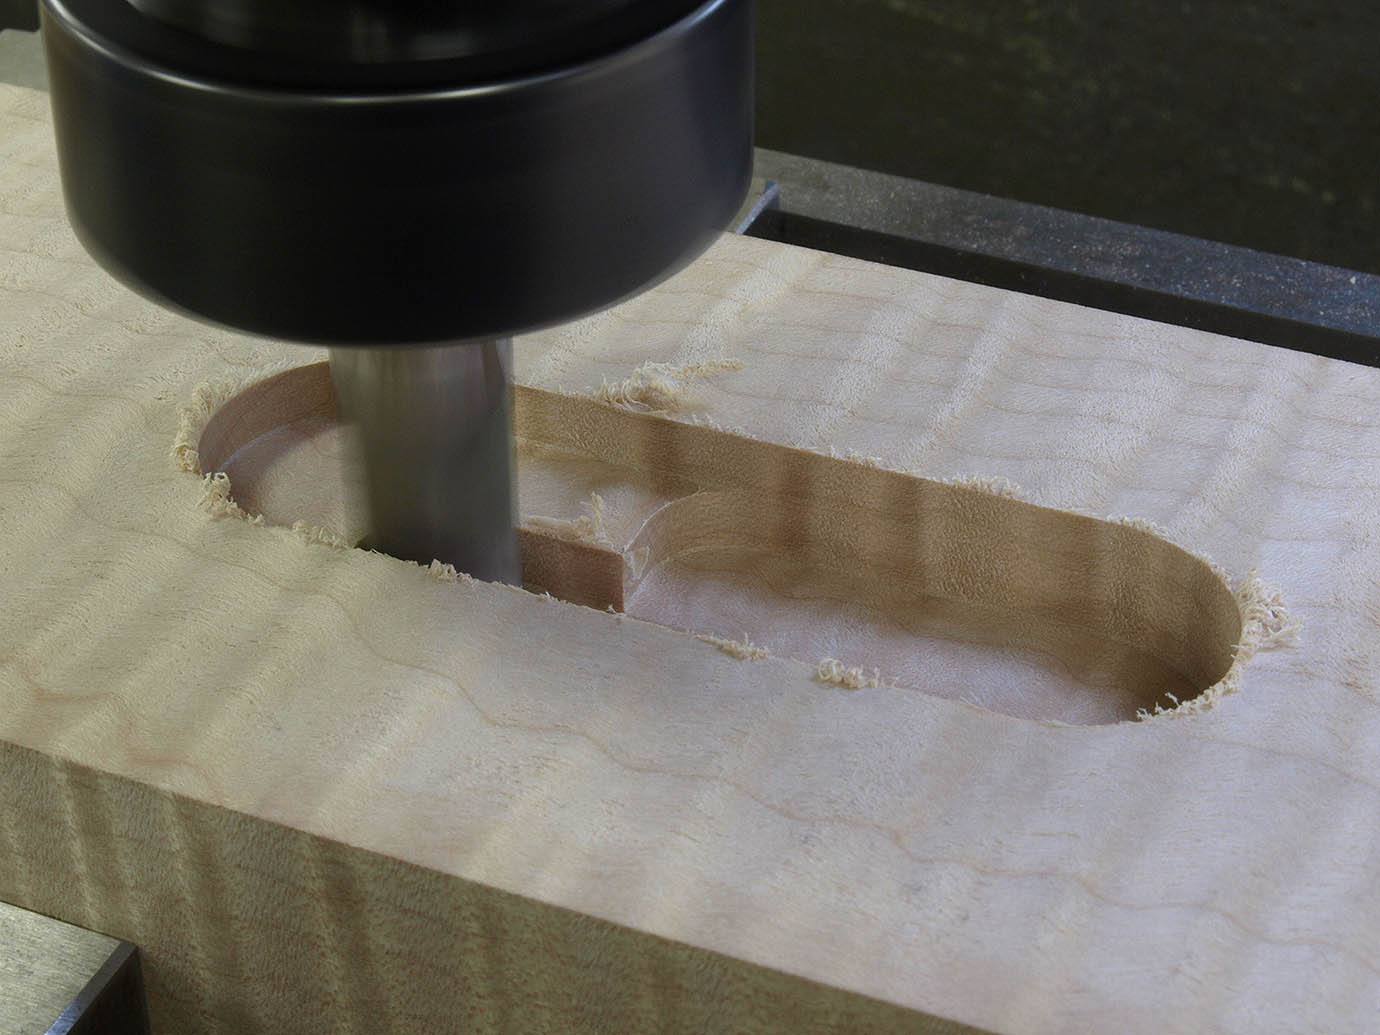 The rear handle recessing in preparation for the handle fitting. The handles are the same wood as the bottoms.
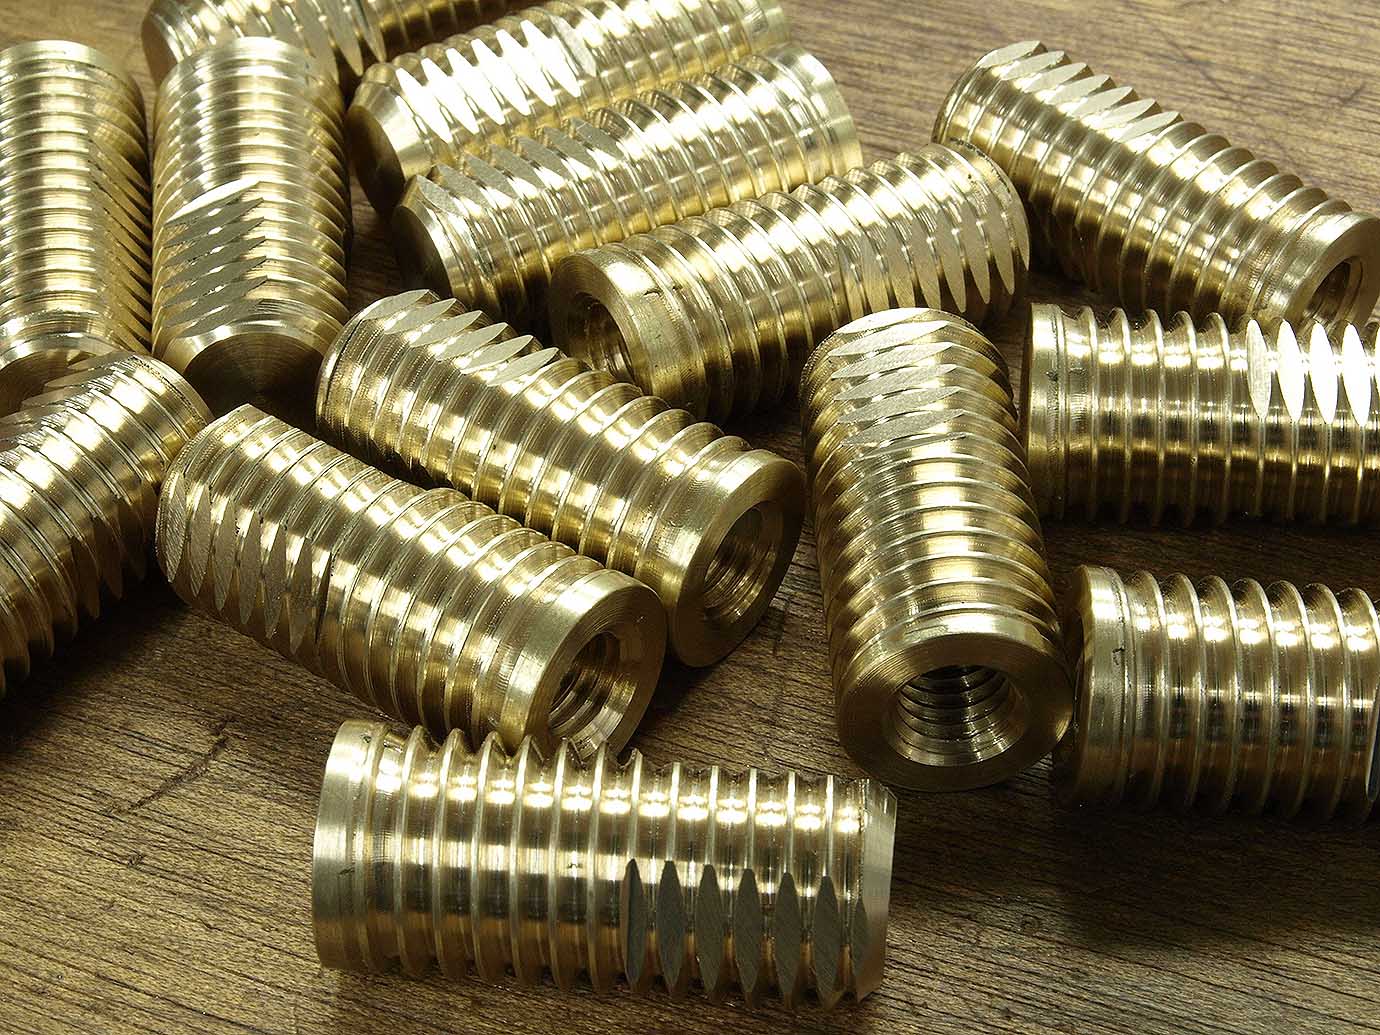
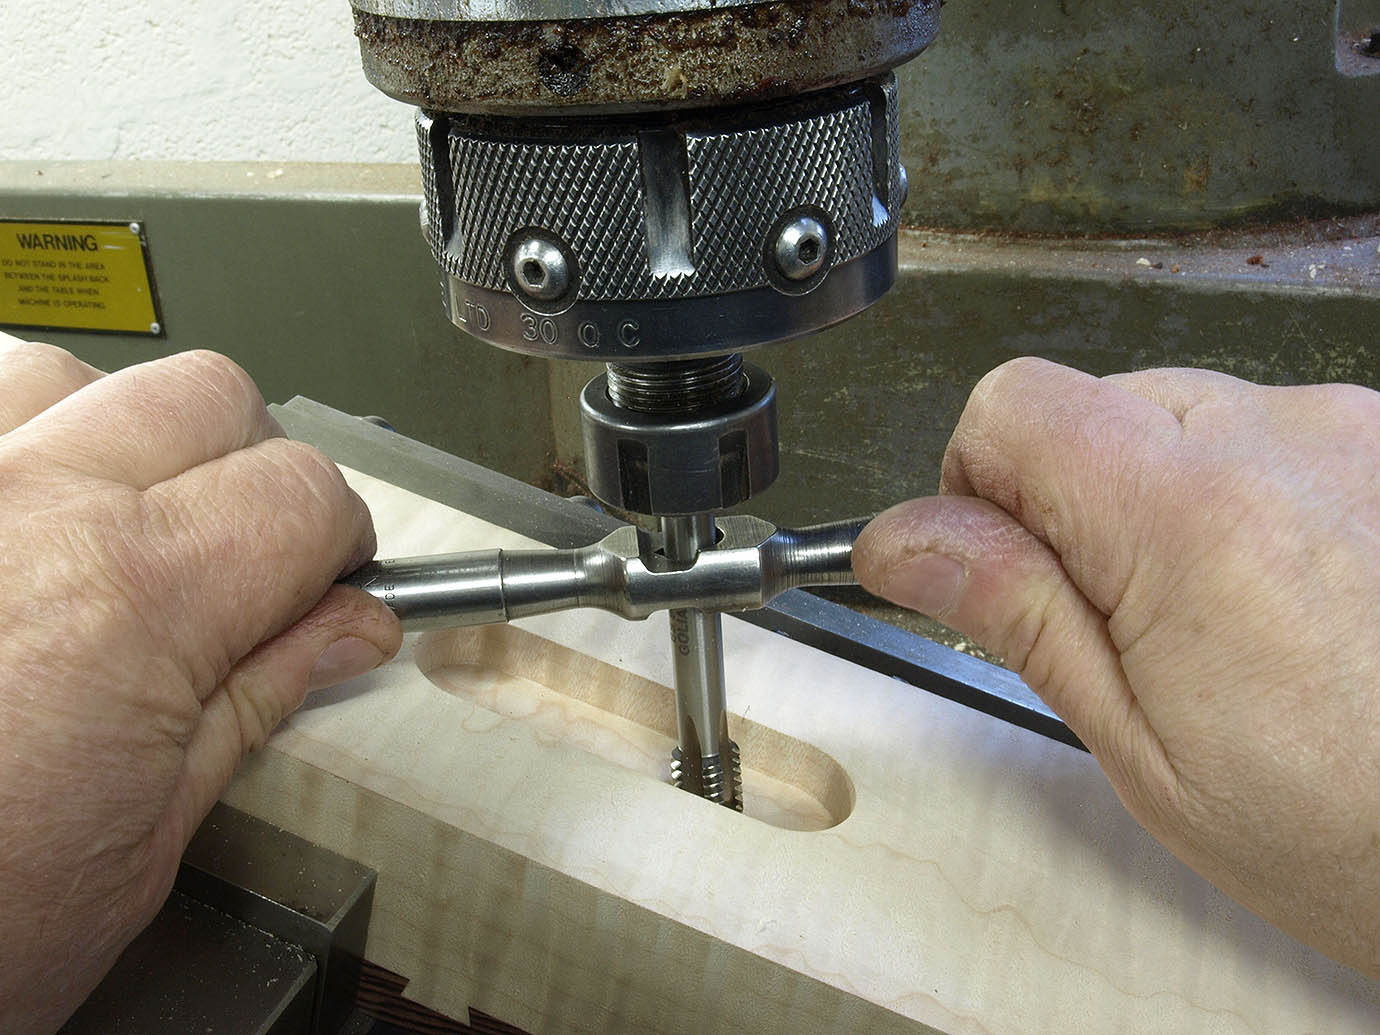
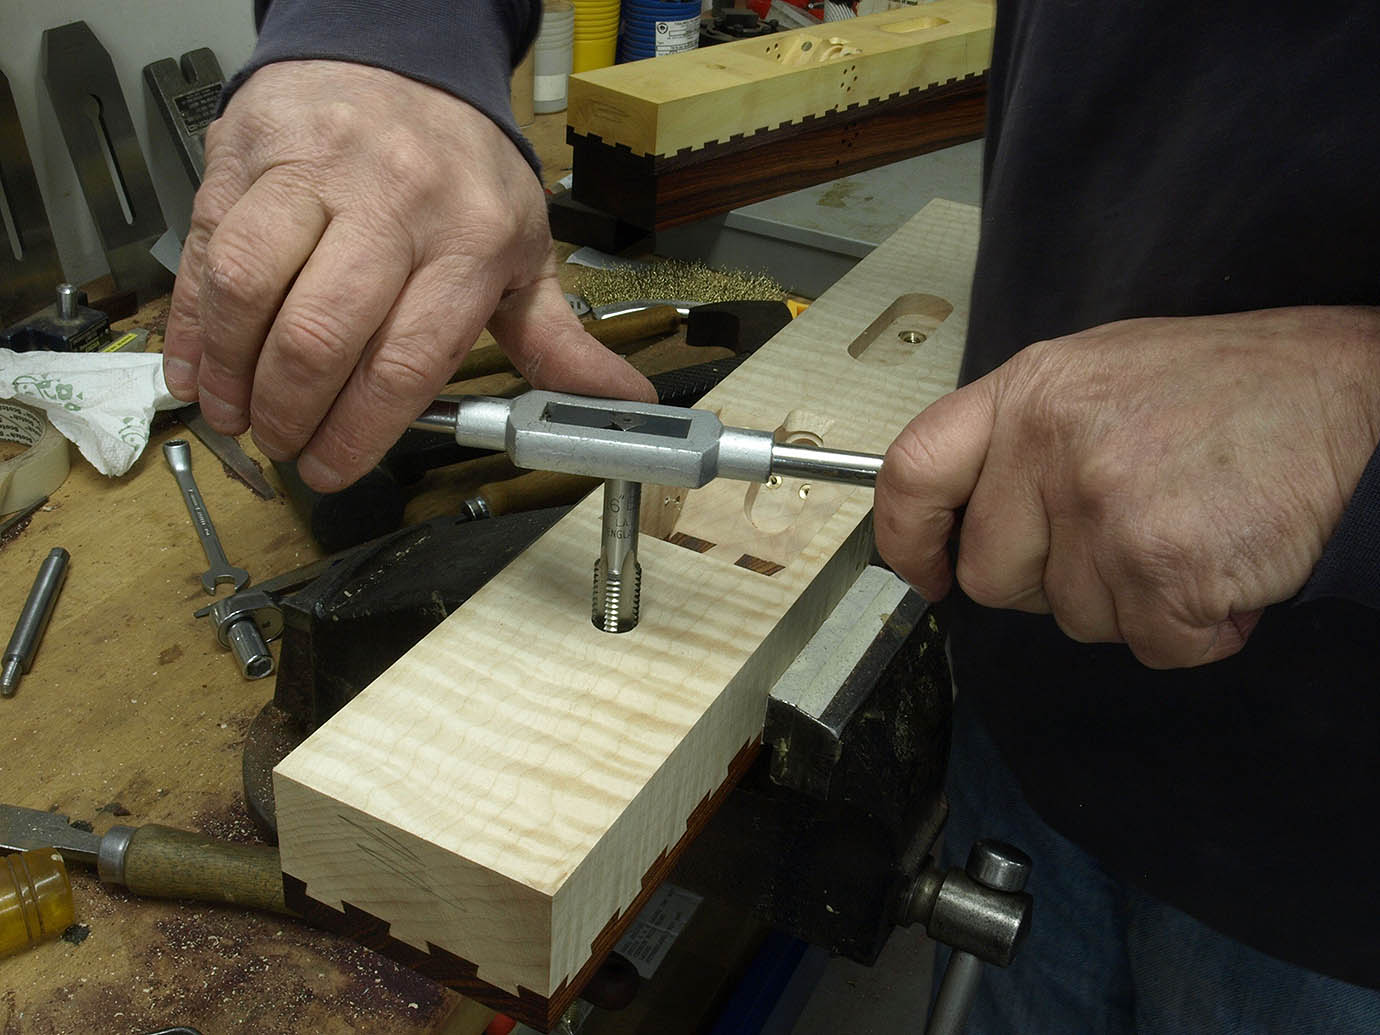
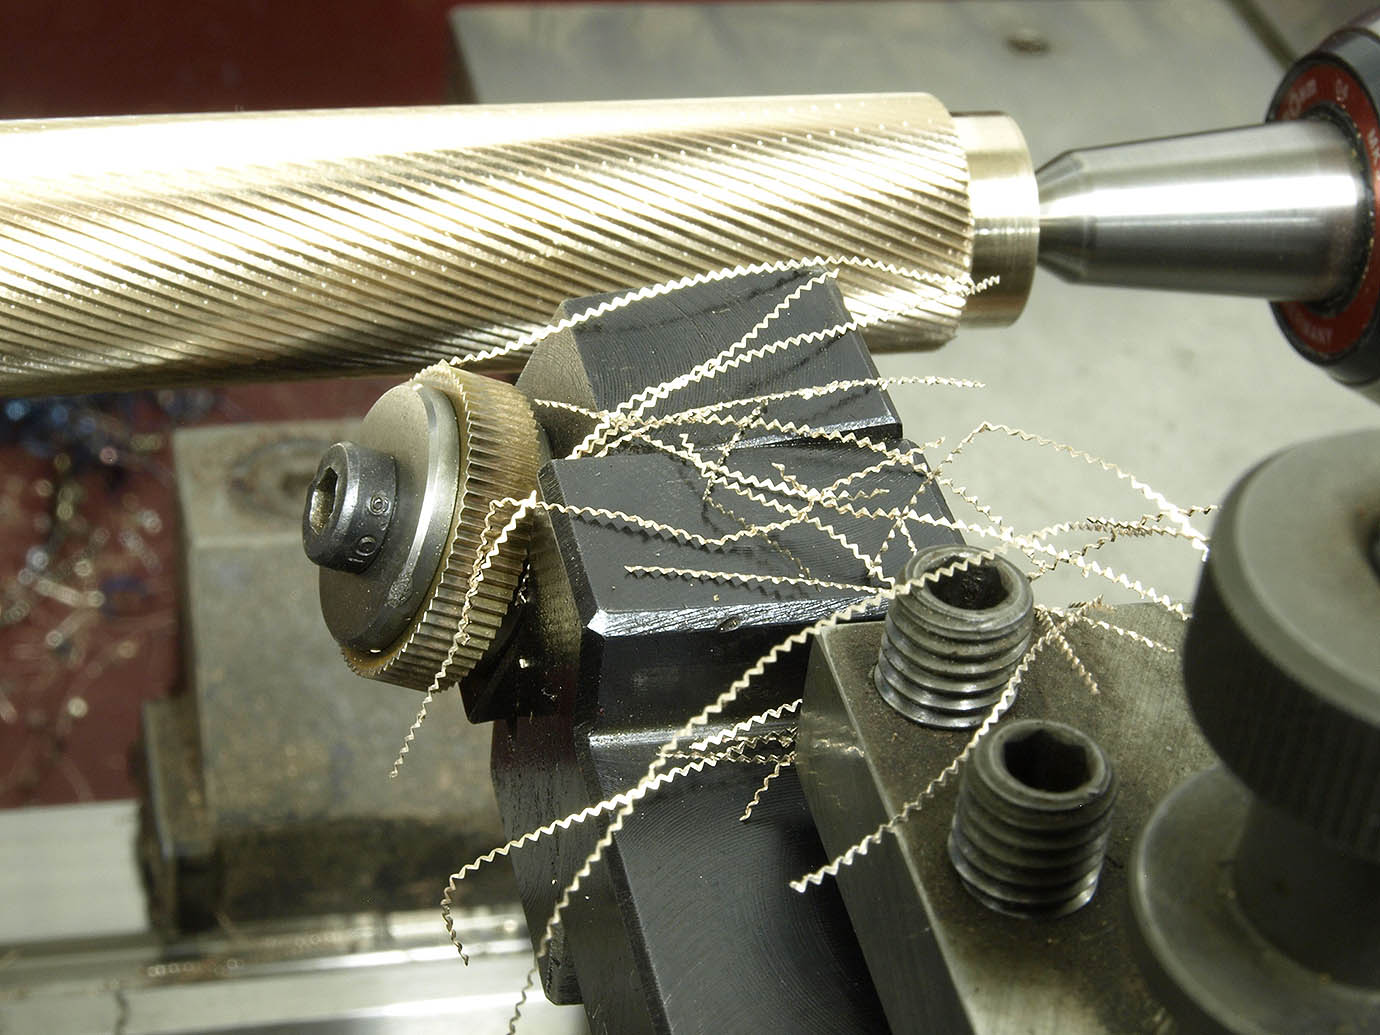
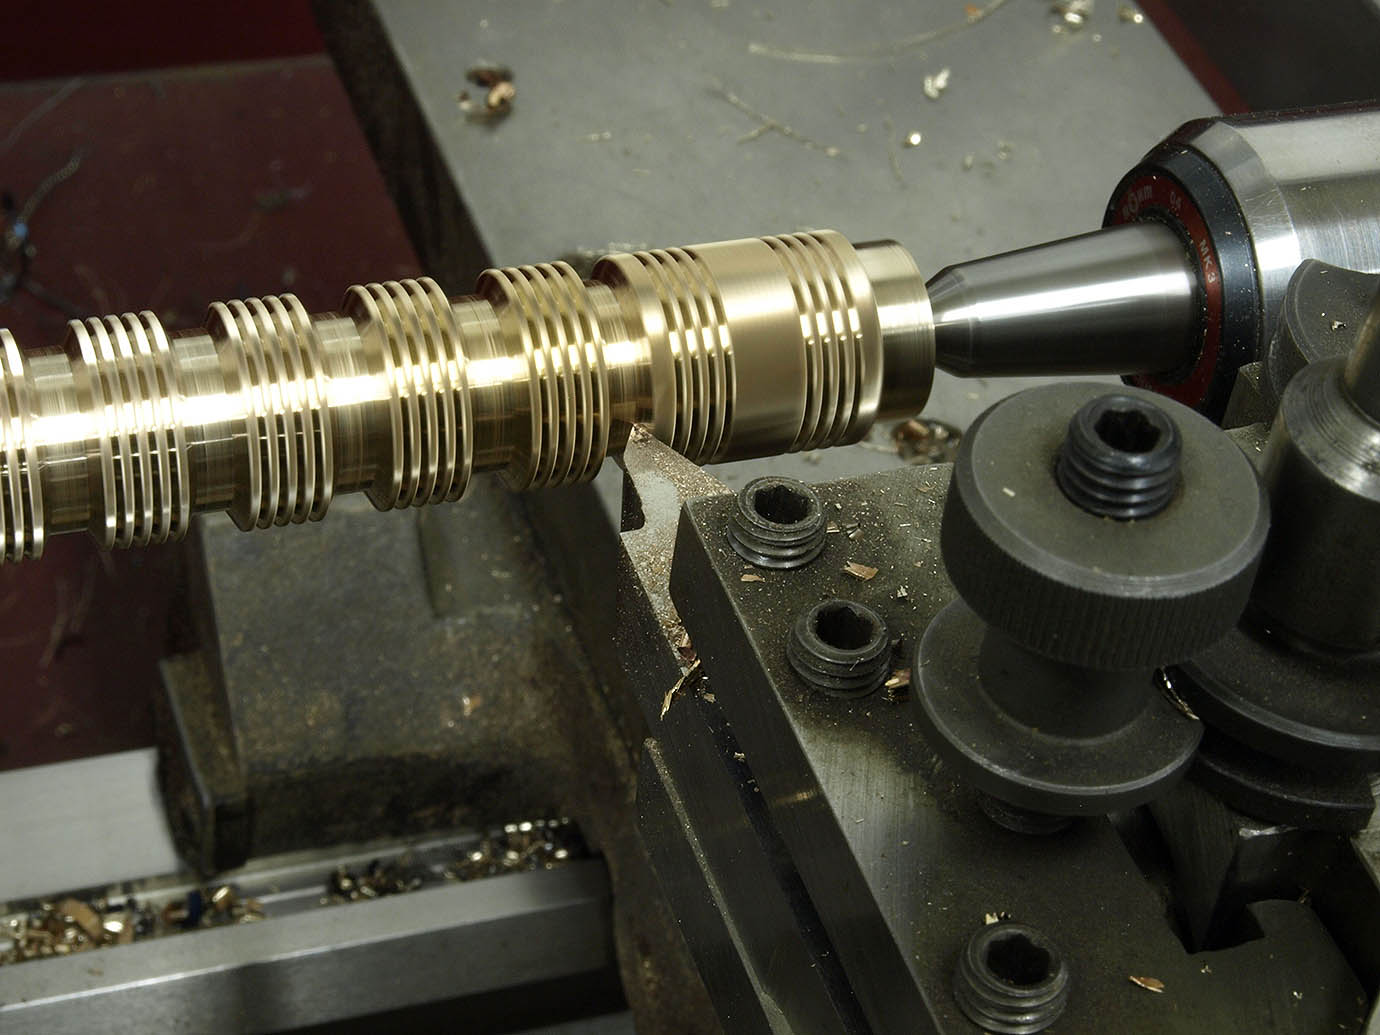
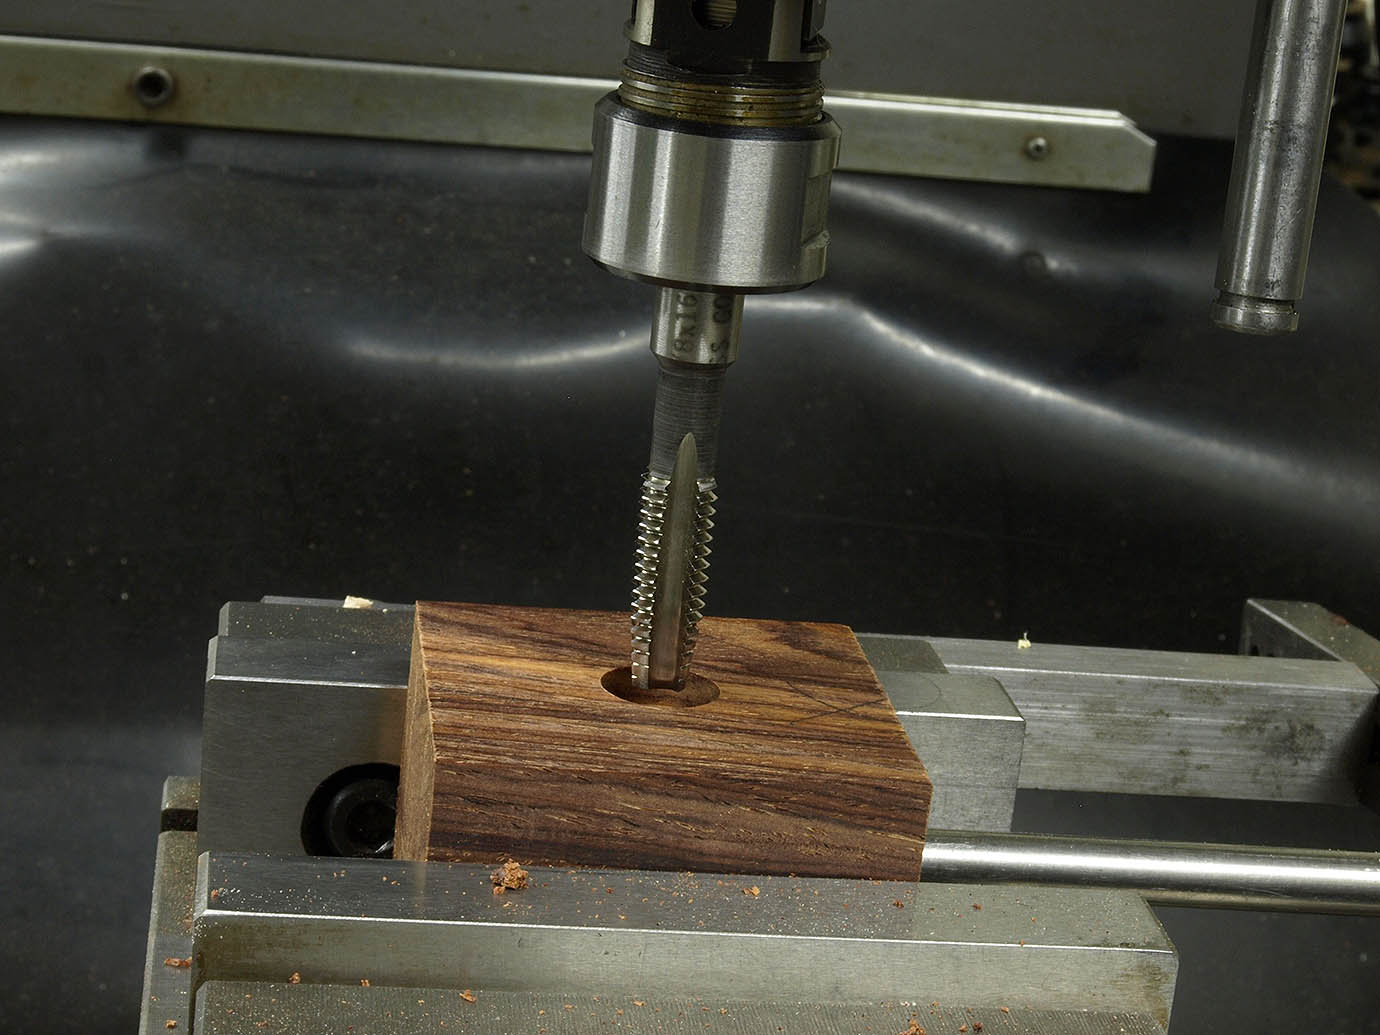 All my buns are produced as true cubes and then they are drilled and tapped before their visit to the lathe.


