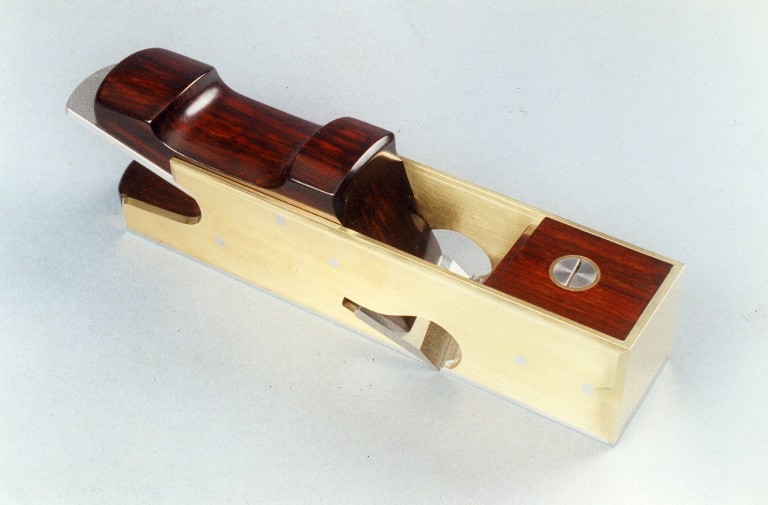
T21 Transitional Plane
I will be working to finish the blog on the T21 today, so I thought I would leave you with these pictures in the meantime.
T21 Transitional Plane
I will be working to finish the blog on the T21 today, so I thought I would leave you with these pictures in the meantime.
T21 Transitional Plane – Bushing
There are 2 single bushes and 1 pair in this plane. The bun and the rear handle have one each and a small pair for the adjuster. Following are a few illustrations to give you an idea of how they are made – once fitted they are invisible though vital.
The purpose of these bushes is that they spread the load into a greater contact area. I use a coarse thread on these which is cut on to both the male metal portion and the female wooden counterpart. These bushes are permanently cemented into position with an epoxy resin.
It is possible to break the bond on the metal parts. When the bushes are cemented in position they are less likely to rotate due to the mechanical properties of the flats you will have noticed in the photographs (in the above photo I am about to cut the flats on to the stud for the front bun, not one of the bushes – but the principle is the same). However, as during the fixing process the epoxy resin is forced in the fibrous texture of the wood providing an additional mechanical key these will not break down.
T21 adjuster
The adjuster for this plane is of the well known Norris type. As with all my Norris style adjusters they have some revisions.
In these pictures you can see two small holes which are used to secure the adjuster body. One of the larger holes is for the rotating nut and the other is an extra hole to assist in work holding when machining (as in the second picture).
Gunmetal fittings for T21
This is parting off my spider hub (for want of a better name) from a prepared bar.
Once these are parted off they need to be trued up to the precise length.
The person who commissioned this plane is no longer with us and I am not sure who owns this plane now. I did not stamp my name on it as it was not my design. With the wedge on runners it works well and is comfortable to use. Now I have dug the photo out it looks better than I remember and there could be possibilies with this design.

11-sa dovetailed smoothing / finishing plane
I have discovered a few pictures of work in progress, not the complete sequence, so decided to show what I have here.
11-sa smoothing plane components before assembly.
Tapping for adjuster bush after boring.
I have so many nice photos I have decided to put a gallery here for those who are interested. There is no text just pictures. It is a shame that the pictures had to be downsized.
Powered by WordPress