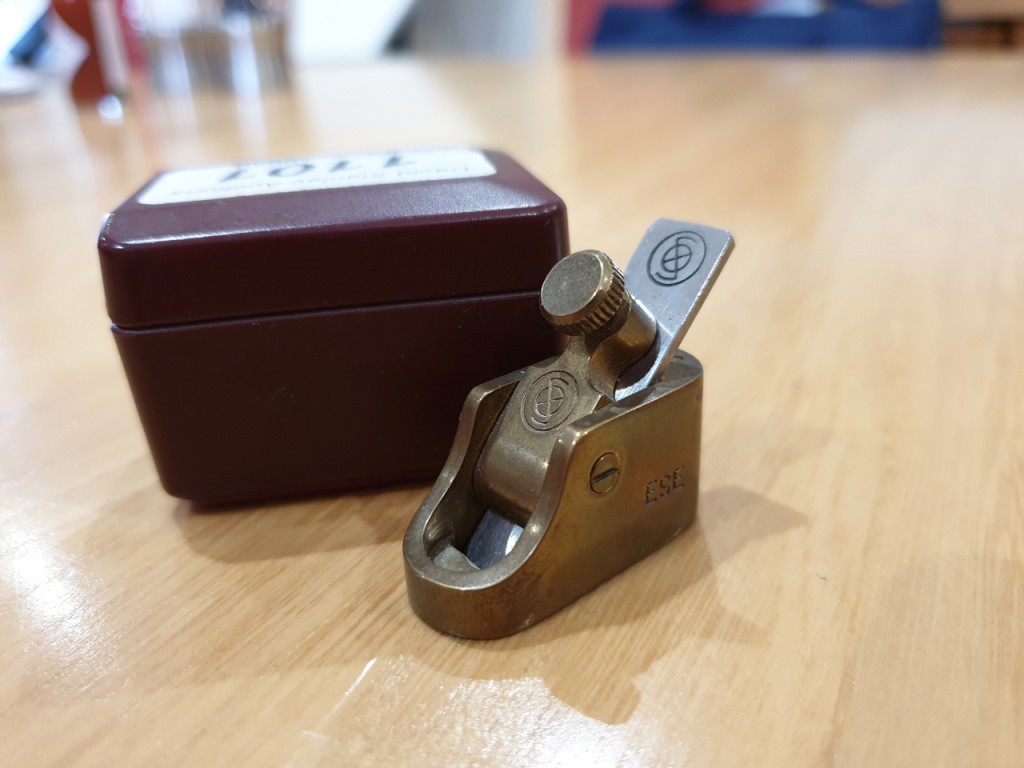
Unable to sleep last night as often happens, memories were going round my head. I have been asked by violin makers if I would make a set of finger planes. I have said yes several times, but it has just gone in the pile of promises. It is interesting to know if there is enough interest in these planes. The one photographed here would serve as a template, allowing for design adjustments for size. It would be my idea to start small and work my way up the scale over a period of time to allow for people to recover from the price. There are plenty of these planes out there but I haven’t seen any quality ones. This ESE captured my attention.
June 17, 2019
March 27, 2019
Workshop blog no 20 – No 985
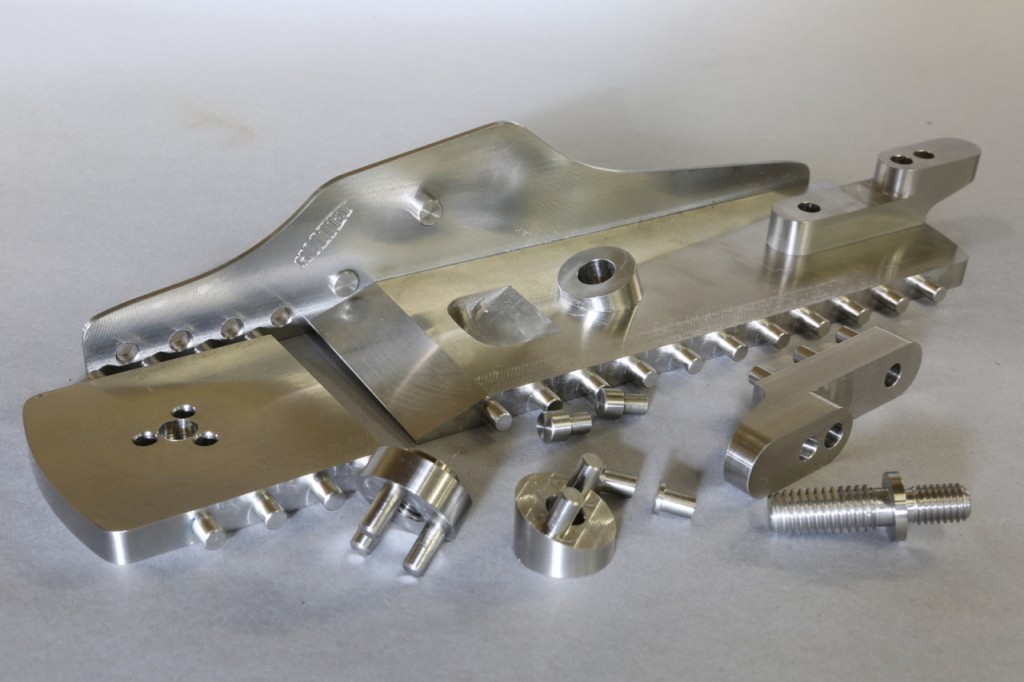
I was hoping to get my handles underway this week, but decided to complete the chassis first as the handles will need tweaking when I have an assembled plane.
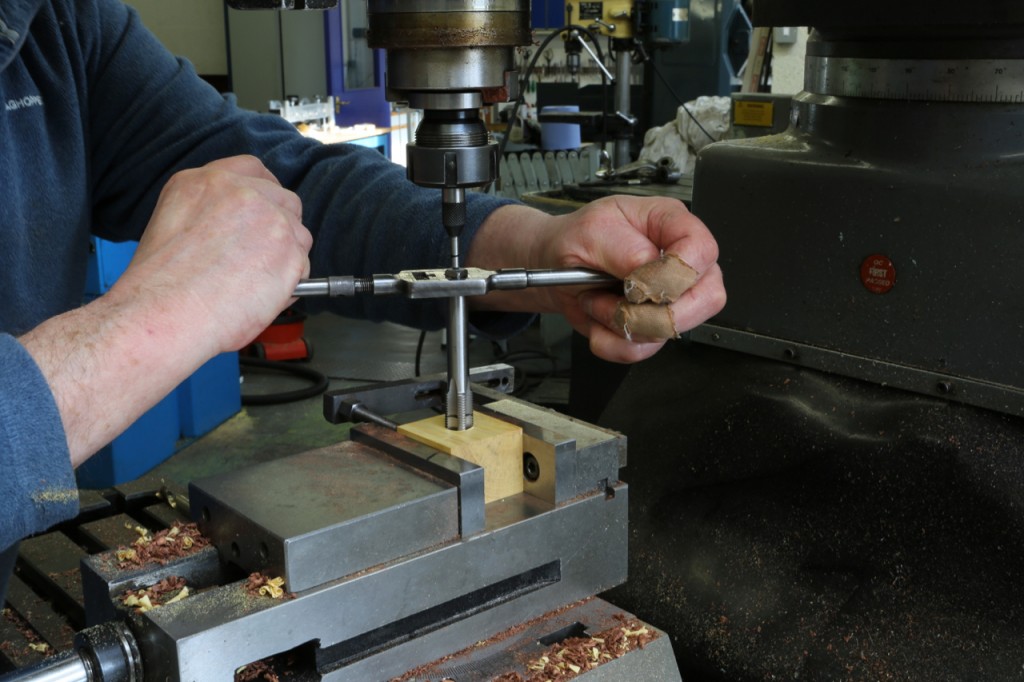
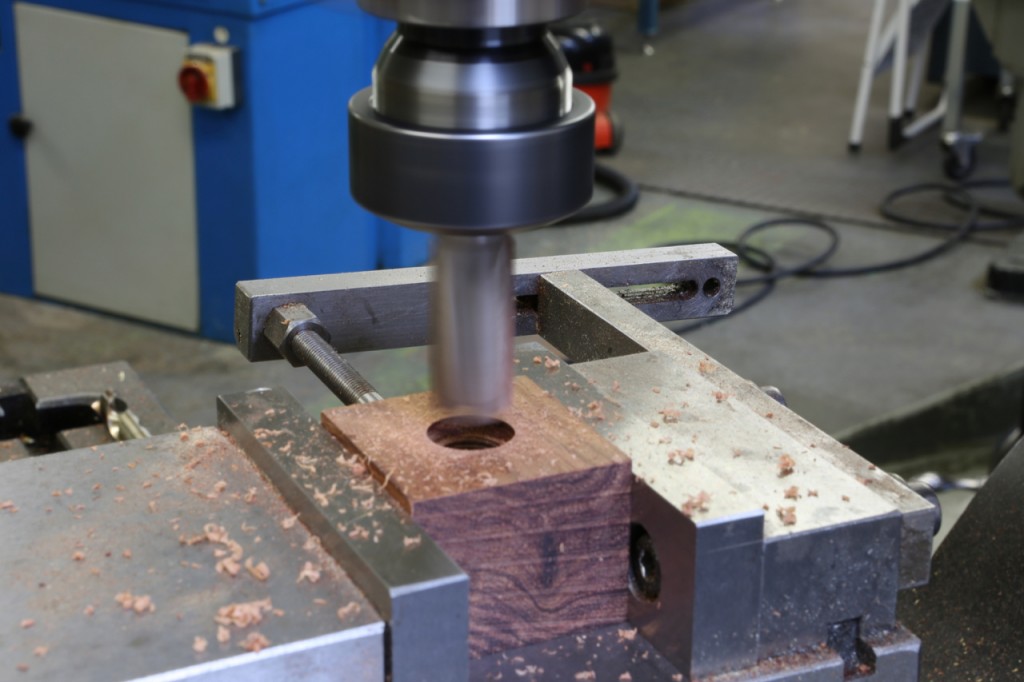
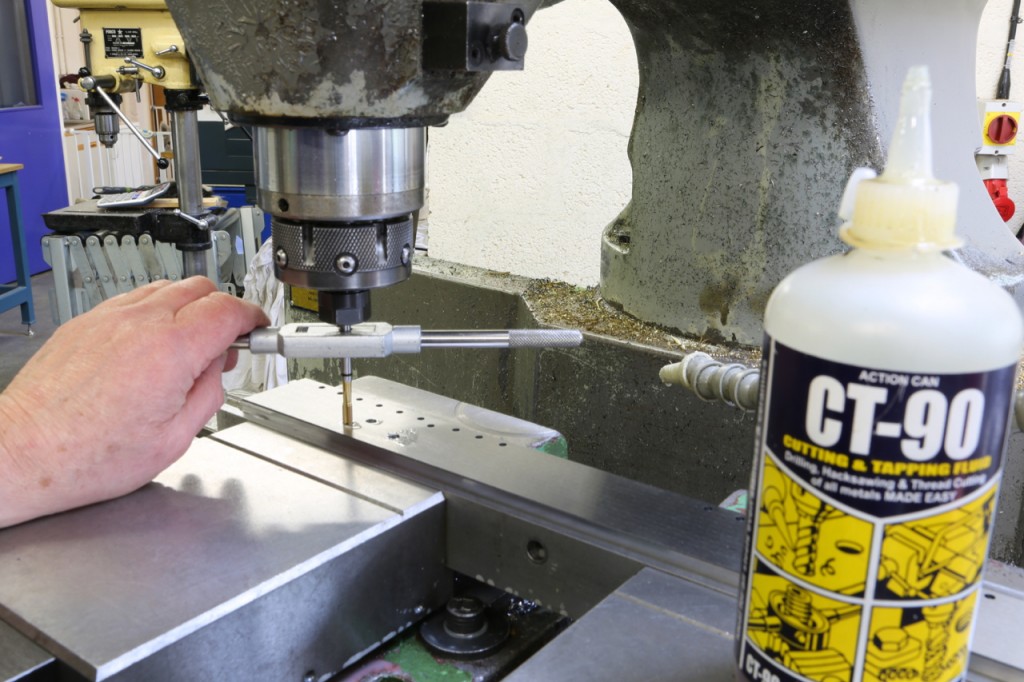
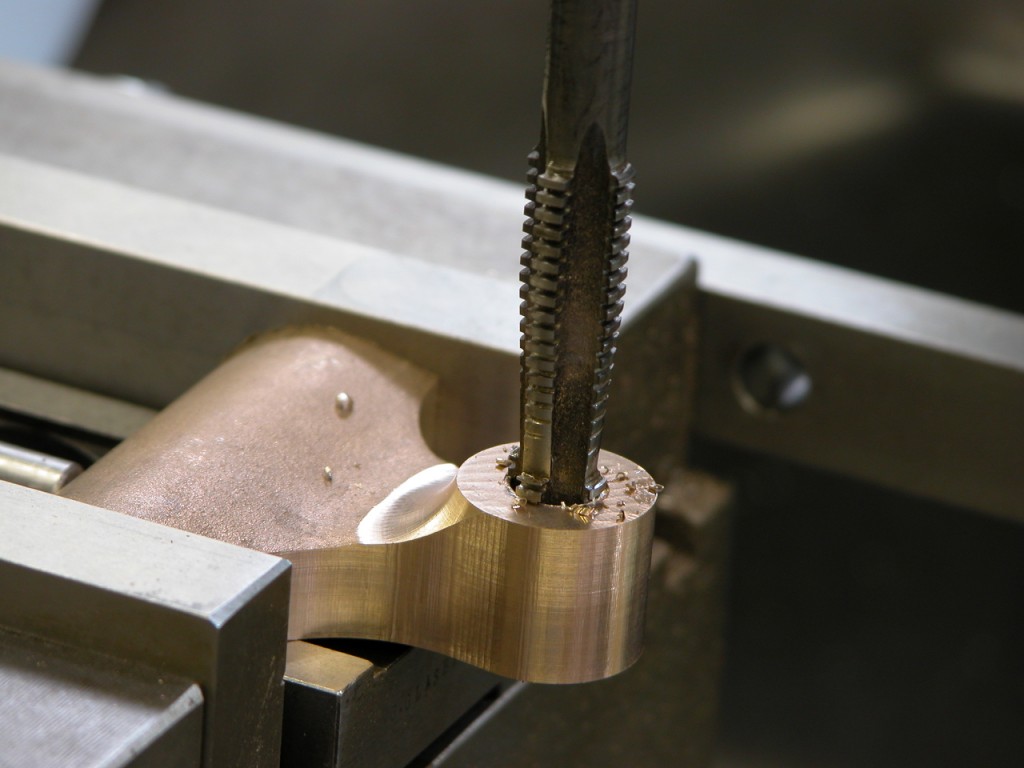
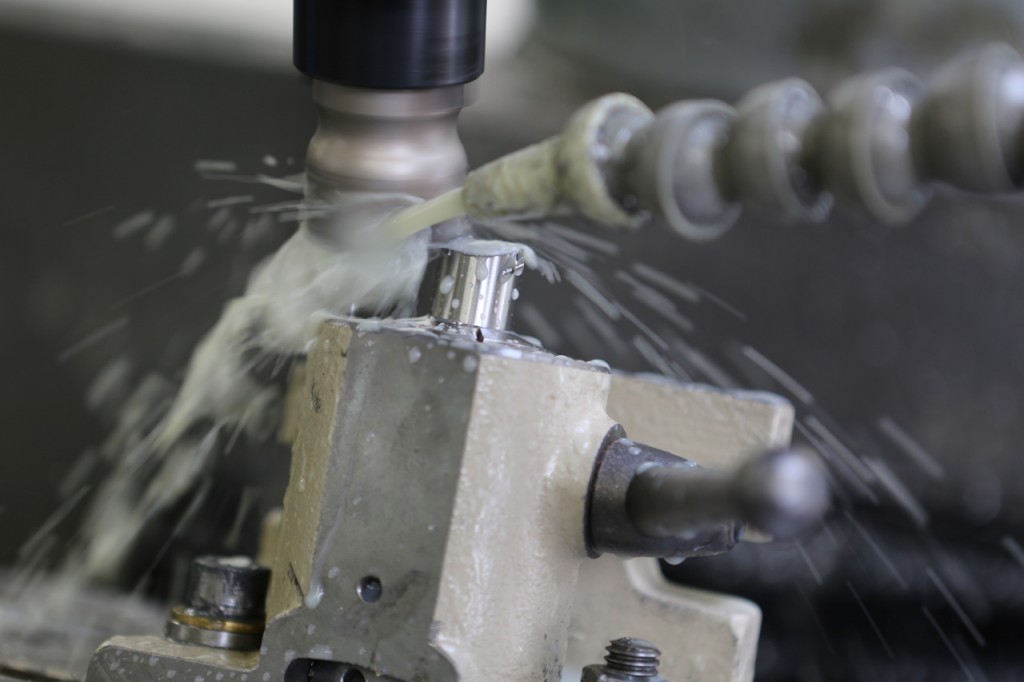
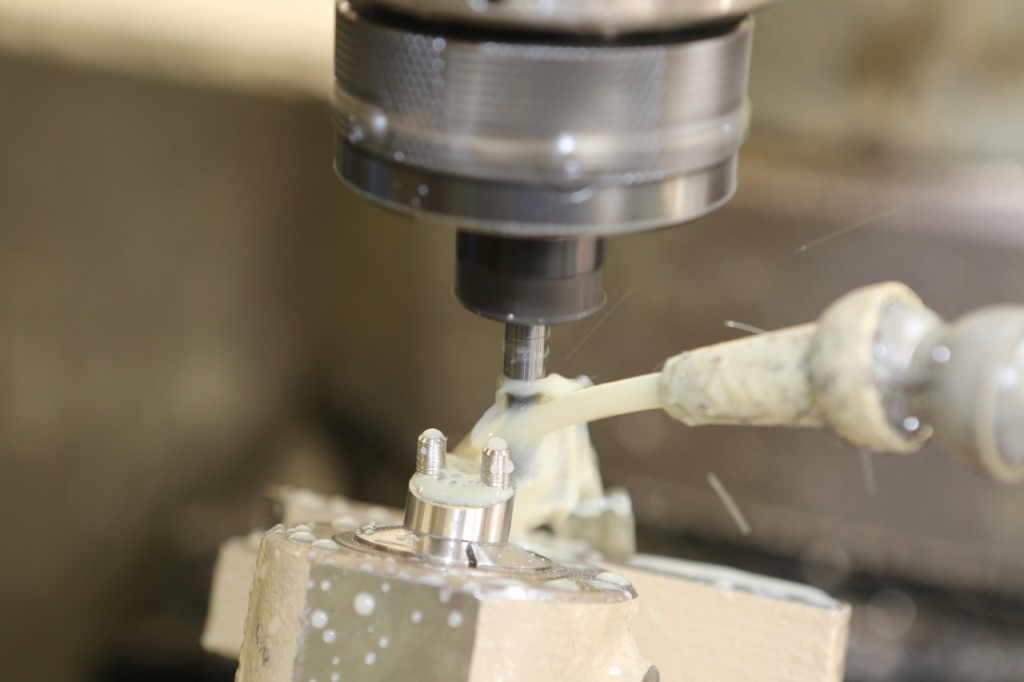
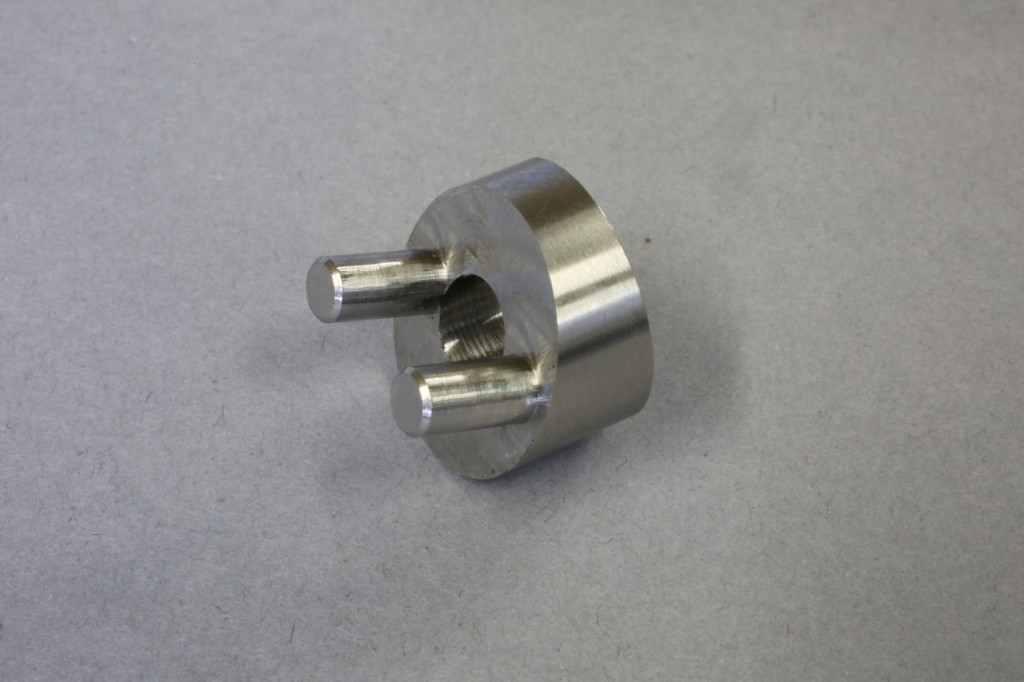
The start of the front bun, drilling, tapping and counter bore ready to go on to the turning abor. This is the same fit as the fixing bush. Which is another hidden job.
This operation is usually done on the manual mill as the thread cutting is best done by hand for better sensitivity and ensuring sharp and clean threads. More on this later.
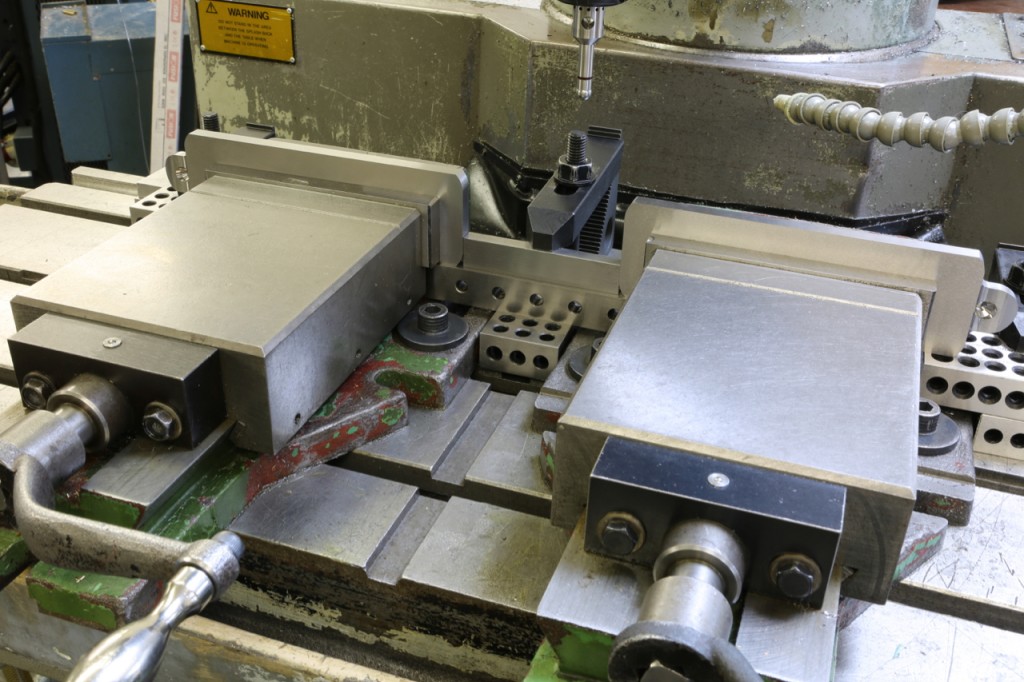
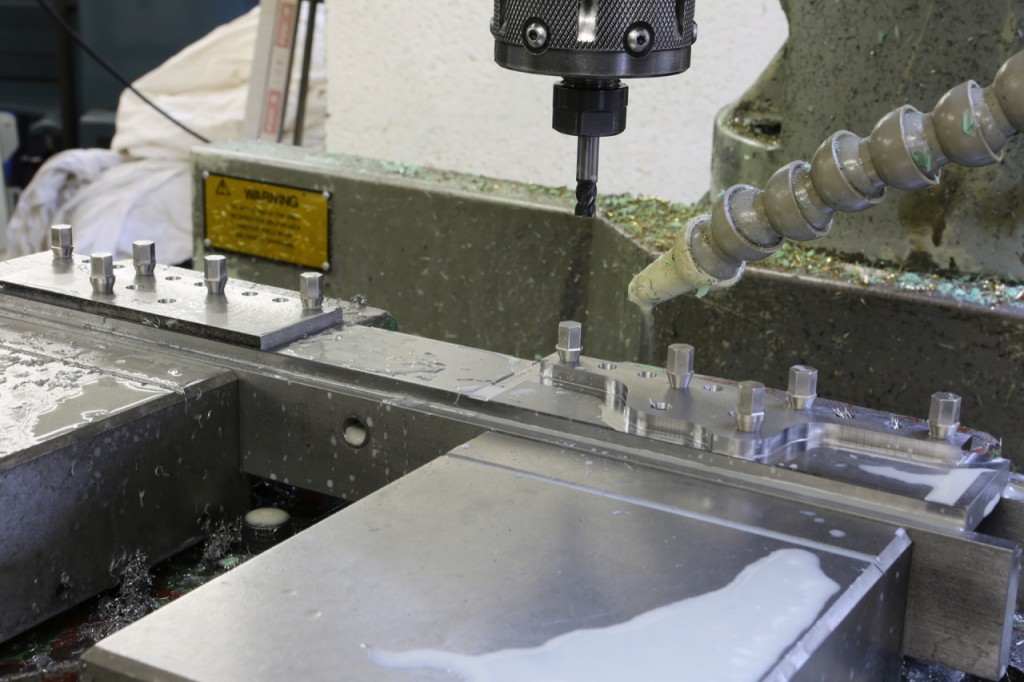
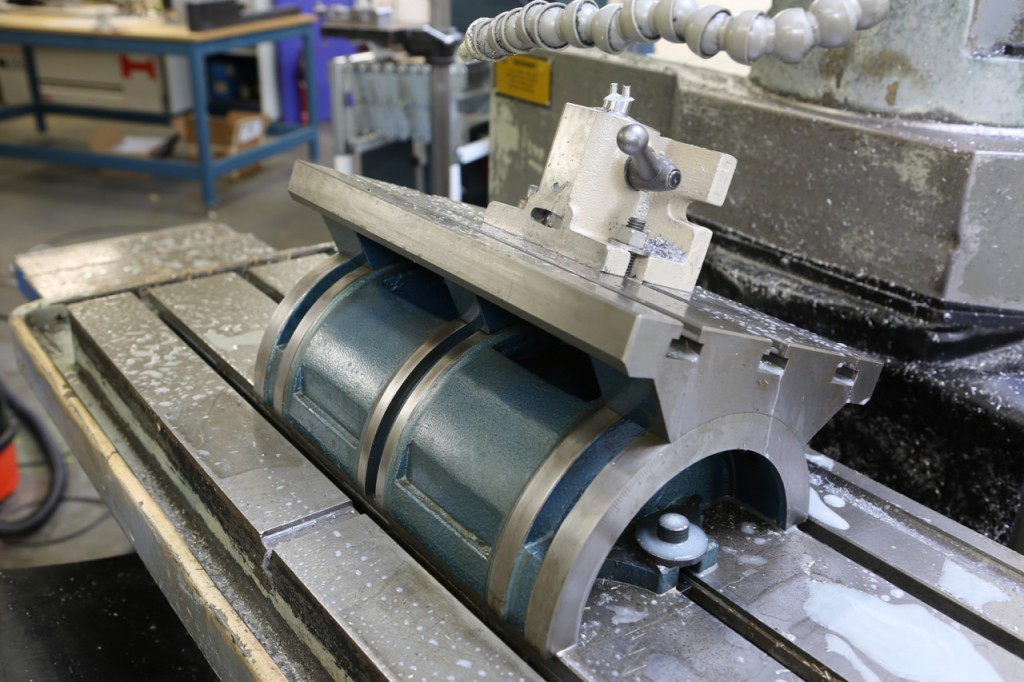
With reluctance I have put the wood working on hold and moved the chassis forward. Here is the holding fixture awaiting programming and tooling.
February 22, 2019
Workshop blog 11 – No 985
This is the making of the milling fixture to profile the No 985 sides. When I bought this machine the salesman said it had screw cutting but I never ever found it. It is important to do the screw cutting whilst everything is still in the machine; I have to move into each hole co-ordinate and cut the threads by hand.
10 years later ……
February 19, 2019
Workshop blog 9 – No 985
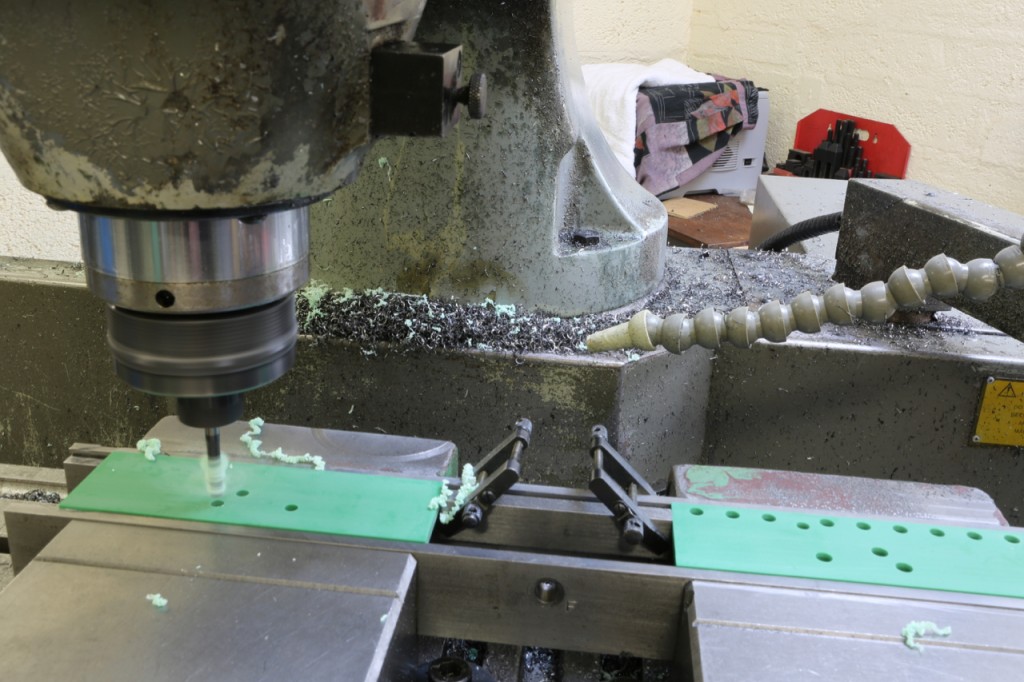
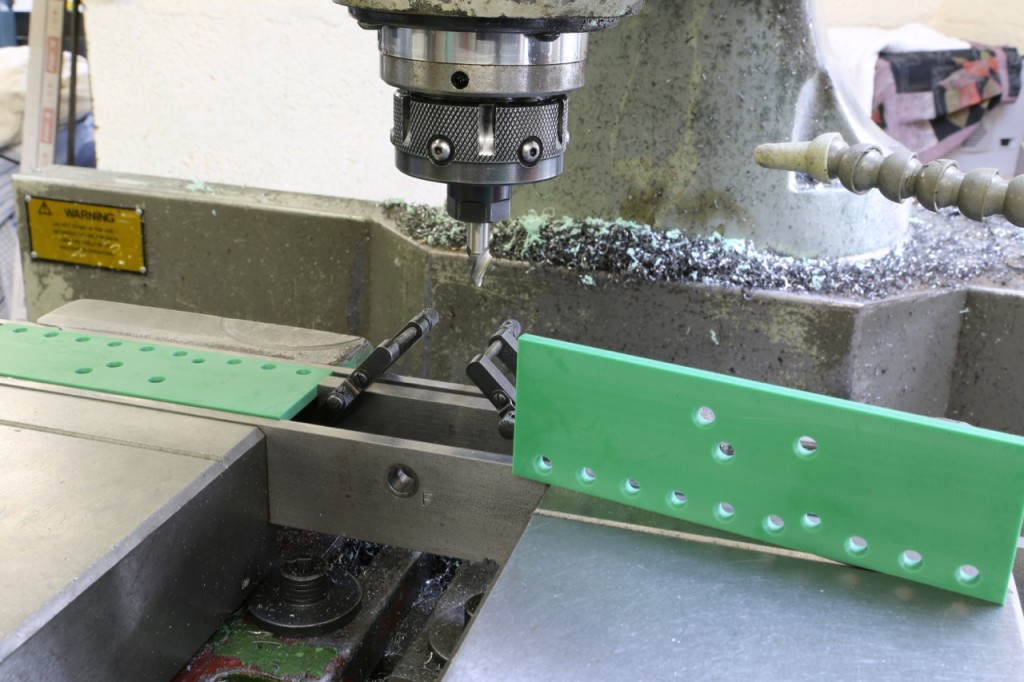
Just starting to drill the No 985 sides and as usual I start off with test samples.
The fixture holes for the plane sides, looks like an awful lot of holes! All holes are tapered for retention.
December 14, 2018
New Workshop 5
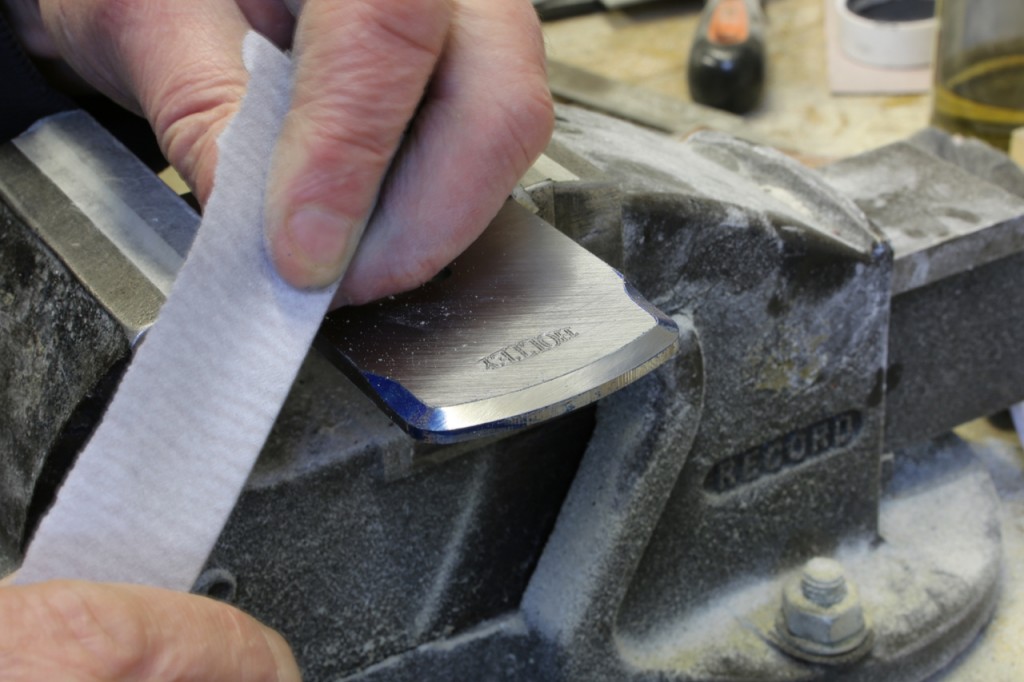
I have decided to put my blade chamfering onto the No 98 blade, it does set off a low angle plane – ergonomic and aesthetically. It is a lot of work, especially finding 30 deg chamfering tools (a 45 deg just doesn’t look right). The polishing is very time consuming. I have to do the polishing before I send them off to heat treatment, then I only need to buff the edges and surface grind when they come back.
December 4, 2018
New Workshop Blog 3
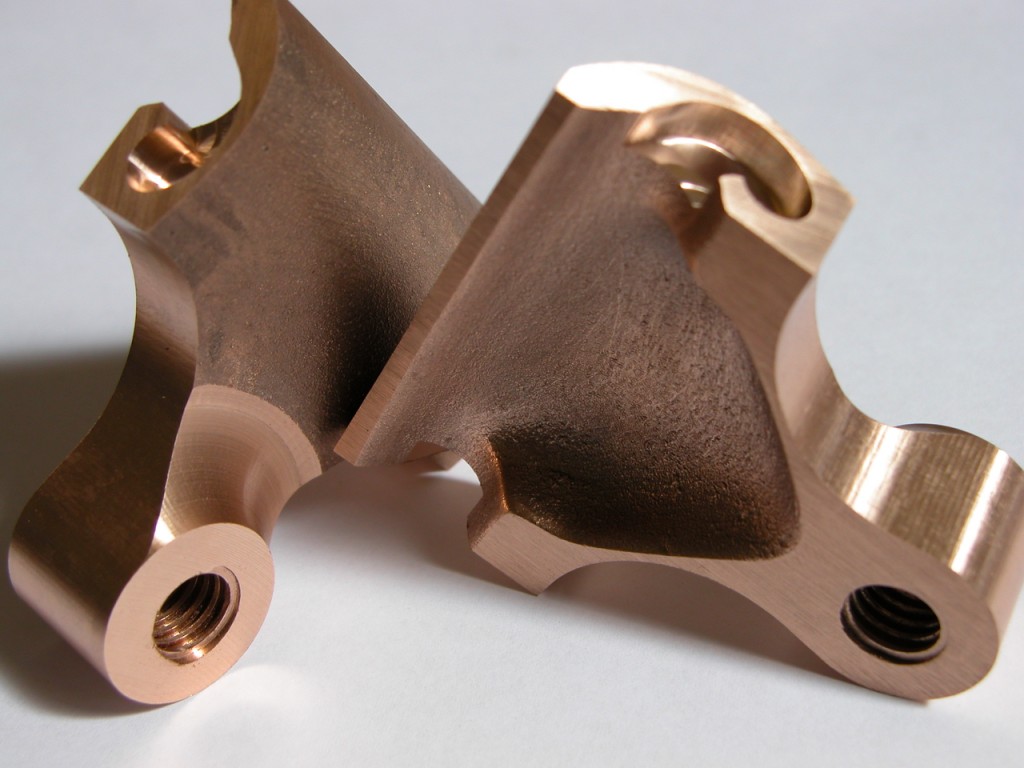
No 98 bronze lever caps
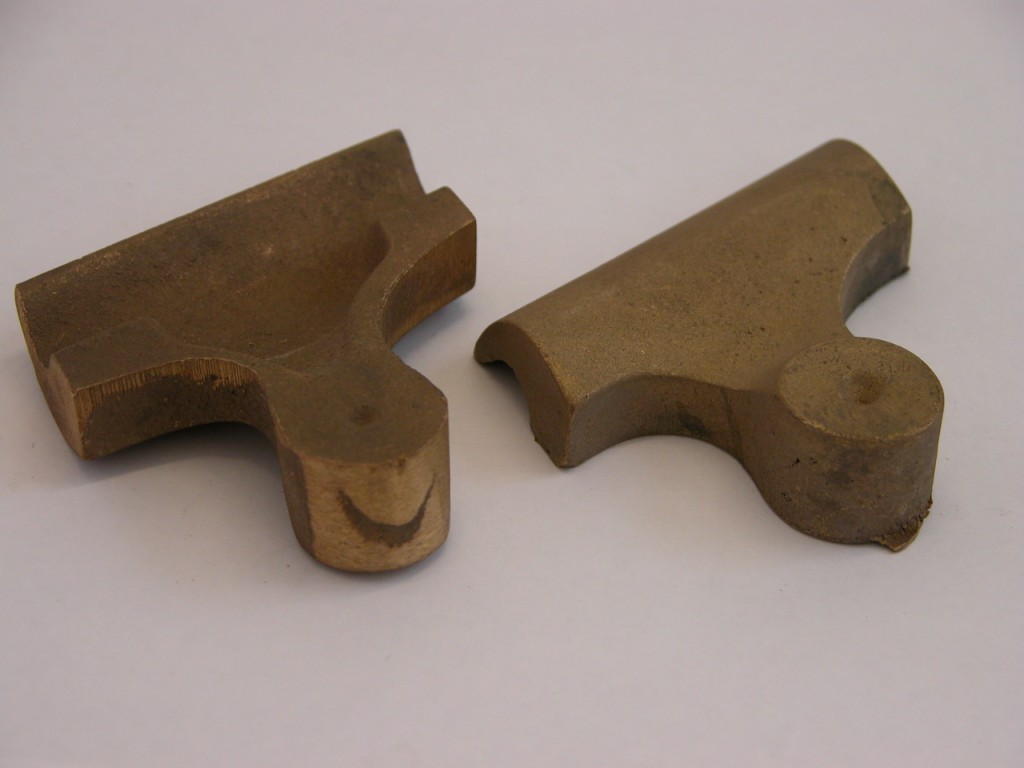
These are the last lever caps of this type. I also used them on my mitre planes. Gone forever as the foundry closed down and my patterns are lost.
After preparation including flattening, squaring etc, the profile is cut out.
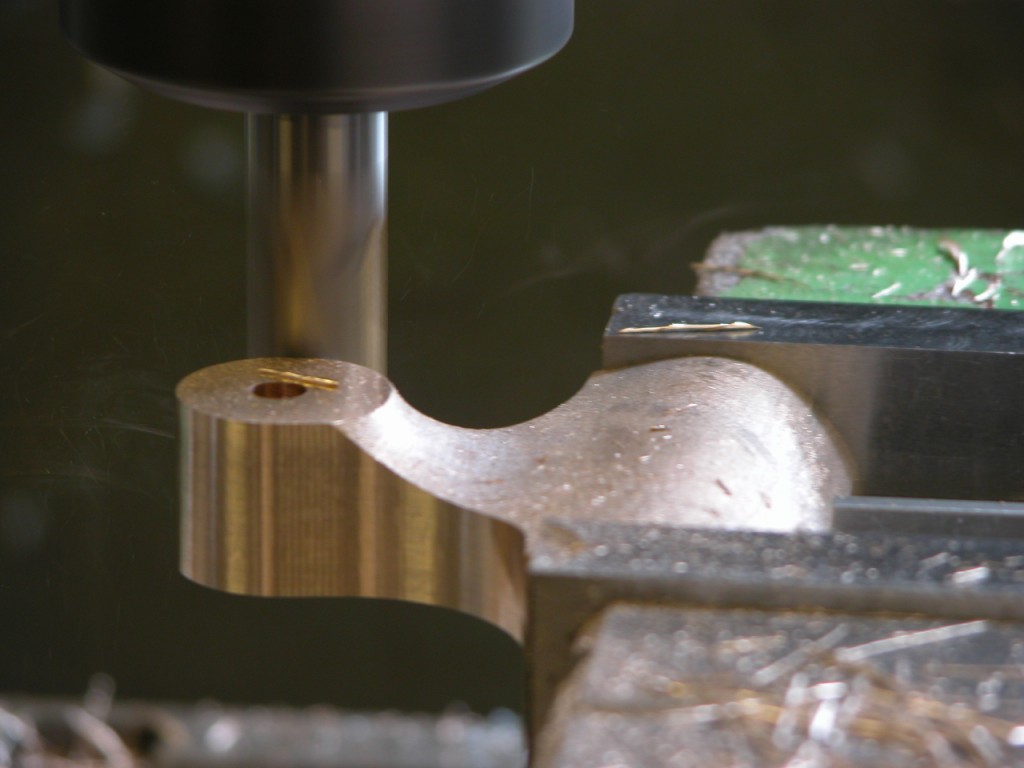
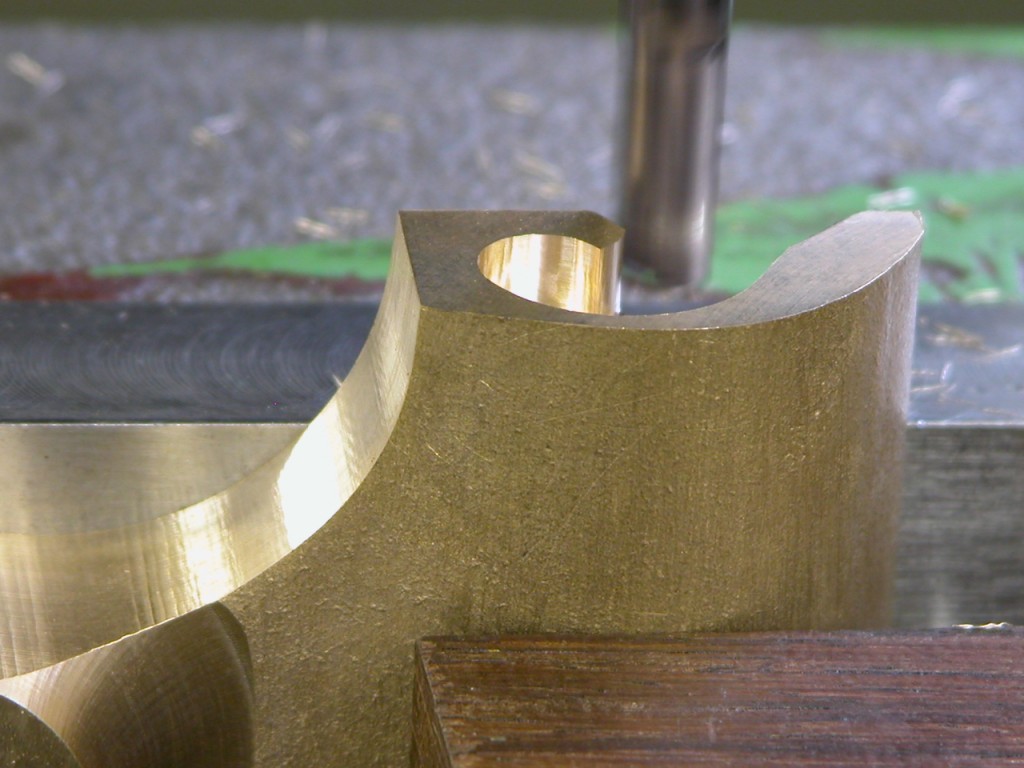
The lever caps after profiling also showing centering hole to be bored to make ready for tapping
Tapping after the boring
The machining for the keep recesses so the lever cap can be released after 2-3 turns on the thumb screw
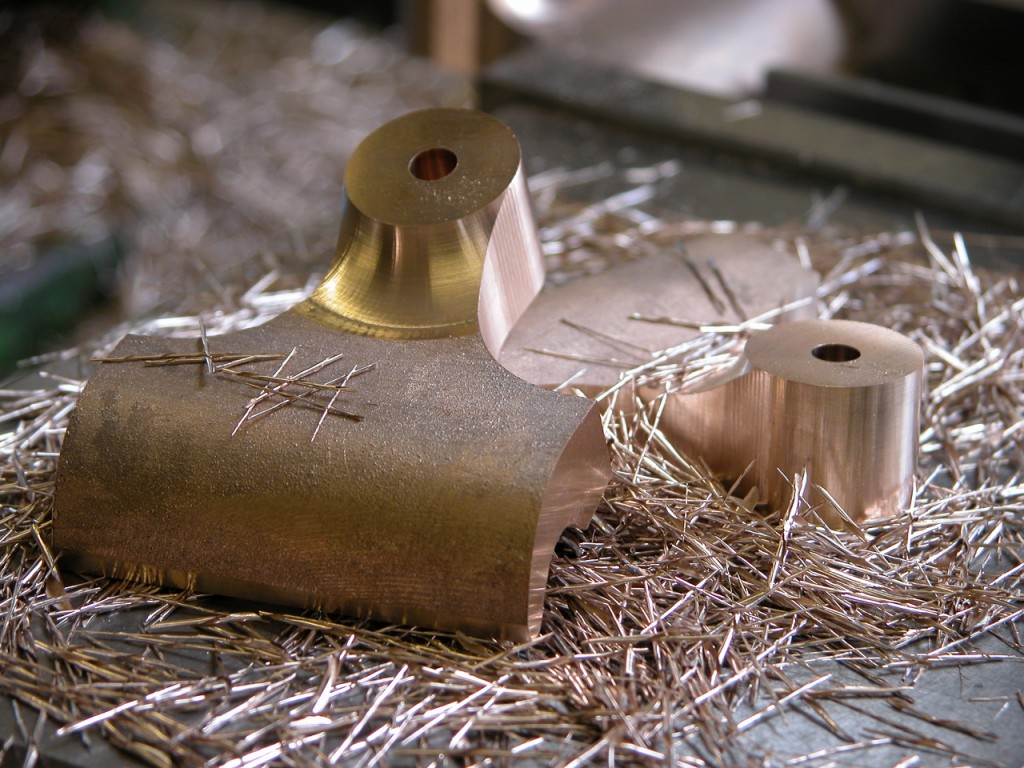
Ready for final shaping and polishing
November 26, 2018
New Workshop blog 1 (post retirement ????)
During the course of finishing off bits and pieces out of the back of the cupboard I decided I would put together some more No 98 planes. I was horrified to find not all the pieces there. However, I had already promised a plane to someone so I need to get on with it.
I am just making components as I need them. I will start with some pictures of the adjuster boss and post as I go. This No 98 plane was the start of my own designs (and the start of bevel up smoothers in general). You will notice from just these few pictures how much work is involved.
An enormous set up for a tiny component
Planing the end off to initiate a 15 deg angle
Milling out the integral rivets at the same 15 deg.
The finished item
You can pick out where this item belongs
Over the years I have and many enquiries for this No 98 plane which I hadn’t been able to fulfill. So those of you who want one this is your only chance to get one. Just making a few. See my website for pricing.
July 6, 2017
Window to my Workshop 115
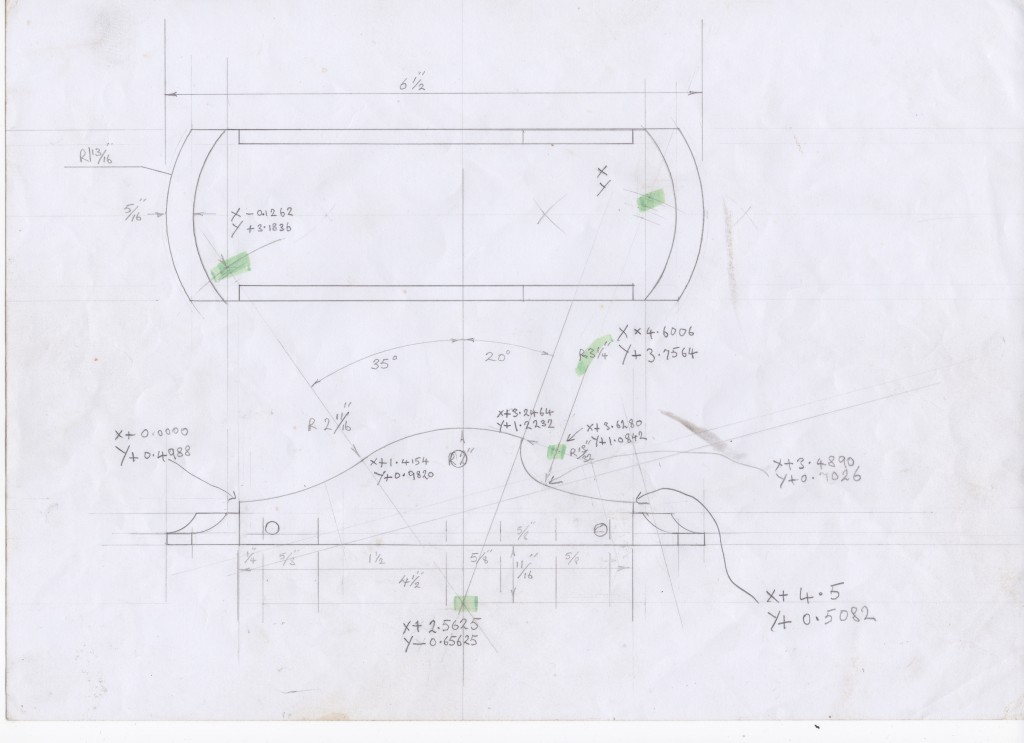
In conversations over the years I have always been praised for my (primitive) drawings as CAD is the way now. (See the dinsaour card on my Facebook page – thank you David) I have never had to time to learn CAD. The hardest thing was to learn an early Heidenhain control unit for my mill. I am just starting a new batch (yes, I know I am supposed to be retiring ![]() ) of these No 983 planes, mainly because I sold the last one which was mine, I am going to use this opportunity to explain some of the workings in more depth. Maybe because I am getting older the work seems to expand but I have never allowed economic restraints to get in the way.
) of these No 983 planes, mainly because I sold the last one which was mine, I am going to use this opportunity to explain some of the workings in more depth. Maybe because I am getting older the work seems to expand but I have never allowed economic restraints to get in the way.
Going back through some of my drawings, which are very untidy, I decided to post some up. Starting with this side layout of the No 983 – warts and all. This is how I work and then I have to convert it into a suitable dialogue for my Heidenhain. Luckily I am the only person who has to understand this.
June 9, 2017
Window to my workshop 113
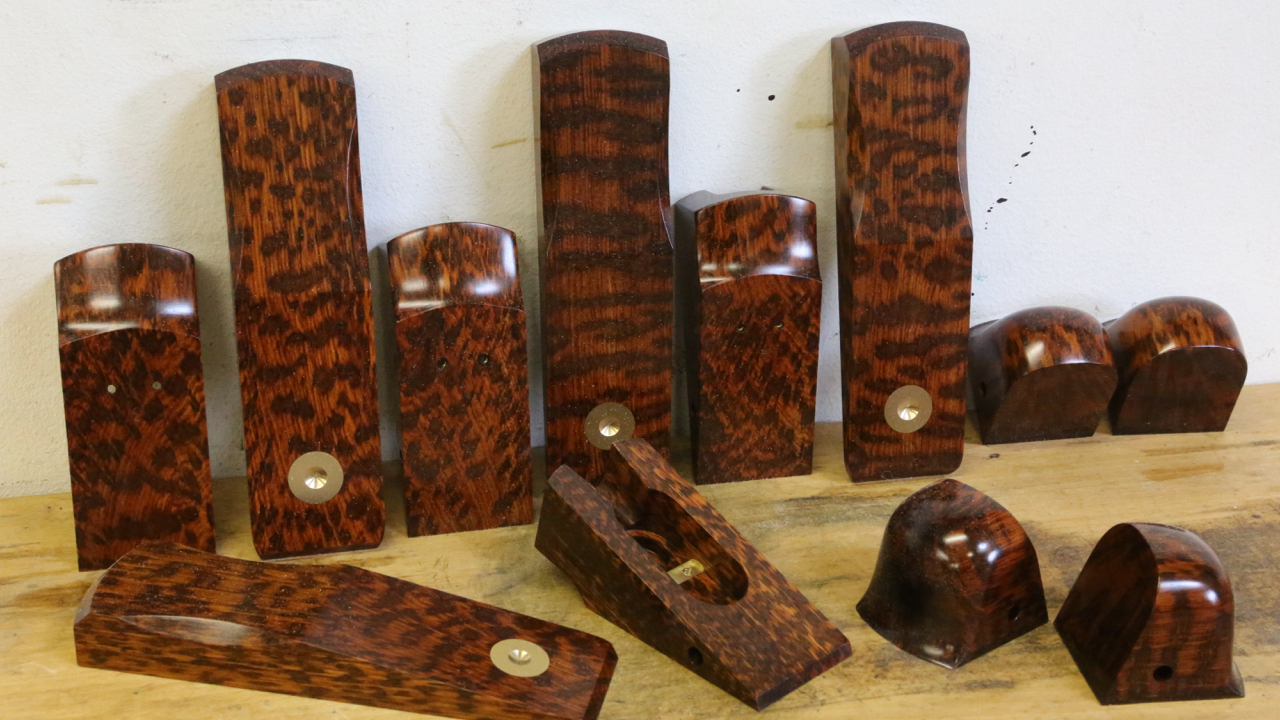
A photo of the infills before they go into their bodies. This Snakewood has had six coats of danish oil. As with previous work using Snakewood it hasn’t cracked whilst building up the danish oil. It does look a bit good.
July 17, 2015
Window to my Workshop 93
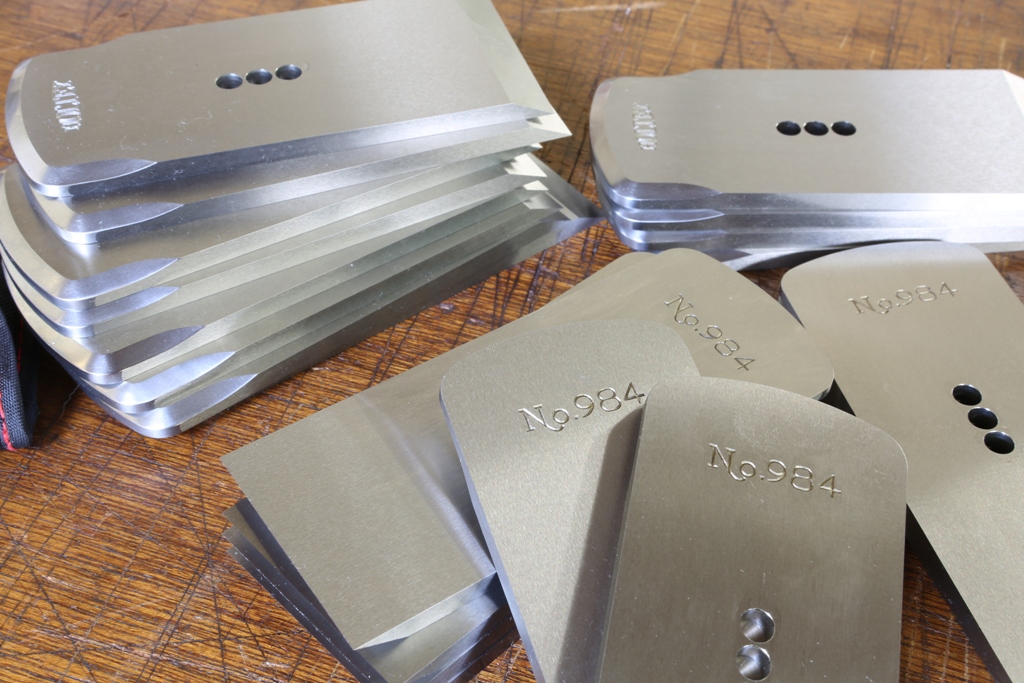
The blades arrived back from heat treatment and after many hours grinding and polishing they are now finished. Just packing them in oiled paper until the planes are ready.
The hardening is the only thing I outsource. Everything else is made inhouse.
