From the Workshop

December 4, 2018

New Workshop Blog 3

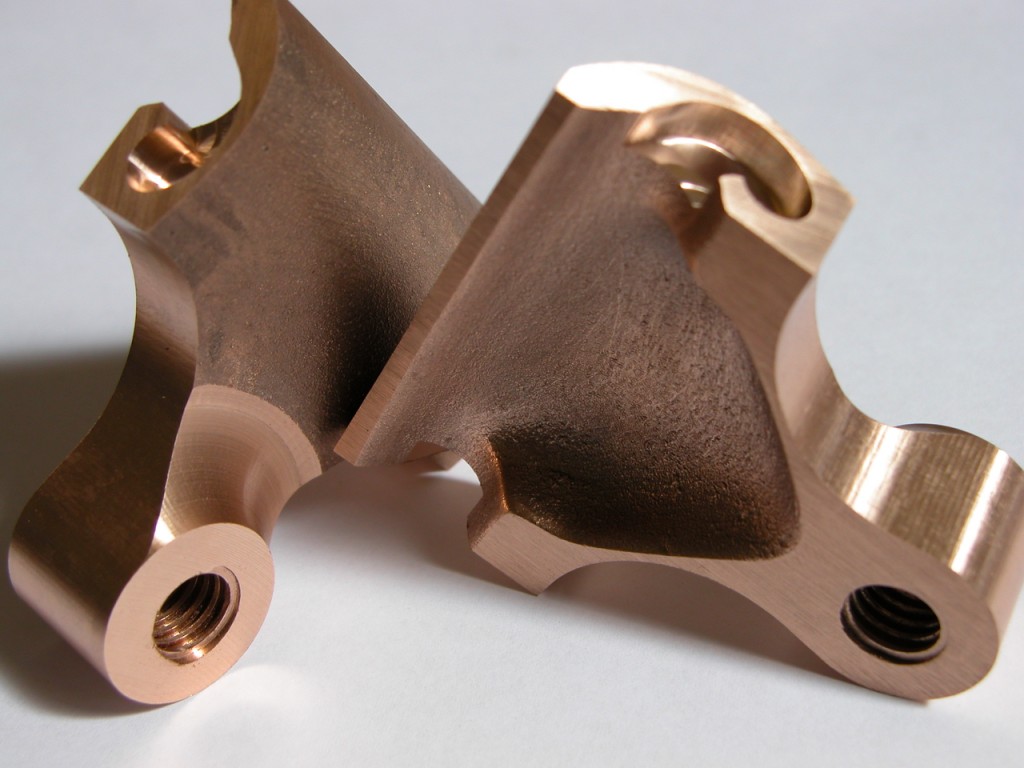
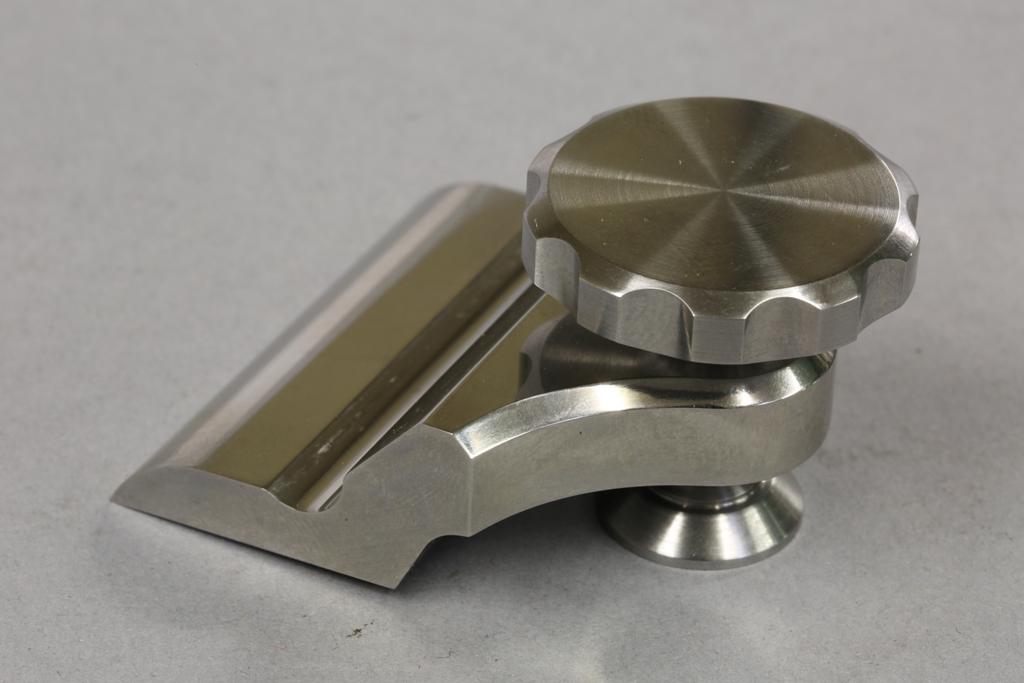
No 98 bronze lever caps

lever caps

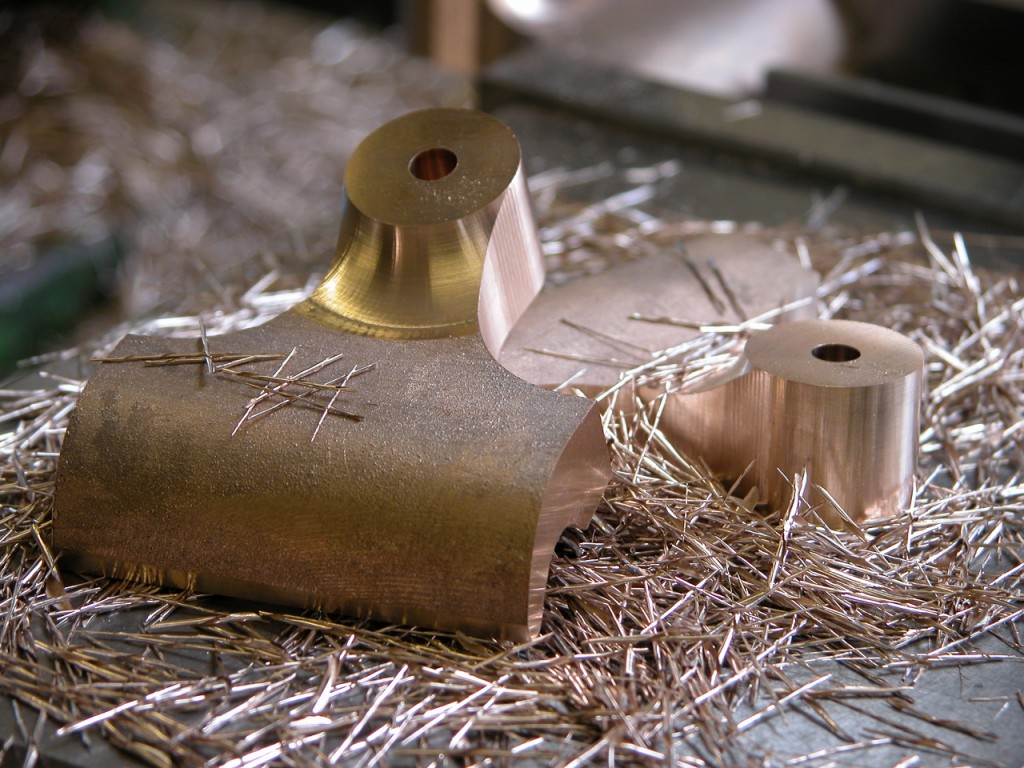
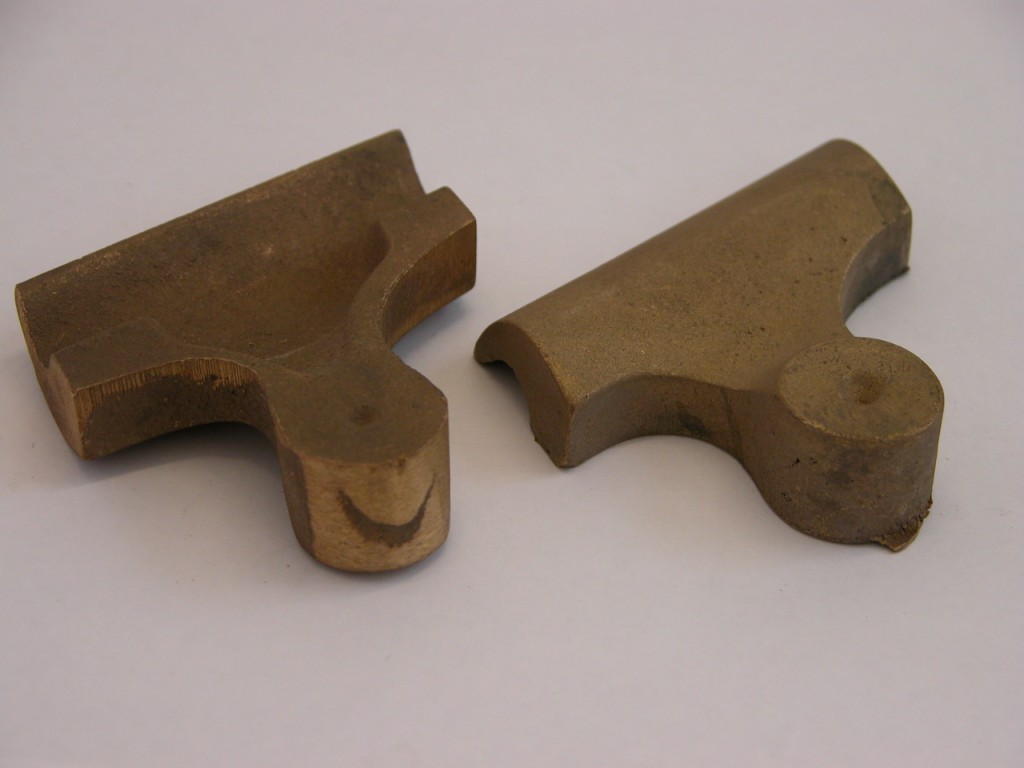
These are the last lever caps of this type. I also used them on my mitre planes. Gone forever as the foundry closed down and my patterns are lost.

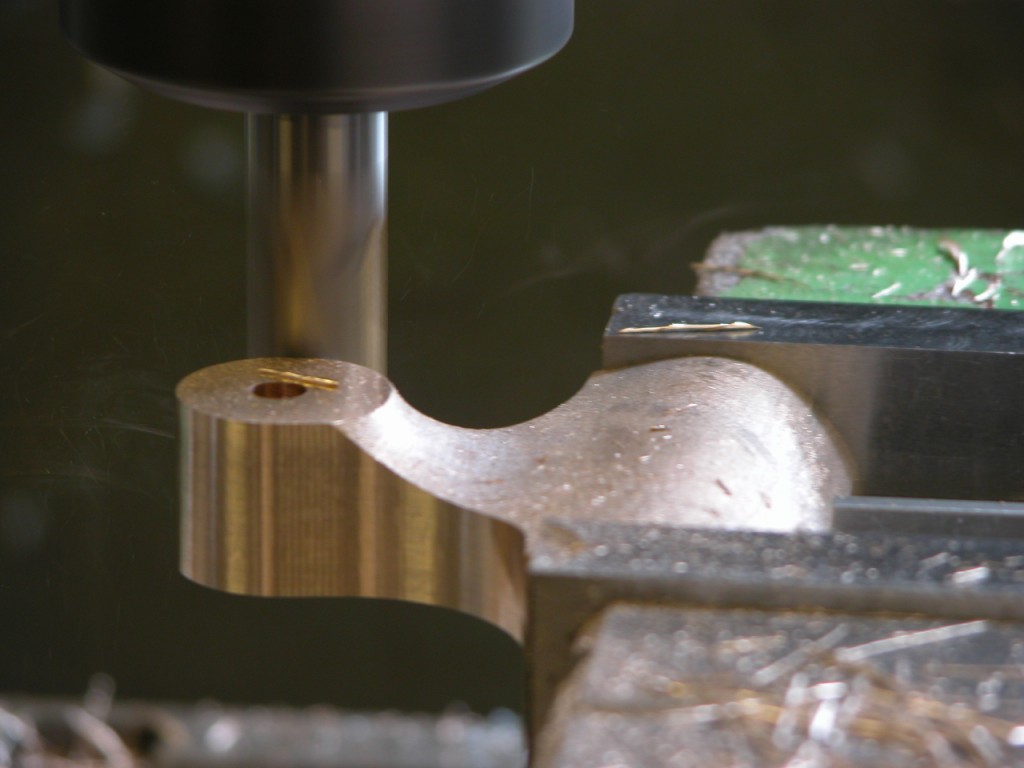
profiling cut on lever cap

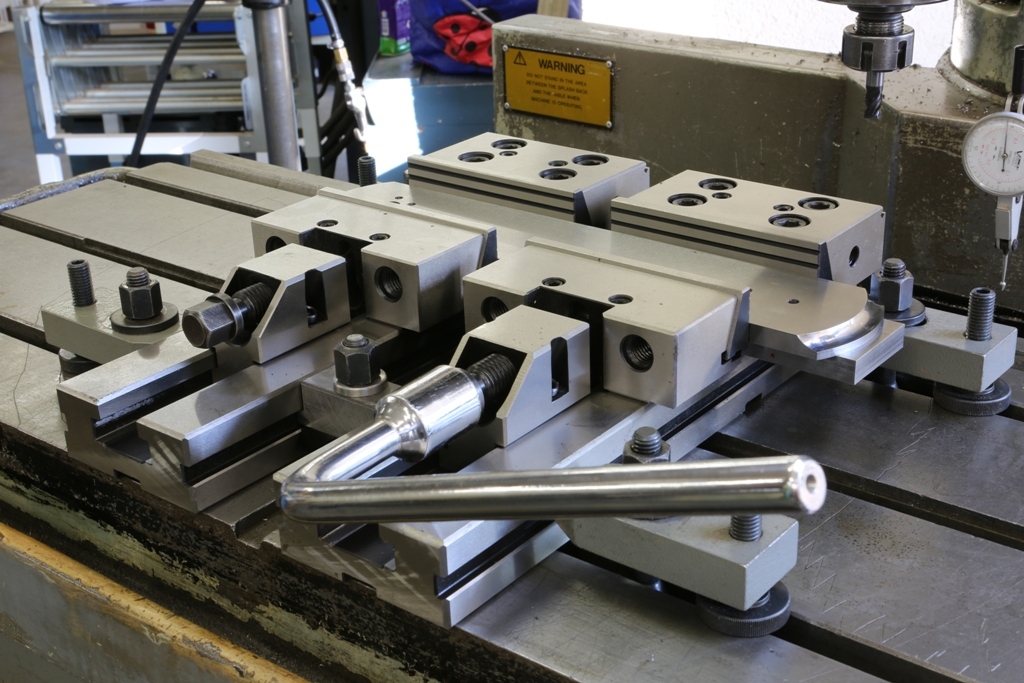
After preparation including flattening, squaring etc, the profile is cut out.

No 98 lever cap part machined

The lever caps after profiling also showing centering hole to be bored to make ready for tapping

No 98 lever cap 7a

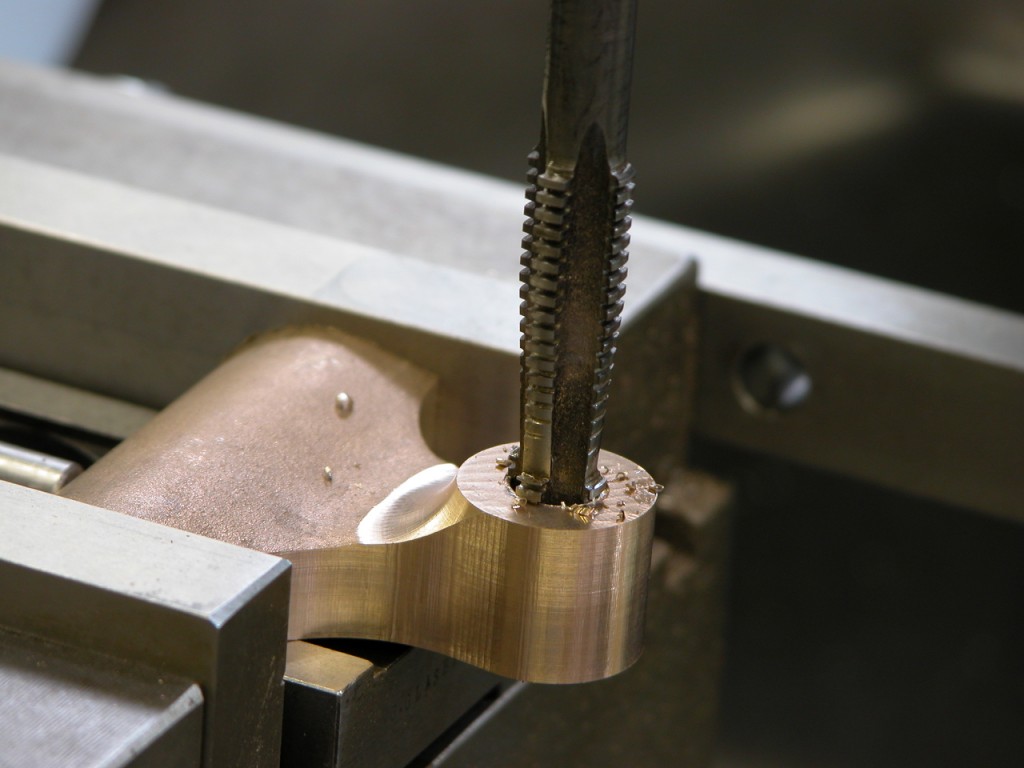
Tapping after the boring

no 98 lever cap 13

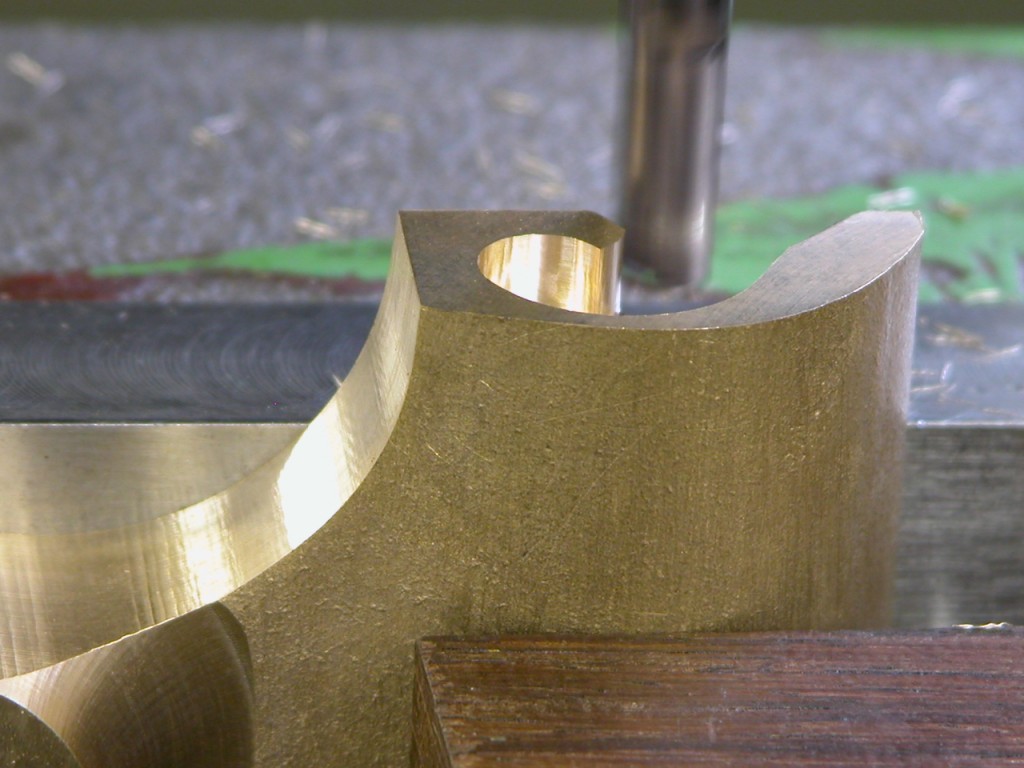
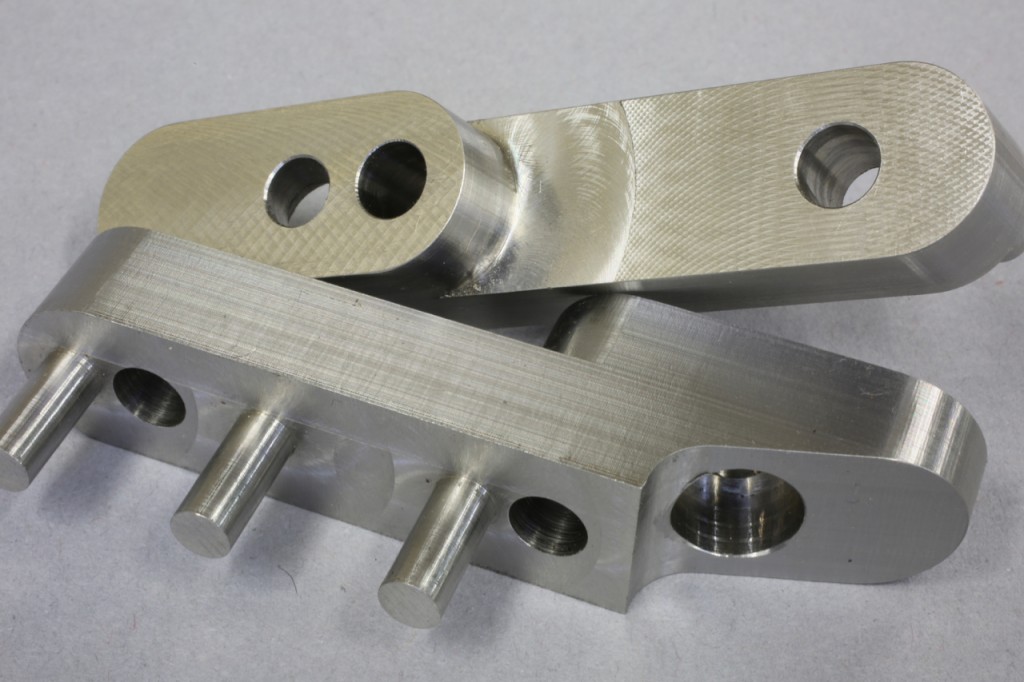
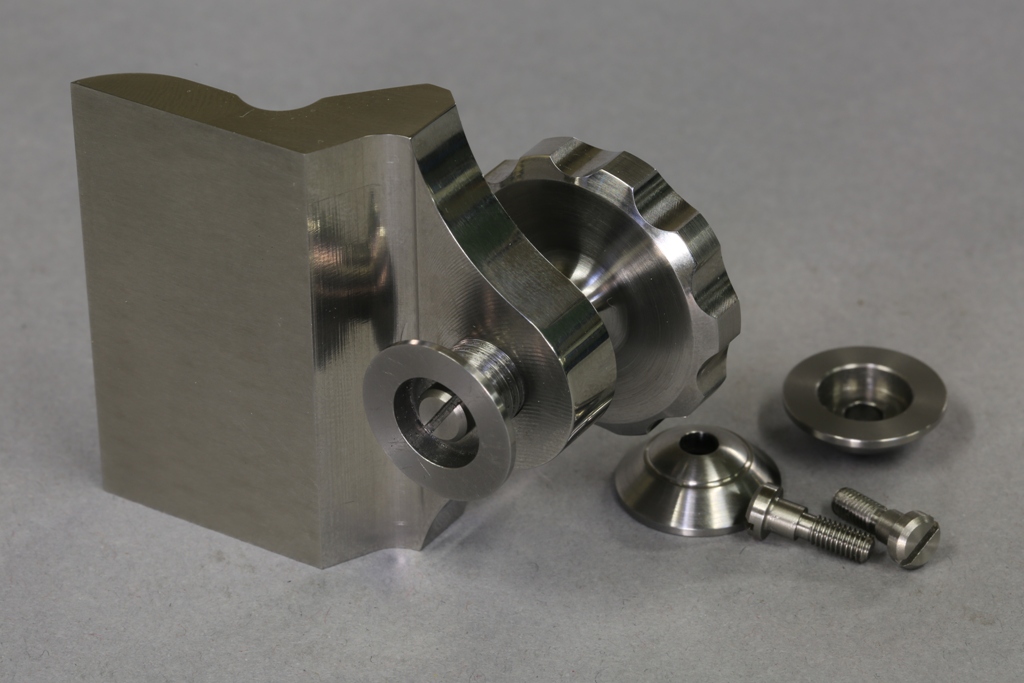
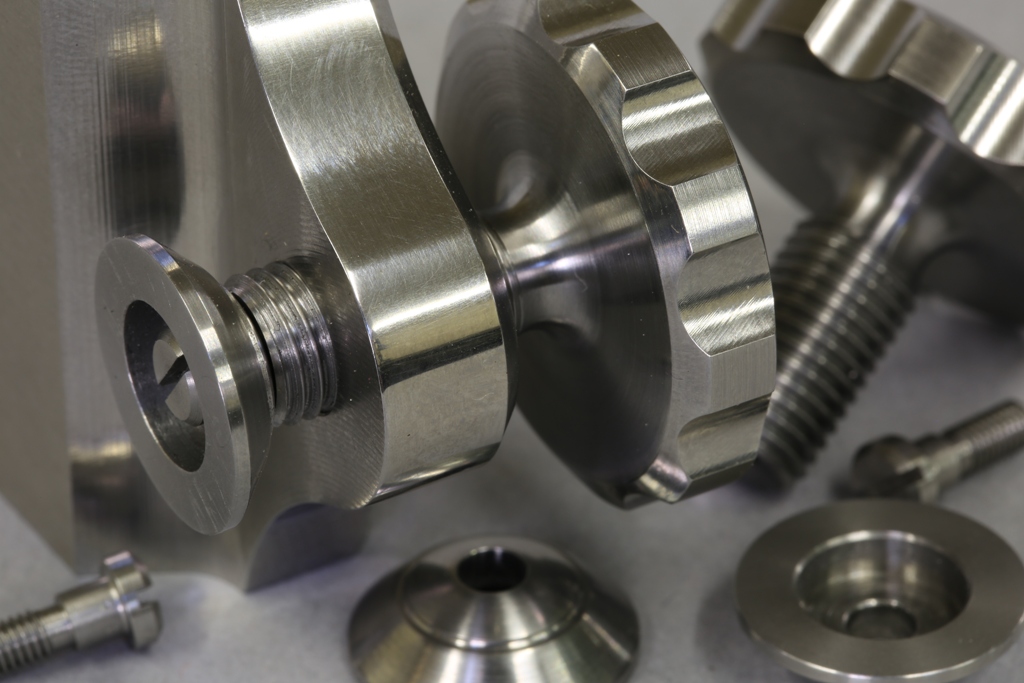
The machining for the keep recesses so the lever cap can be released after 2-3 turns on the thumb screw

DSCN0008

Ready for final shaping and polishing

Discussion

Filed under: Discussion,Window to my workshop — Tags: , , , — admin @ 10:14 am

I am hoping to get some feedback here, so please register if you haven’t already and comments will be appreciated.

Snecked Blades

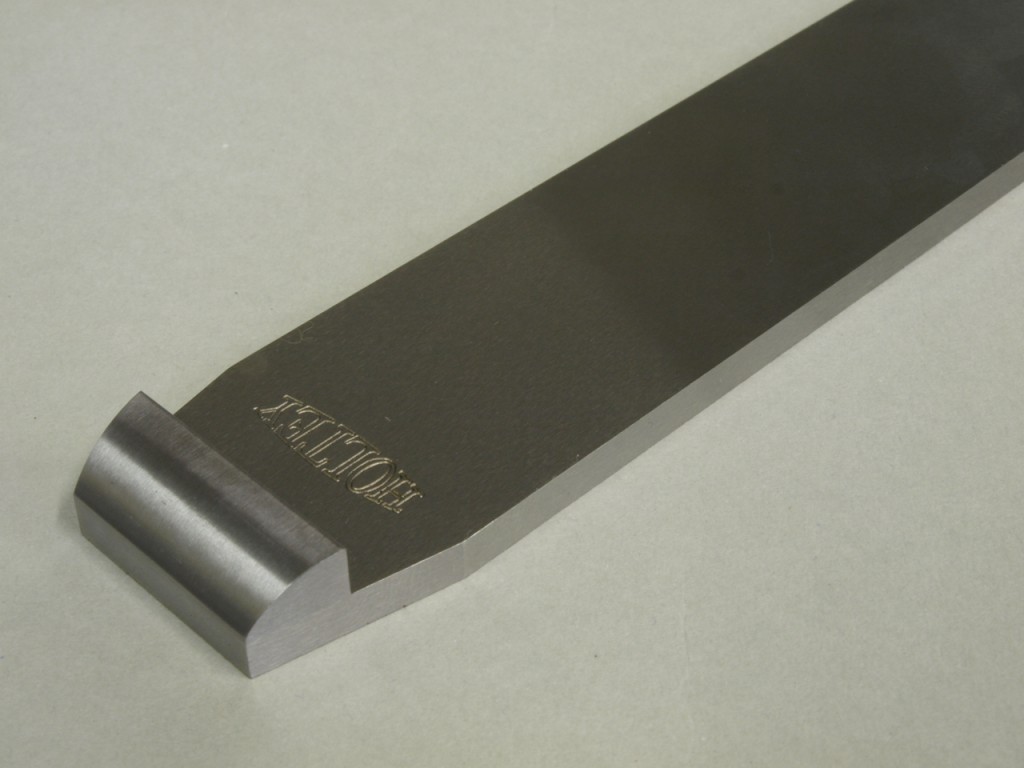
In the course of my research I have found that the only planes that were made with snecked irons were shoulder planes, and the occasional thumb and chariot planes – these were side snecked as in my 11-s smoothing plane here (double sided sneck).
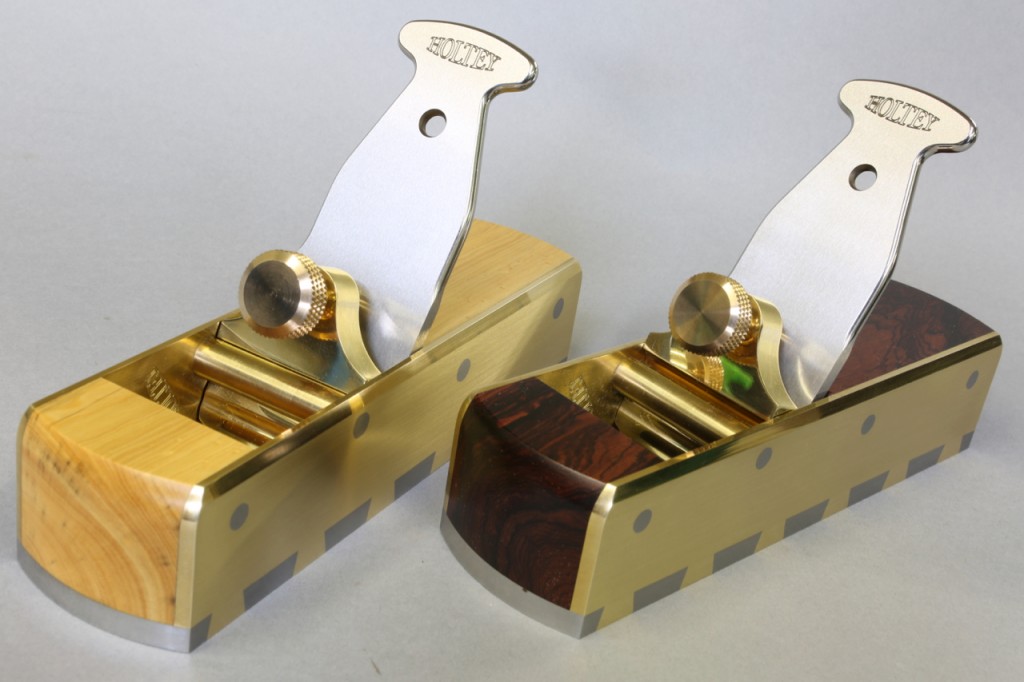
CI3A4971

Mitre planes usually have top snecked irons, as in my No 10 shown here.
OLYMPUS DIGITAL CAMERA

OLYMPUS DIGITAL CAMERA

I can’t understand why smoothers and panel planes etc did not have snecked irons. Of course top snecking would require a longer blade as lever cap or wedge would restrict their use. A side sneck should still work on these planes.

Is it possible that the use of chip breakers had something to do with this?

I am working on a development plane at the moment and planning to make it a non-adjuster plane. I feel that having a snecked iron will make a considerable difference in setting up the blade. I am also wondering if users choose to use a non-adjuster plane because it is better or is it an elitist thing?
November 27, 2018

New Workshop blog 2 (post retirement)

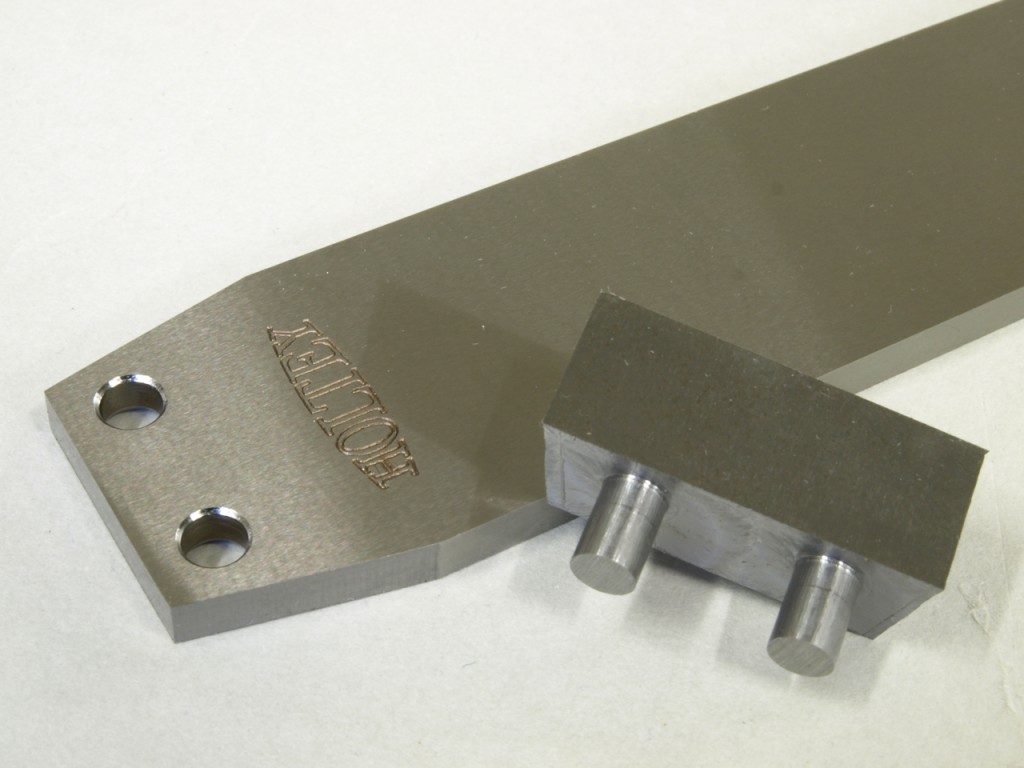
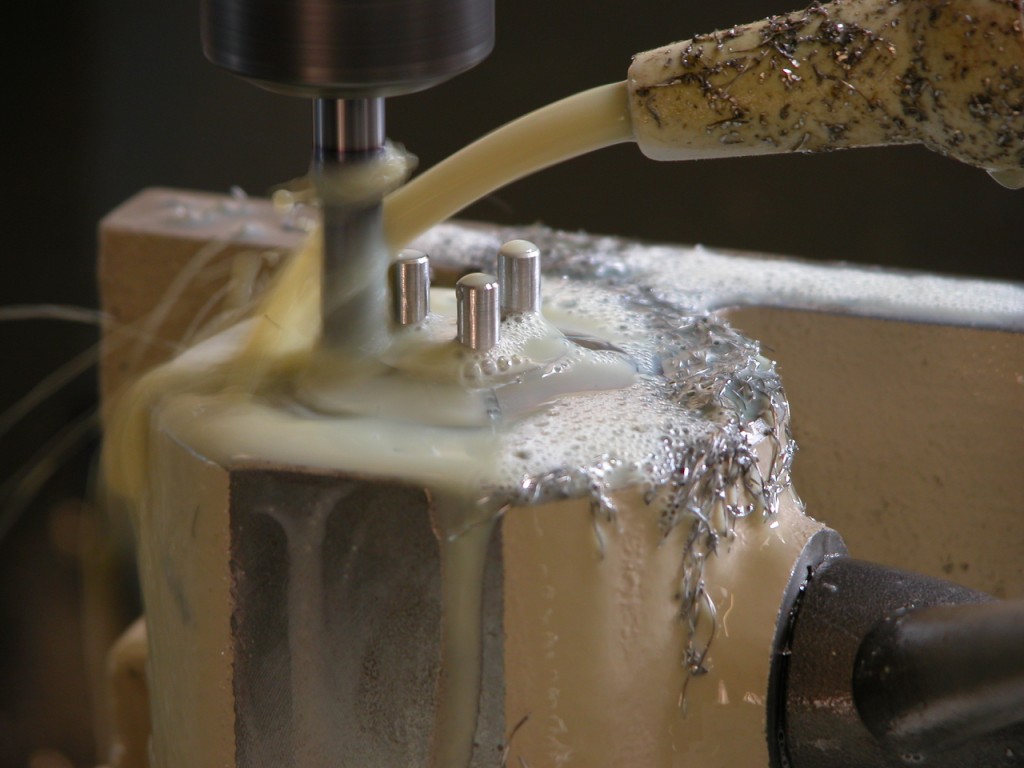
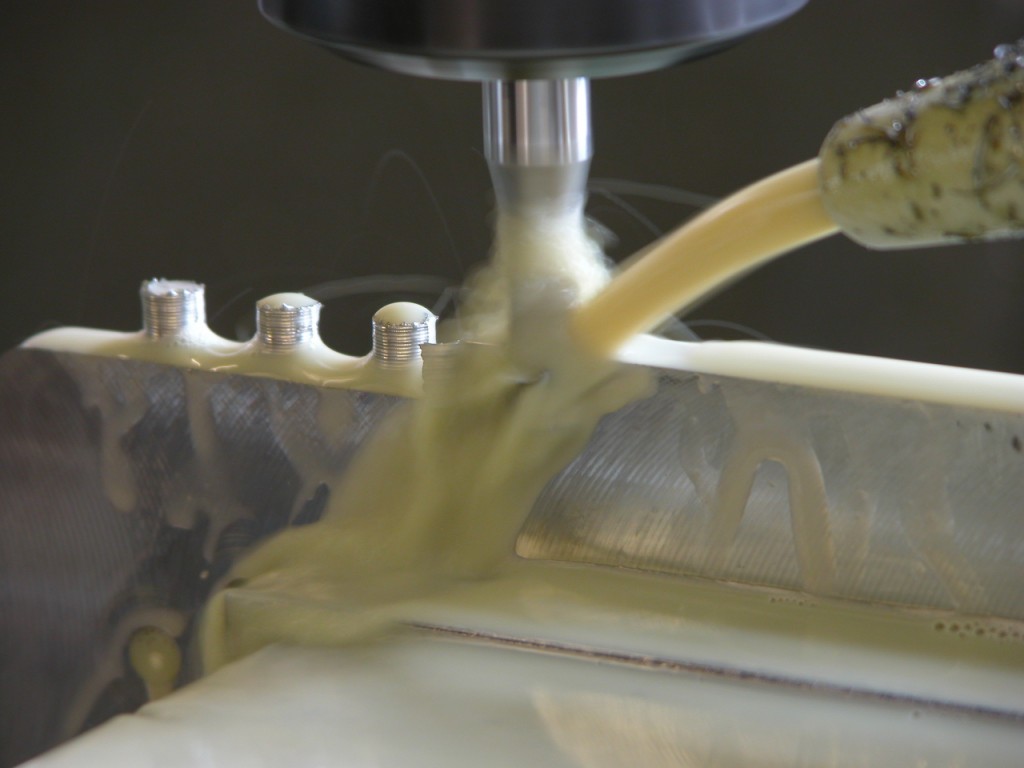
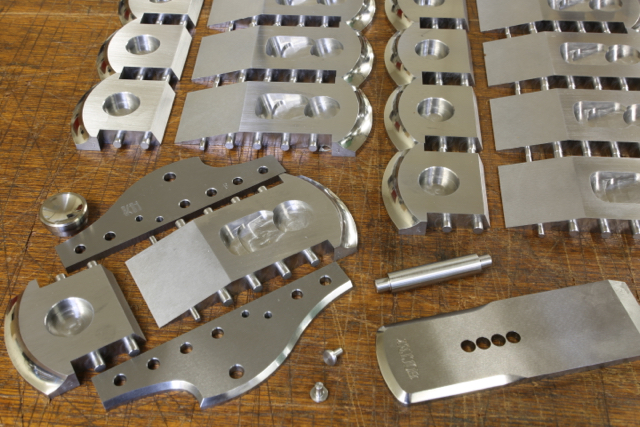
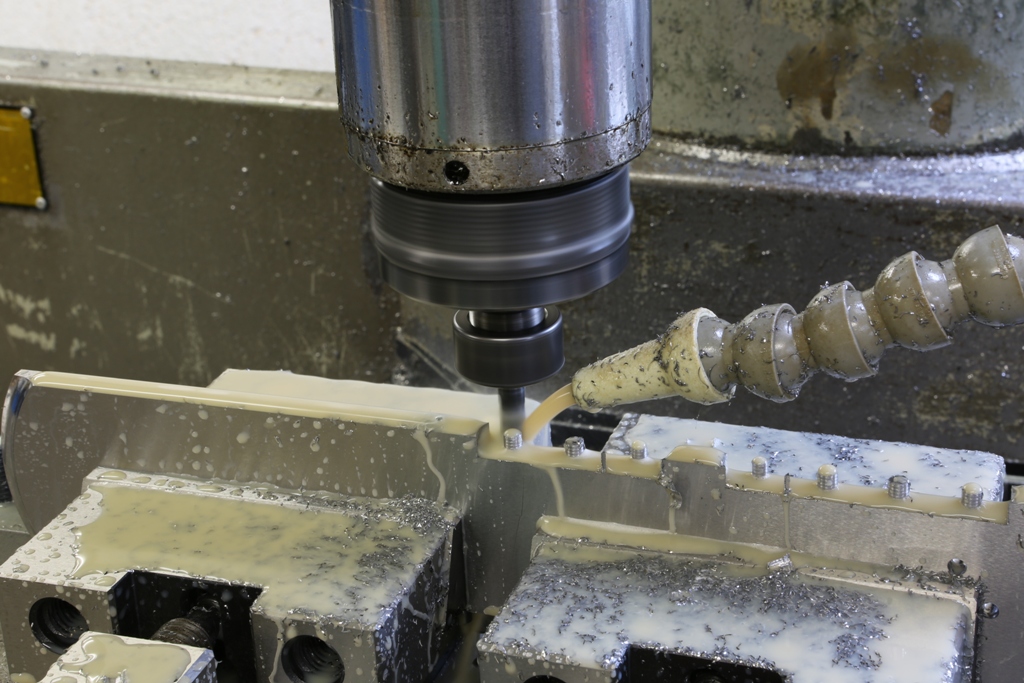
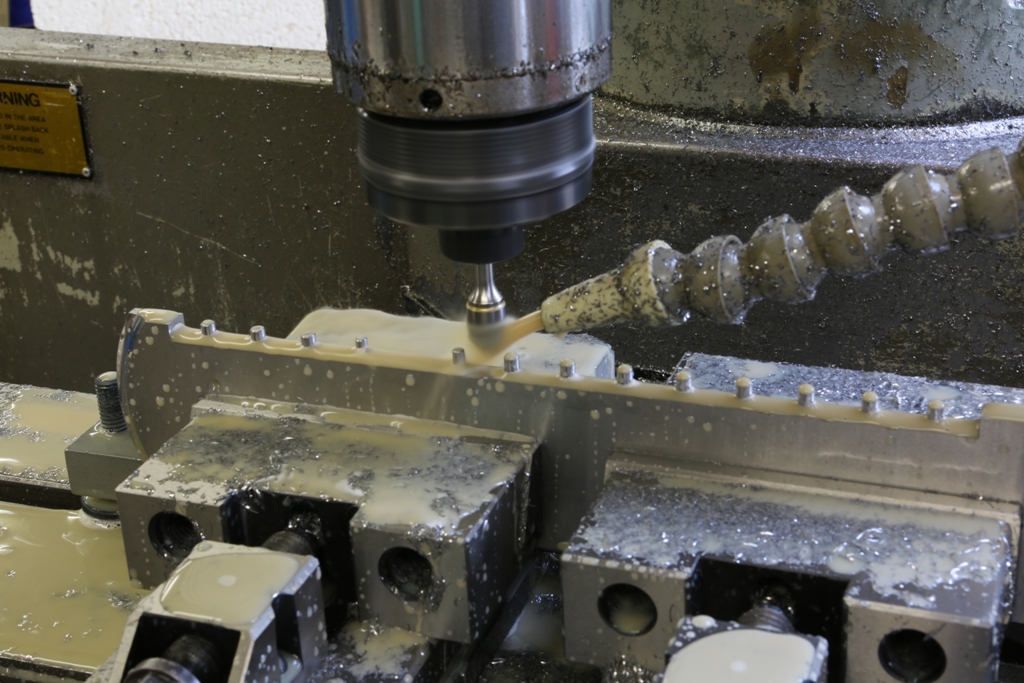
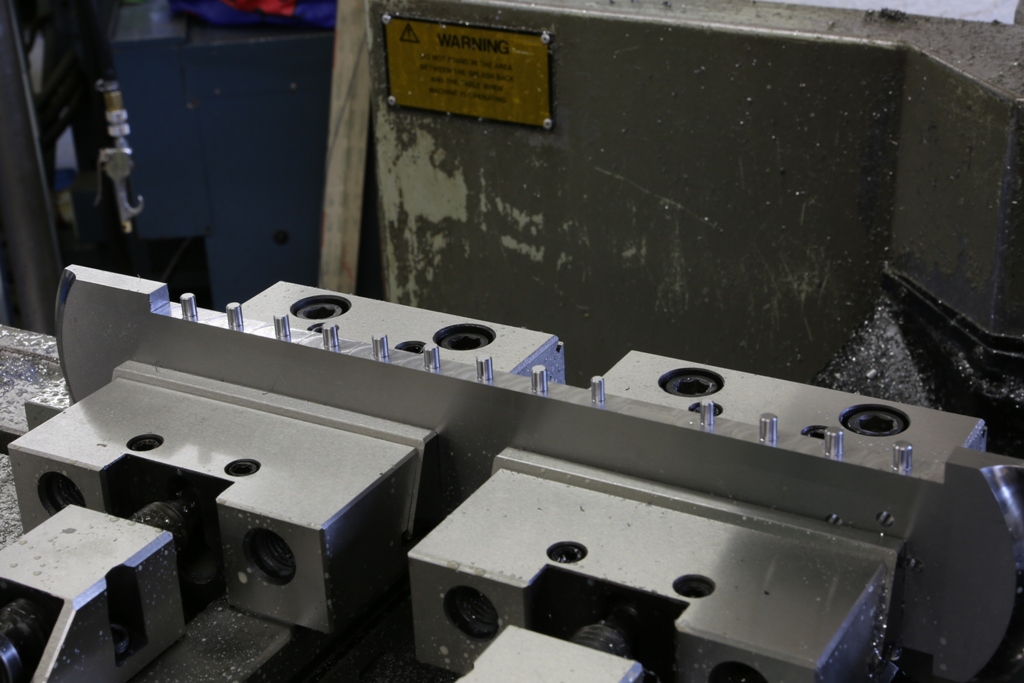
Some more components for the No 98 plane. Showing the integral rivets being cut in situ

finishing cut on bun boss

DSCN0014

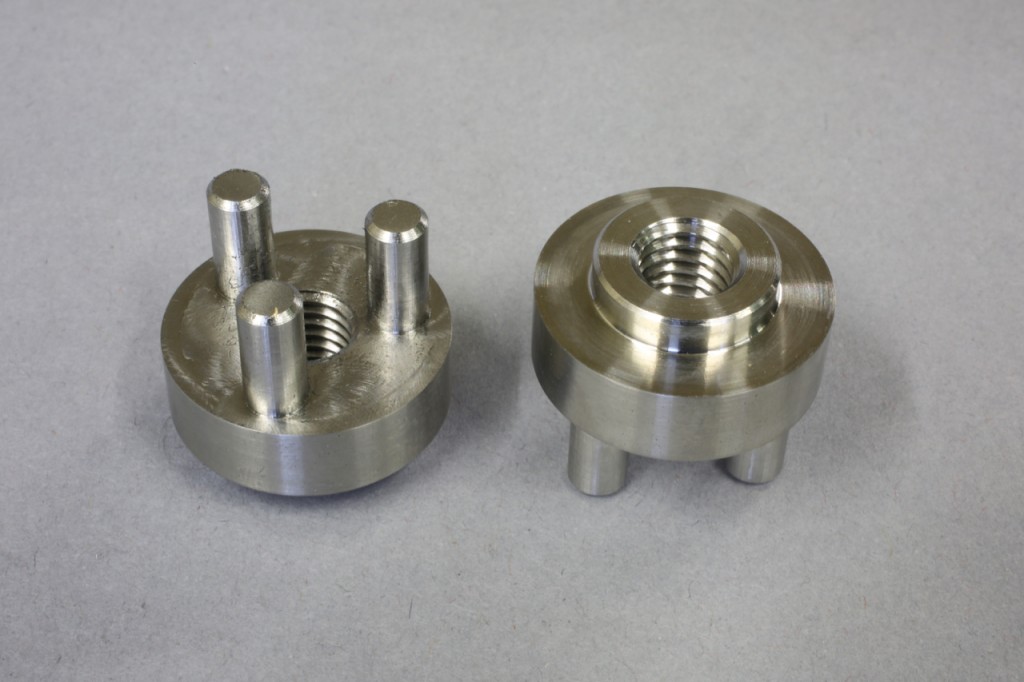
Finished items are the front and rear handle bosses. All in stainless steel as usual.

CI3A4920

CI3A4918

October 10, 2017

Window to my Workshop 116

Filed under: No 983 block plane,Window to my workshop — Tags: , , — admin @ 3:06 pm

All the chassis work done on my No 983. A lot of f…… work done

No 983 chassis

No 983 sample

June 28, 2017

Photos of A31 Thumb plane

Filed under: A31 Thumb plane — Tags: , , — admin @ 4:17 pm

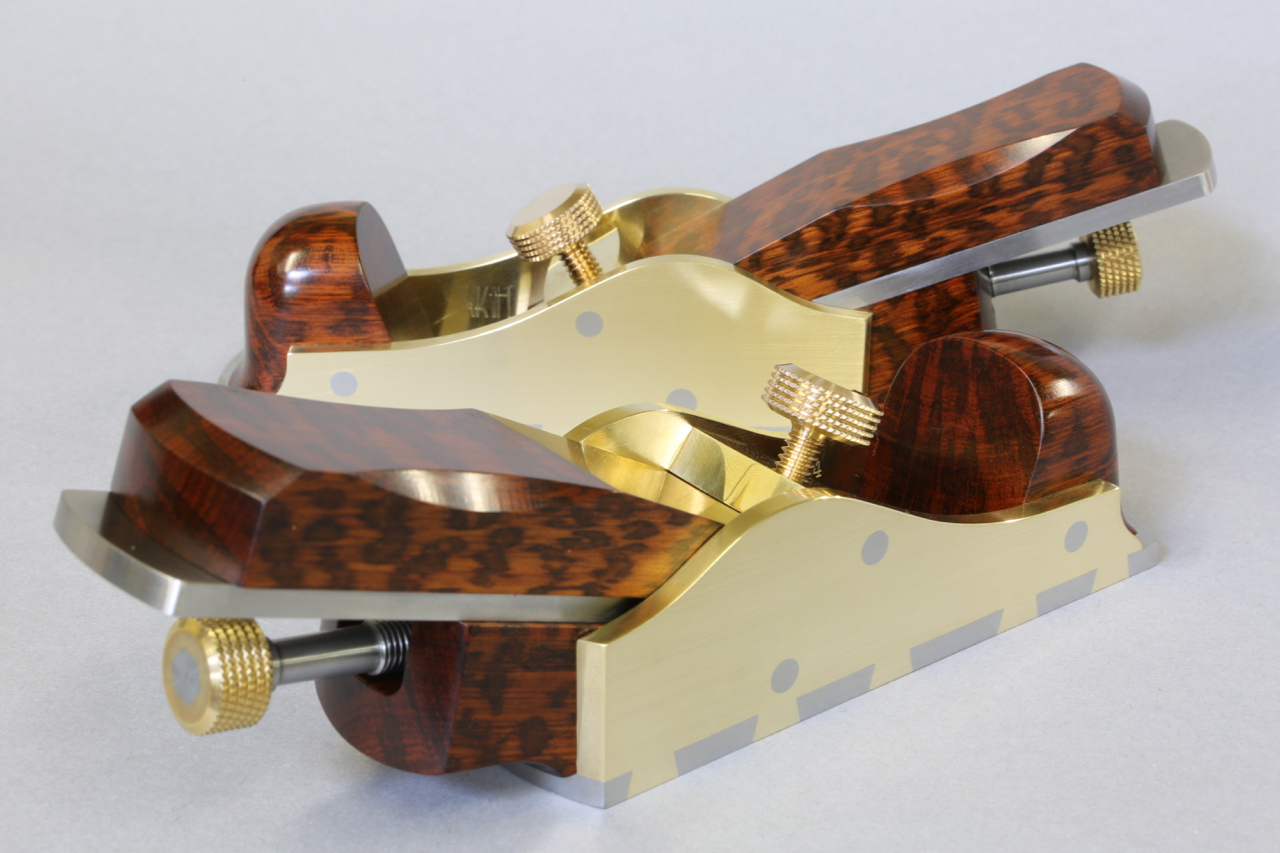
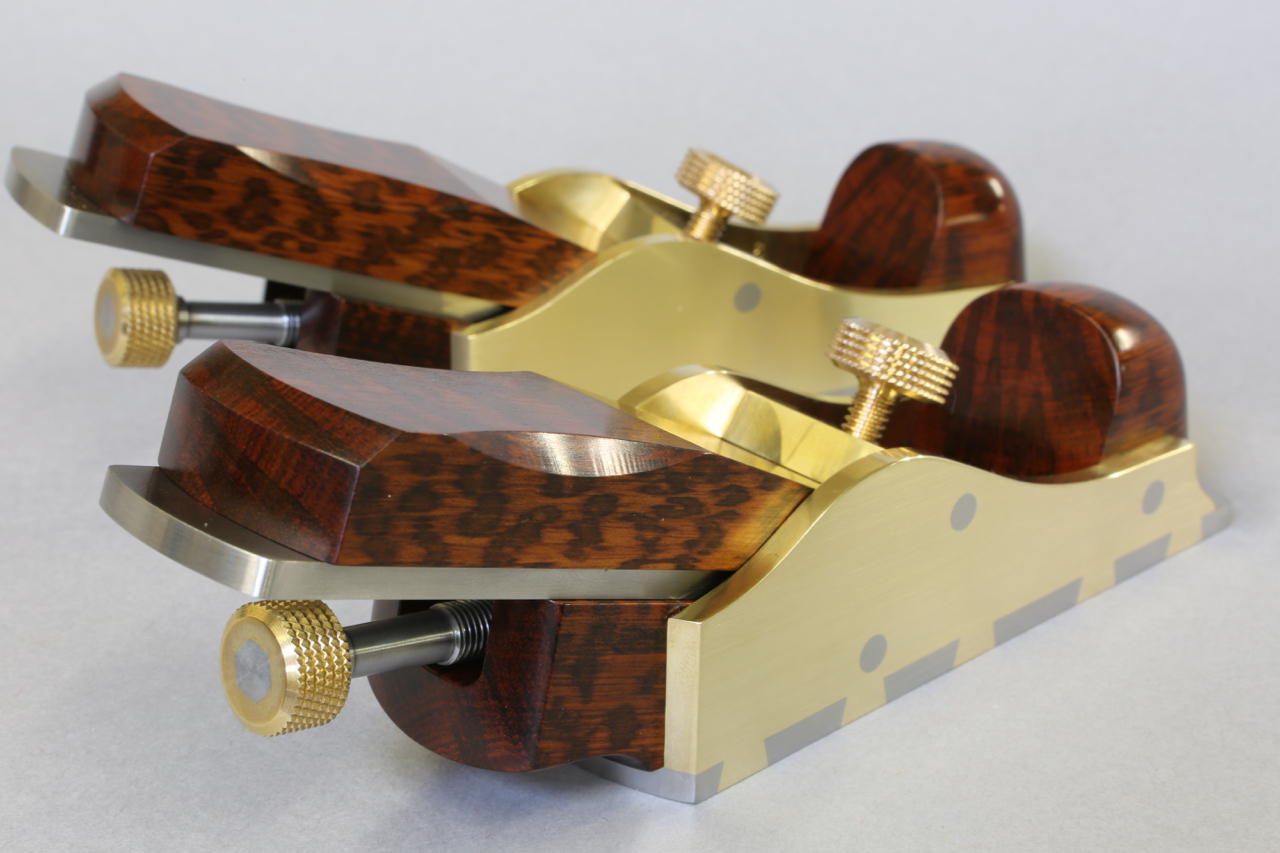
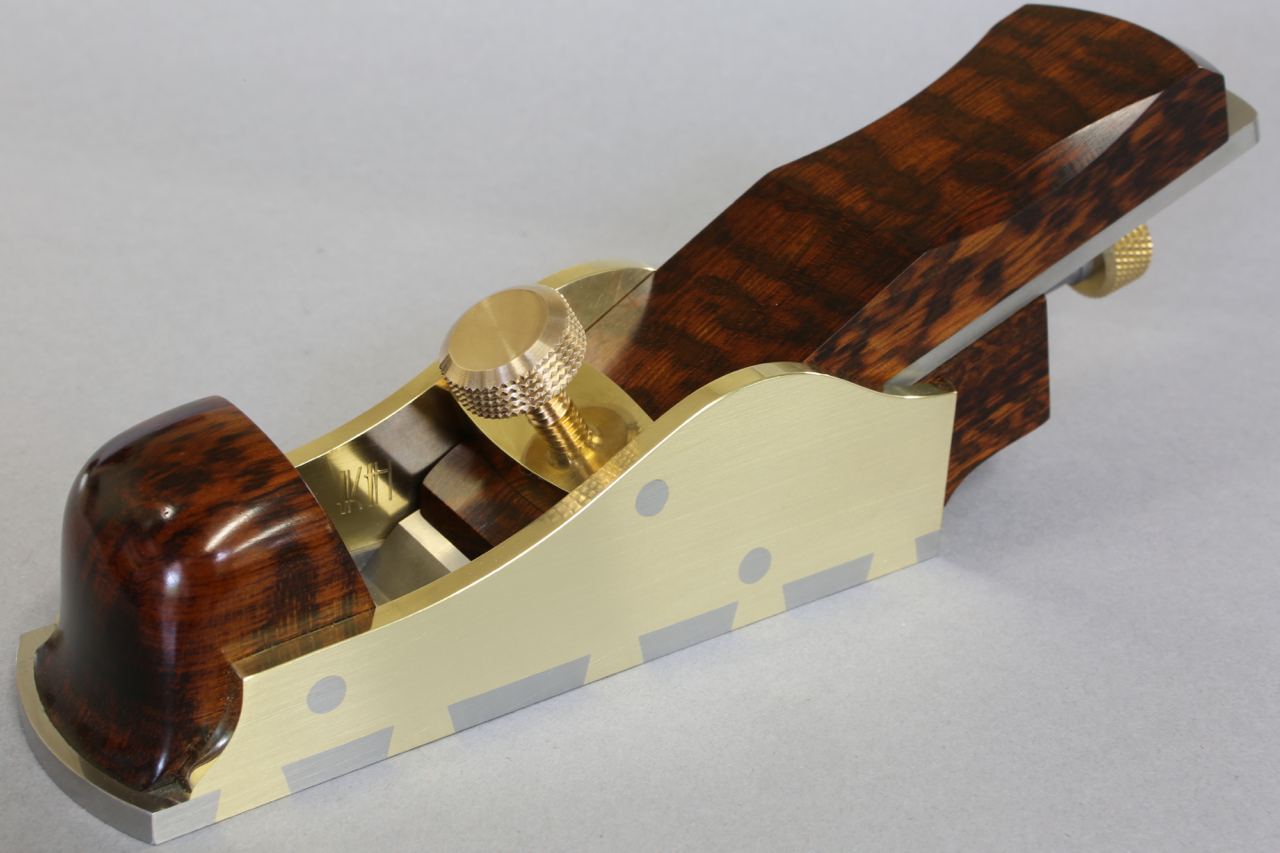
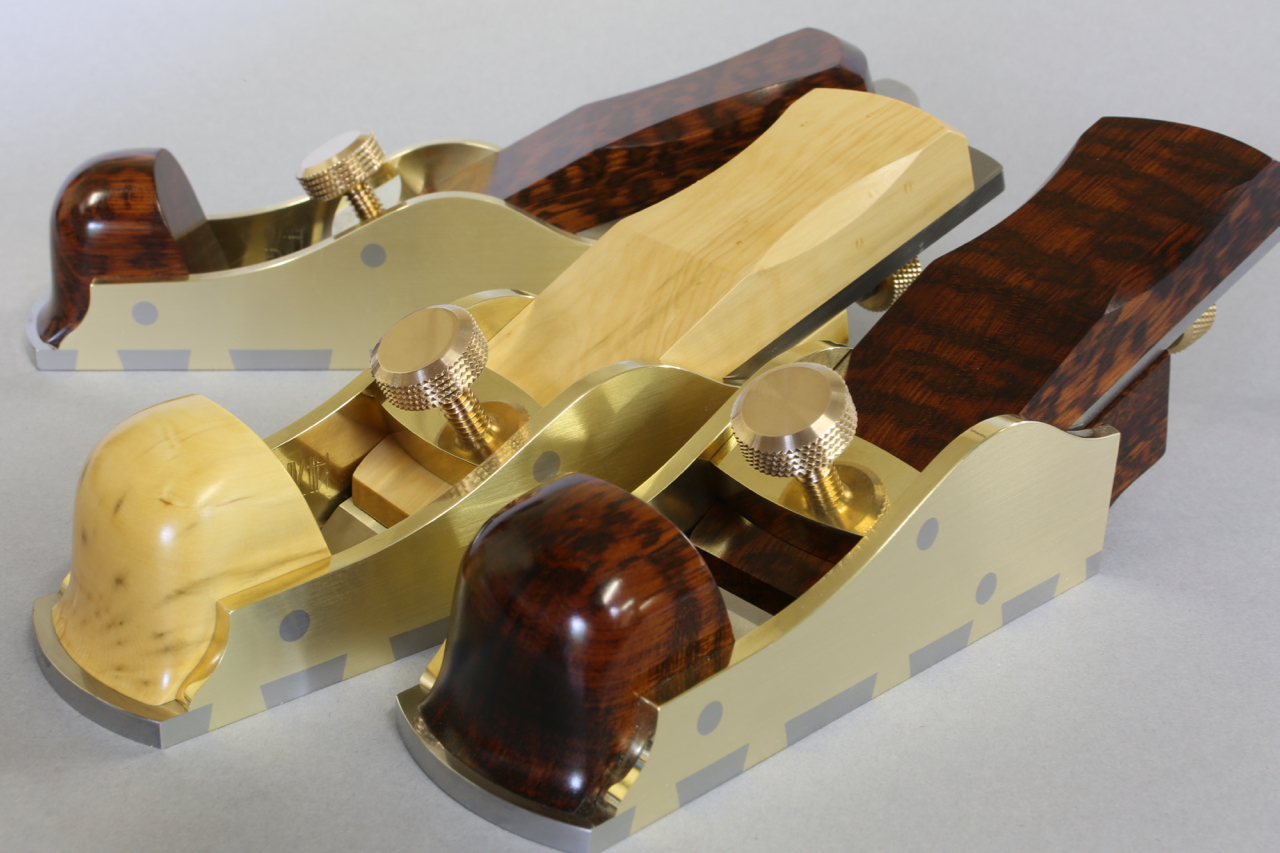
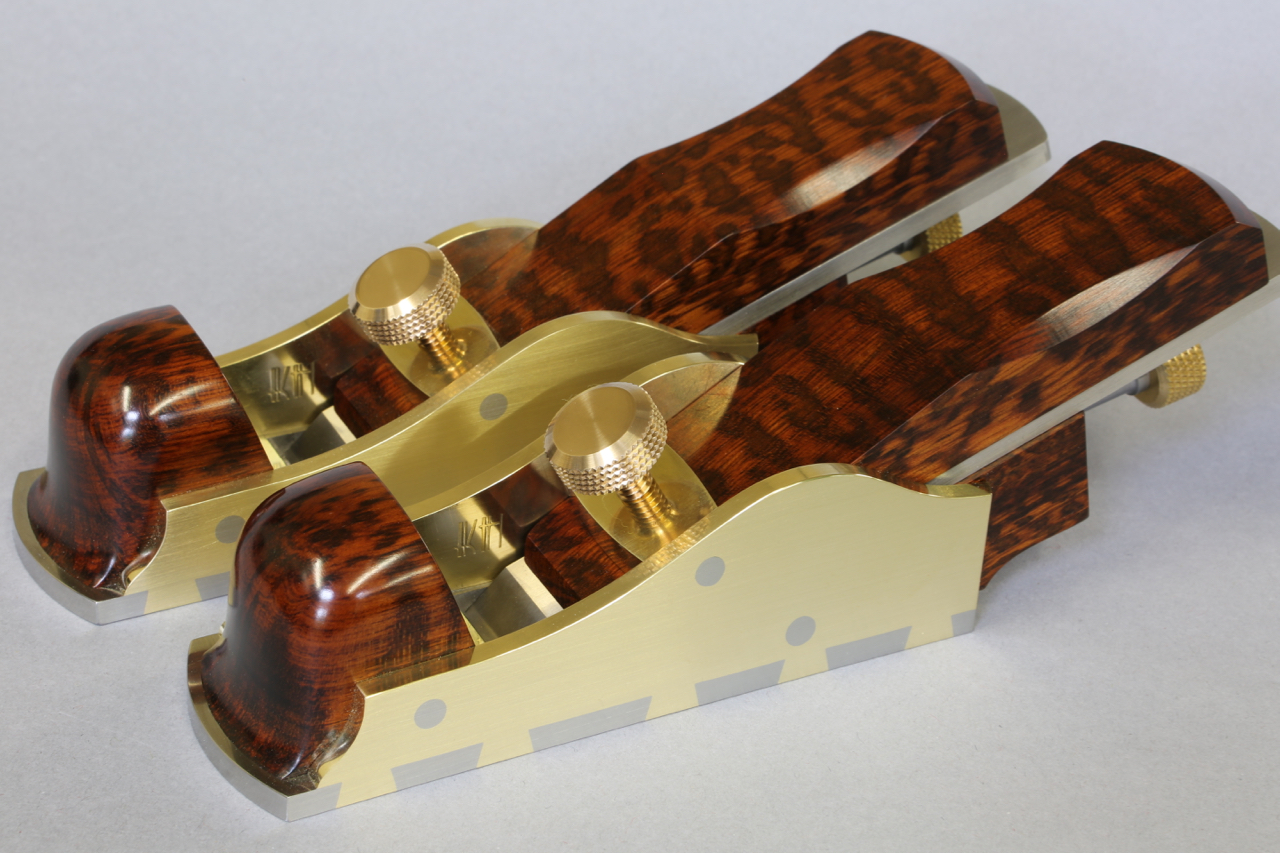
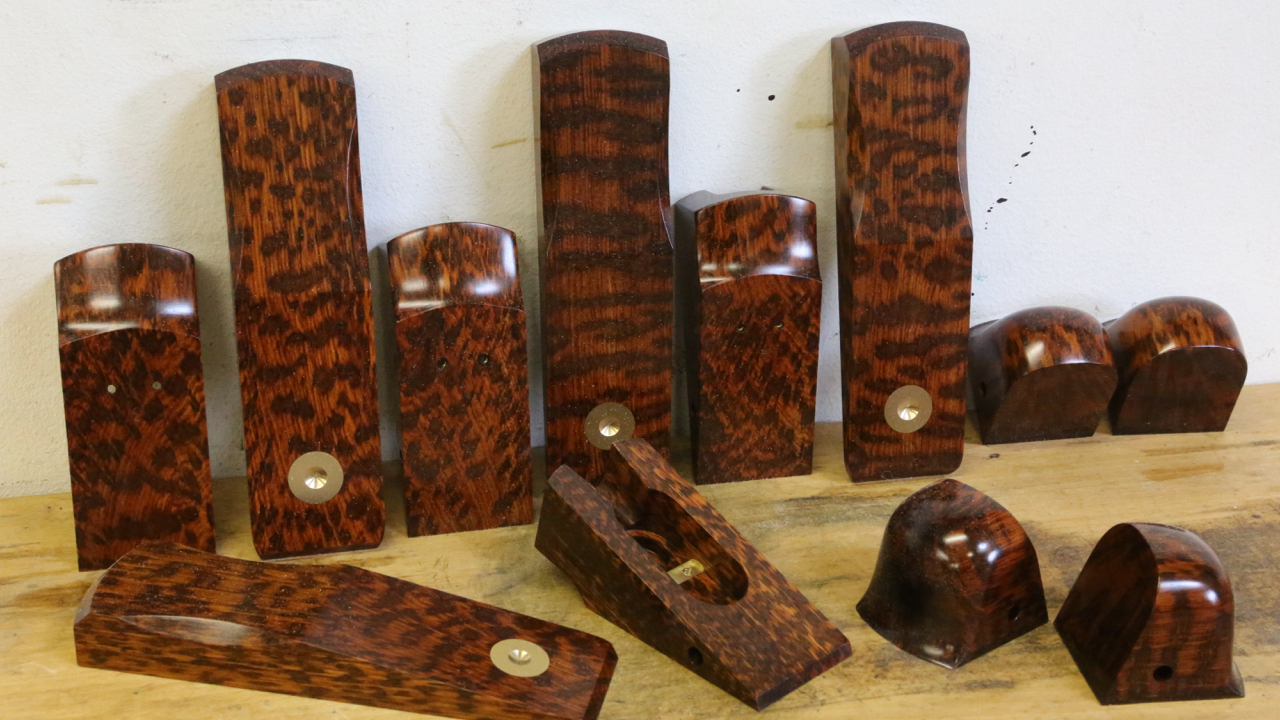
The A31 Thumb planes are now finished. The snakewood has come out really well

CI3A3724

CI3A3729

CI3A3736

CI3A3746

CI3A3718

June 9, 2017

Window to my workshop 113

A photo of the infills before they go into their bodies. This Snakewood has had six coats of danish oil. As with previous work using Snakewood it hasn’t cracked whilst building up the danish oil. It does look a bit good.

CI3A3622

May 19, 2017

Window to my workshop 112

Filed under: A31 Thumb plane,Window to my workshop — Tags: , — admin @ 12:22 pm

I have seen my work described in forums as analytical and lacking the warmth of a more rustic finish. However, my personal taste is perfection.

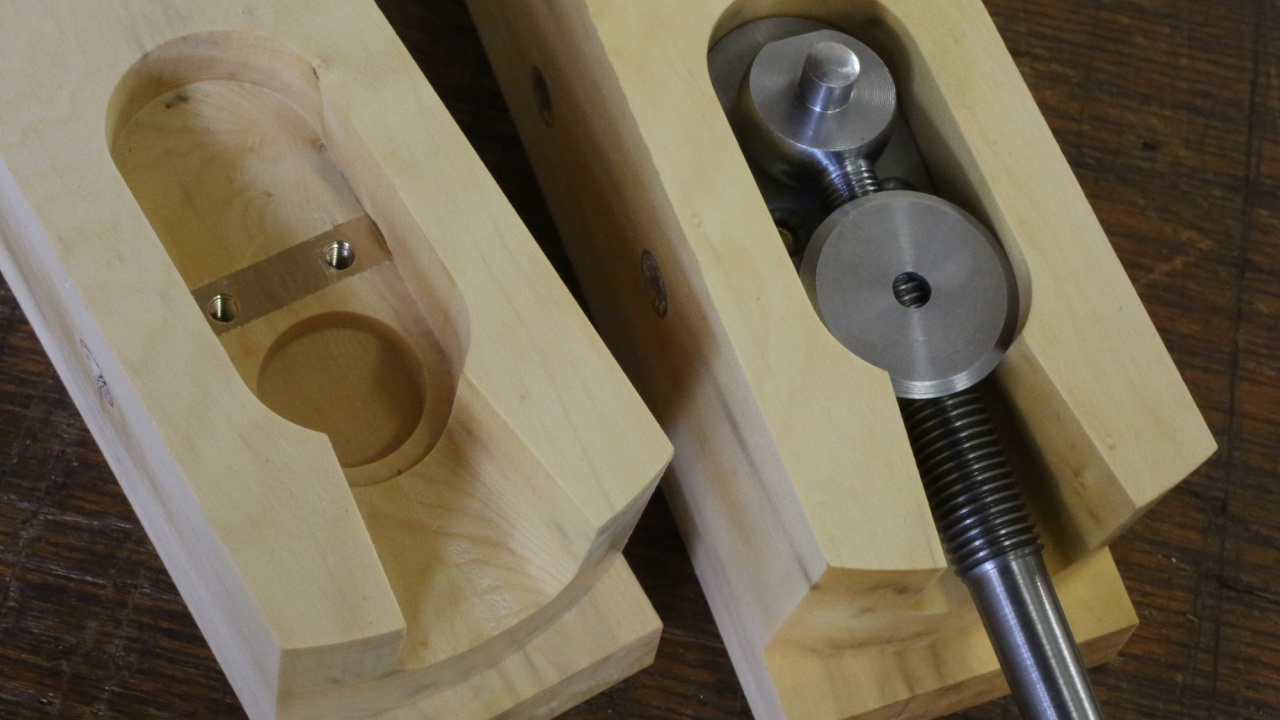
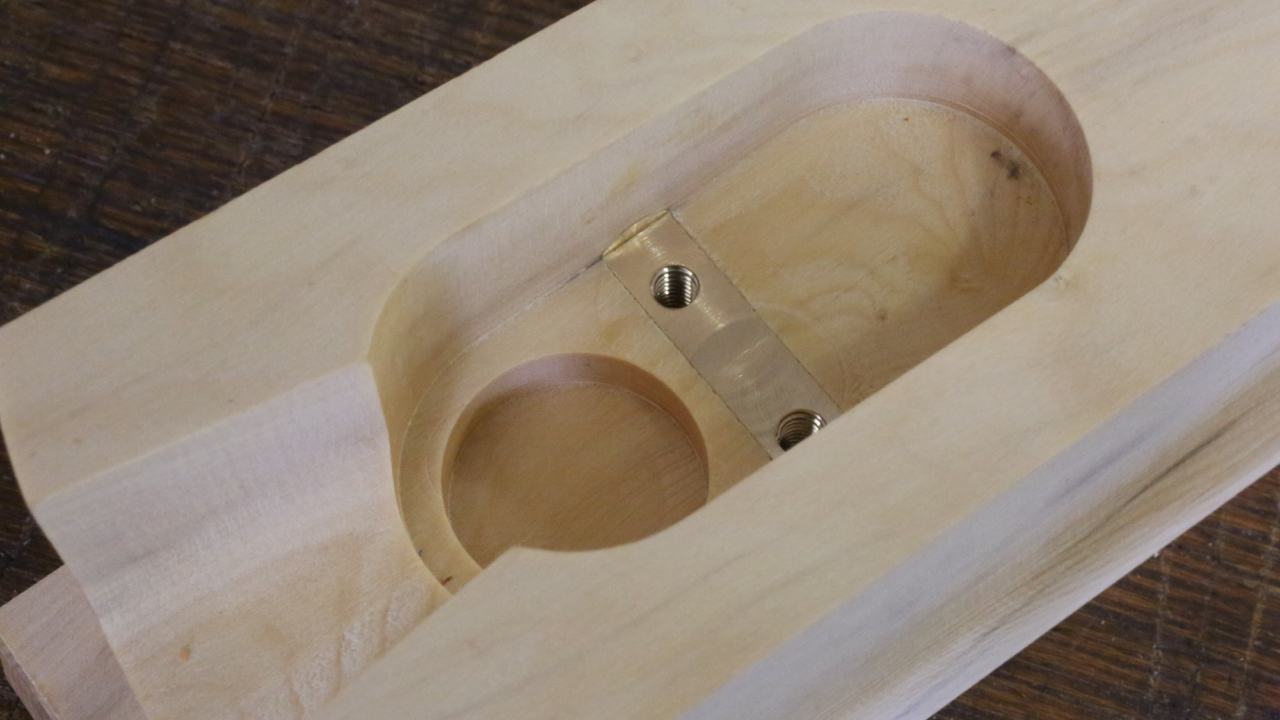
To achieve this perfection on the adjusters for my planes, work is intensive and the inletting for them is also time consuming. The system I use is on the CNC milling machine as the quality of work is essential. It is important to have an uninterrupted feed rate using state of the art tungsten carbide tools. This I think is more desirable than a hole that looks like it has been gnawed by a rodent :-)

CI3A3599

CI3A3590

June 8, 2016

Window to my Workshop 105

Filed under: No 984,Window to my workshop — Tags: , — admin @ 10:14 am

With all my component parts finished I was just left with some wooden handles which should have been finished off earlier as they need to be oiled and cured.

It seems an opportunity to show that there is a lot of hand work in my planes.

Now there is the fitting, milling, grinding and final tweaking. So Claire had better get those baize bags done.
 
Holtey No 984 handle a
 
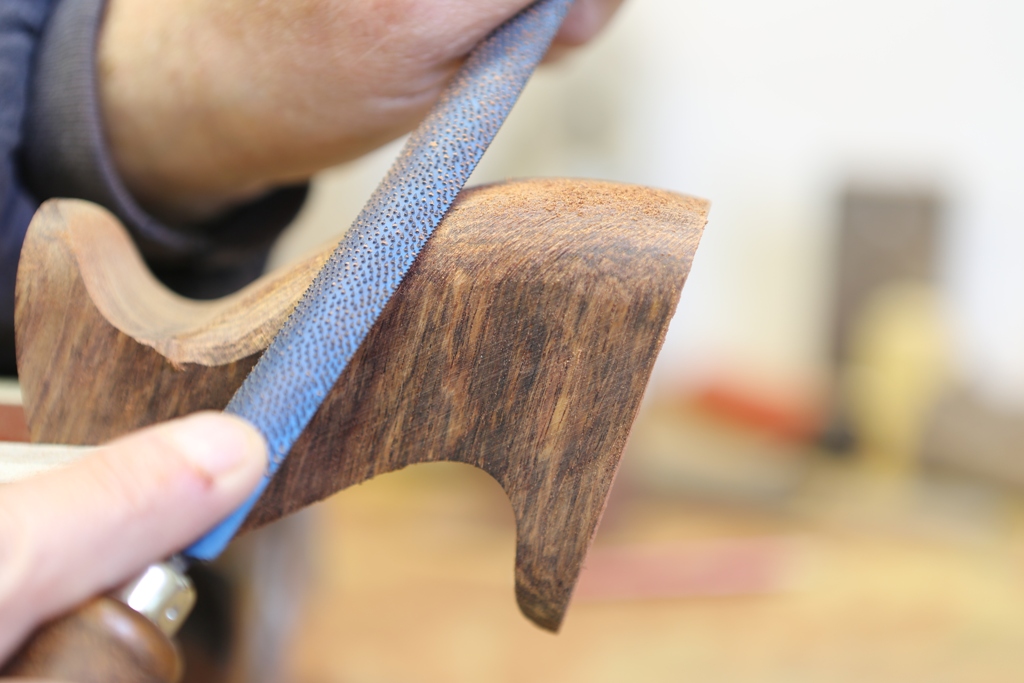
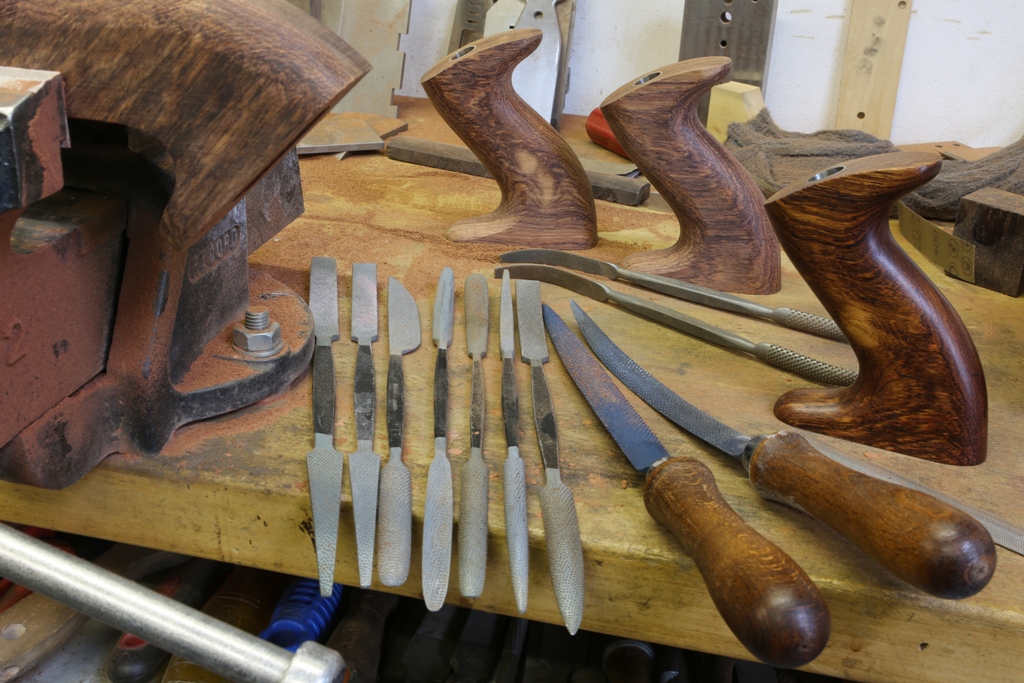
Thought I would mention that the riffler I am using here is one of Noel Liogier’s. It is probably about the only one I have come across that can handle these exotic hard woods without getting tired. In fact it is so efficient that I am having to learn not to be so heavy handed. I would really recommend these rifflers because I have always had a problem with shaping some of these hard exotic woods. The double ended rifflers were given to me when I was exhibiting in Munich in 1998 by Zoltanne Nagy – they have served me very well but unfortunately I can’t find anymore to replace them. Noel’s are supplied with fitted handles.

 
Holtey No 984 handle b
 
Next posting will be of the finished plane.

January 22, 2016

window to my workshop 102

Filed under: No 984,Window to my workshop — Tags: , — admin @ 4:13 pm

Lever caps assembly now finished

 
Sorry for the slow progress to those that are waiting, but life is not getting better at the moment. I have my mother’s funeral to go to next week and I also have to make a decision about whether to put down my very poorly dog.
 

CI3A2619
 
CI3A2624
 
CI3A2633
 

IMG_0941 - Copy
 

O


September 16, 2015

Window to my Workshop 97

Filed under: No 984,Window to my workshop — Tags: , — admin @ 6:38 pm

Sorry for the long gap, and probably a few photo opportunities missed. Now on to the bottoms of the No 984.
 
Holtey No 984 pic 1

 
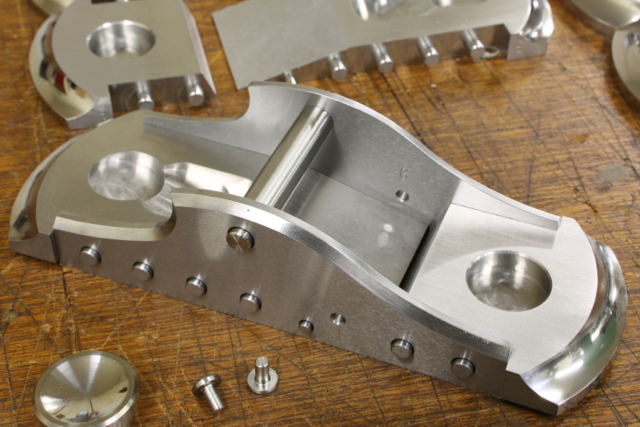
I had to make many visits to the drawing board to finalise the drilling for the handles, as I felt paranoia was setting in and a lot of double checking and tweaking was needed here. As you can see I have five holes to receive the 5 mm integral rivets for the front bun fixture. It may look a little excessive but I have seen what happens if a plane is dropped and lands on the bun. The original No 98 had three rivets. Four wasn’t right but five just seems to be correct. I always work in odd numbers for some reason. Funnily all office chairs have 5 feet.
 
Holtey No 984 pic 2
 
For the rear tote I shall use 2 x 6 mm rivets, which are integral to its chair. This is one area that I have thought long and hard on, making this fixture as tough as possible. It is very limited by its parameter of being an open handle. This arrangement will be as strong as you will ever need. In the event of any impact the handle will be the first thing to break – so best not drop it – but it is wood after all. The handle can be replaced. With these two holes I am now committed, the rest of the handle will be tweaked a bit before I start.
 
Holtey No 984 pic 3
 
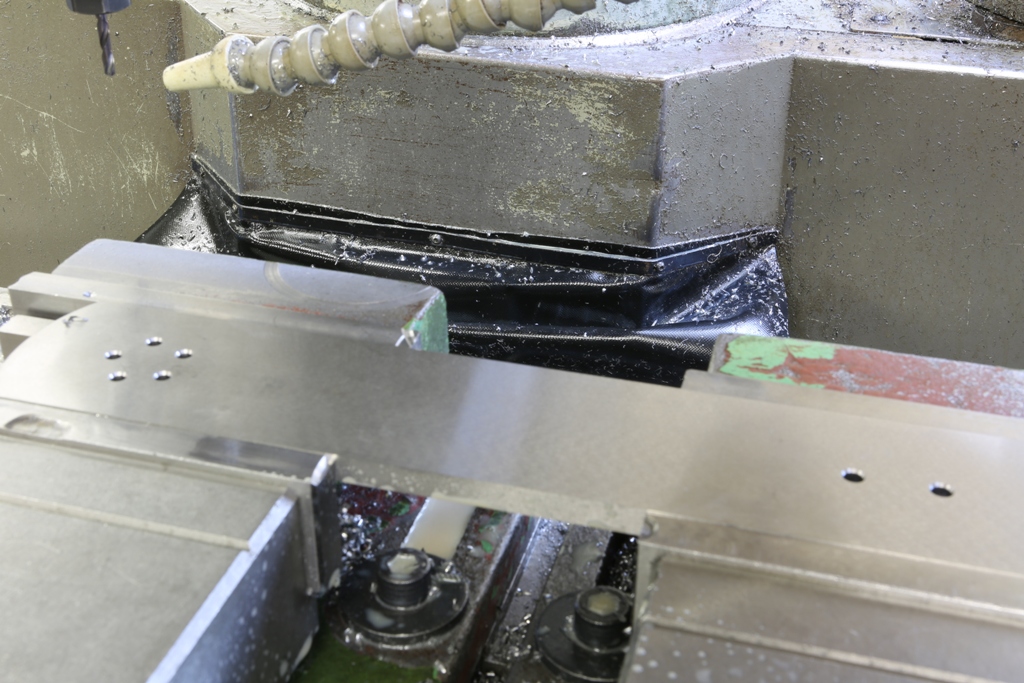
This is my holding arrangement for the integral rivets on the bottom of the plane. This was my second attempt, as I was not confident with the rigidity of the original arrangement. The setting up is where most of the work takes place.
 
Holtey No 984 pic 4
 
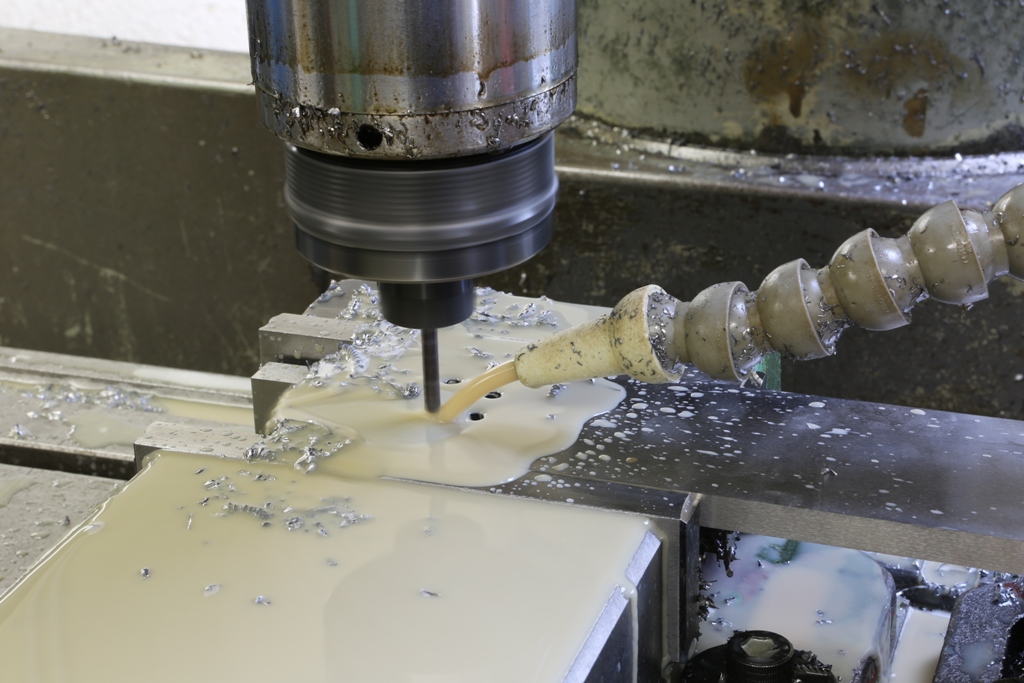
With all my milling and drilling I always use the very best tools available. These rivets are cut full depth in one go to get the most use out of the cutter. This first cut is taken with a ripper which will cut the rivets slightly oversize and then follow up with a finishing tool, which will size and texture the rivets. It takes a lot of trial and error to get the optimum spindle speed and feed rate. The best instruments for this are my eyes and ears. It has taken me a long time to perfect this and these are the last planes just when everything is coming together.
 
Holtey No 984 pic 5
 
The last operation with the rivets is applying a very small chamfer which helps to prevent any splits forming whilst peining.
 
Holtey No 984 pic 6
 
The riveting finished.

« Newer PostsOlder Posts »

Powered by WordPress