T21 Transitional Dovetailed Jointer Plane
Boring and counter boring the hole in the bun blank for the fixing stud.
T21 Transitional Dovetailed Jointer Plane
Boring and counter boring the hole in the bun blank for the fixing stud.
T21 Transitional Plane
I will be working to finish the blog on the T21 today, so I thought I would leave you with these pictures in the meantime.
T21 Transitional Plane – Bushing
There are 2 single bushes and 1 pair in this plane. The bun and the rear handle have one each and a small pair for the adjuster. Following are a few illustrations to give you an idea of how they are made – once fitted they are invisible though vital.
The purpose of these bushes is that they spread the load into a greater contact area. I use a coarse thread on these which is cut on to both the male metal portion and the female wooden counterpart. These bushes are permanently cemented into position with an epoxy resin.
It is possible to break the bond on the metal parts. When the bushes are cemented in position they are less likely to rotate due to the mechanical properties of the flats you will have noticed in the photographs (in the above photo I am about to cut the flats on to the stud for the front bun, not one of the bushes – but the principle is the same). However, as during the fixing process the epoxy resin is forced in the fibrous texture of the wood providing an additional mechanical key these will not break down.
T21 adjuster
The adjuster for this plane is of the well known Norris type. As with all my Norris style adjusters they have some revisions.
In these pictures you can see two small holes which are used to secure the adjuster body. One of the larger holes is for the rotating nut and the other is an extra hole to assist in work holding when machining (as in the second picture).
Gunmetal fittings for T21
This is parting off my spider hub (for want of a better name) from a prepared bar.
Once these are parted off they need to be trued up to the precise length.
INTRODUCTION TO TRANSITIONAL PLANES – T21
Having made some comments on the instability of wood in infill planes and now that I have successfully made metal planes without infills of my own design; I felt that there is a sector in the market that looks longingly towards wooden planes. Having used some wooden planes myself I feel that there is a sweetness in the way that these planes glide which adds to the plane’s charm. There is the metal plane with a greater accuracy (well some of them) and the smooth operation of the wooden plane. When you try and put the two together to get an infill plane you can lose the advantages of both types of plane. This leaves the transitional.
Instead of putting wood into a metal plane, I put metal into a wooden plane. The advantage here is that I am not interfering with the integrity of the wood. Of course there is going to be a lot more wear and tear on the wood but any settlement due to differences in environment is easier to deal with.
You will find in my designs of this plane that I have kept all the character of the wood and yet introduced the fittings as found on a metal plane (the adjuster and lever cap).
All these fittings including handles have been thoughtfully integrated into the wooden body. Items such as handles and adjuster use brass bushes. I have used brass bushing in these areas rather than using an ordinary wood screw. This is a considerable leap forward; the wood screw is just one step up from a nail.
I put some pictures up earlier on in the year which are here if you want to look back: http://www.holteyplanes.com/blog/category/transitional/
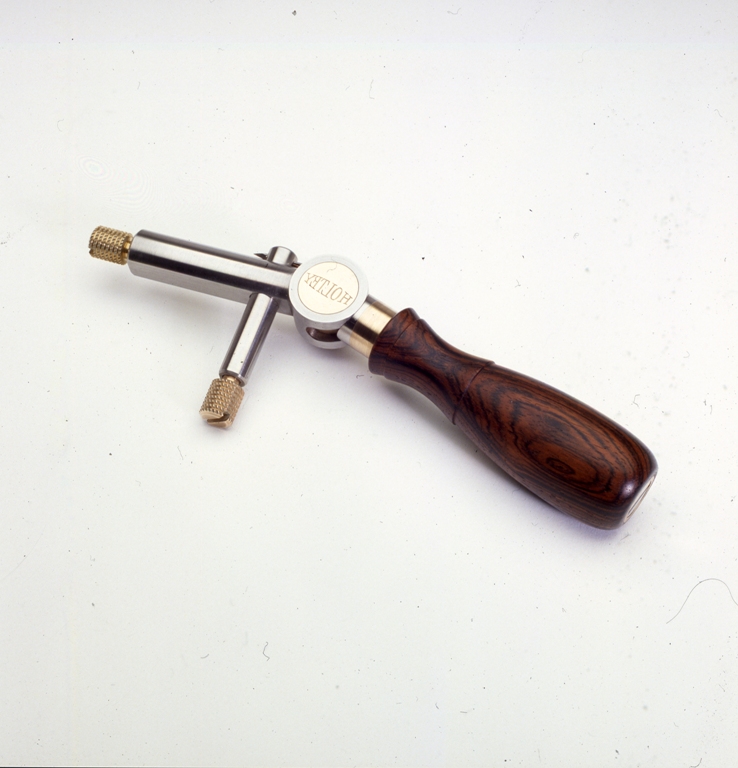
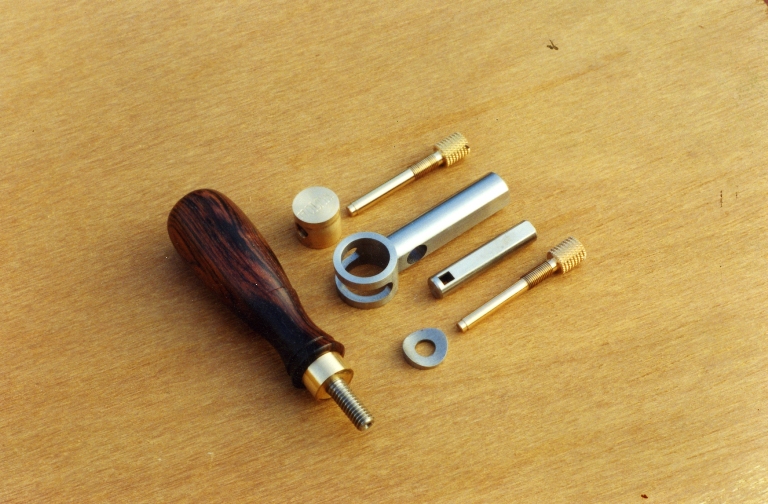
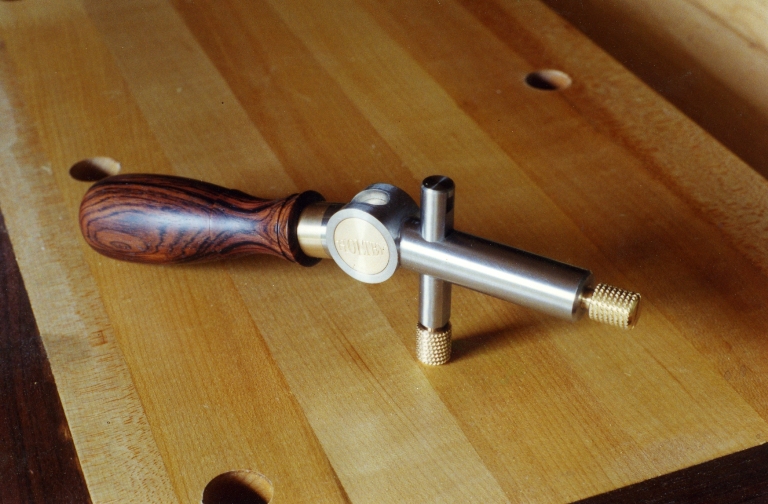
A purfling cutter that I designed myself many years ago. It is in stainless steel and gunmetal with rosewood handle. Note the handle rotates and can be locked by twisting.
Looking back I offered this tool at a ridulously low price and got little interest at the time. Now I am NOT interested in making it again.


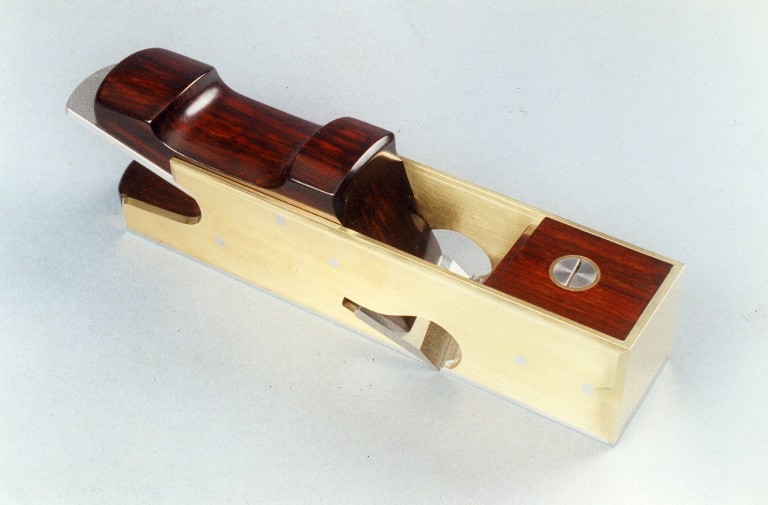
The person who commissioned this plane is no longer with us and I am not sure who owns this plane now. I did not stamp my name on it as it was not my design. With the wedge on runners it works well and is comfortable to use. Now I have dug the photo out it looks better than I remember and there could be possibilies with this design.

11-sa dovetailed smoothing / finishing plane
I have discovered a few pictures of work in progress, not the complete sequence, so decided to show what I have here.
11-sa smoothing plane components before assembly.
Tapping for adjuster bush after boring.
Powered by WordPress