From the Workshop

April 18, 2020

Dovetailing v peining v screwing v in situ doweling

Filed under: Commentary,Window to my workshop — Tags: , , — admin @ 6:10 pm

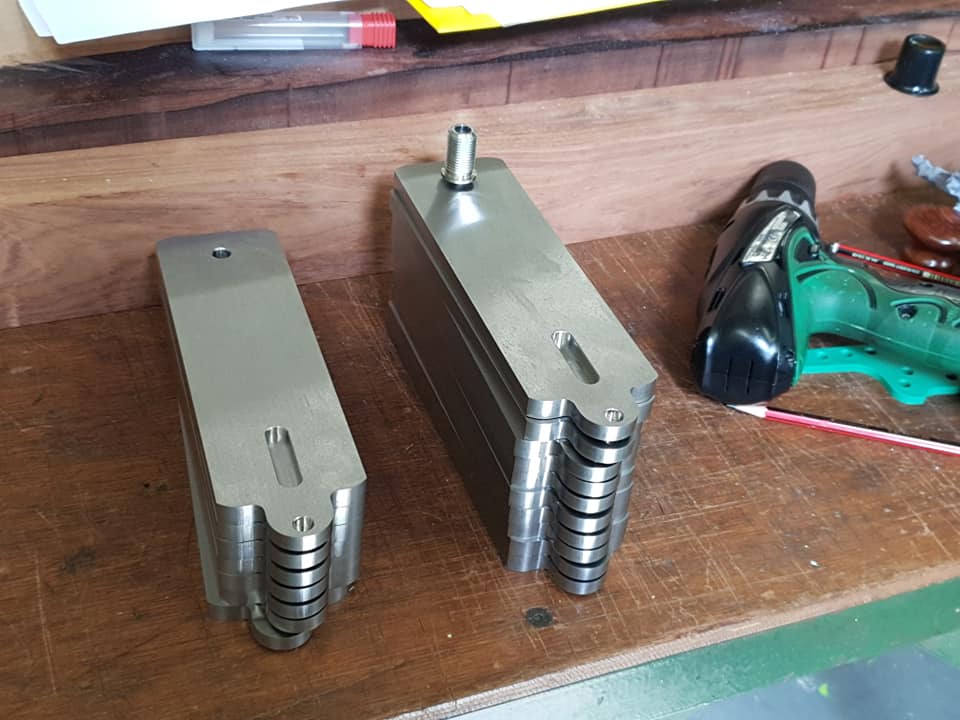
Lets start with dovetailing. The effectiveness of a dovetail must be compounded so that you show a dovetail form on two sides. That means you are going to have a void on one side which will need filling. You will need a bit of extra material left on the ends of the pins and dovetails. This means you have to move the metal around by peining to fill the voids. You have already picked up on my pinch formers and the clamping plates which are made to fit inside the dovetails. All that peining is going to push a lot of things around. Another problem is that there is going to be pressure along the line of dovetails which will then convex the sole. If it doesn’t then you are not peining it hard enough, you want to stuff as much material as possible into those voids. There are good and bad dovetails around. Once everything is all snug and finished there will be a lot of material to flush away and the bottom needs to be flattened on the mill. Also the sides need to be treated in a similar way. I don’t know how far other people go with their dovetailing but this is how I do it. You will notice how true each tail is. All lines are straight and sharp. The former is kept parallel and is the same width as the pinch sides of the bottom. In my language this is a F******g load of work.

IMG_0317

There are two other options. One of these is to form dowels in situ on the bottom which has to be a very accurate process to match with the corresponding holes on the sides. This process needs to be done on a CNC. All in all the work is probably equal to the dovetailing as the peining is a very boring process and has the same effect of causing a lot of pressure with the same problems as above. i.e. you are putting in a lot of stress.

Screwing – is probably a little more work as I am not going to buy a box of screws out of a DIY shop – they are purpose made by me. They have a counter sink angle of 40 deg unlike the 90 deg on a standard screw. Also the screw requires a plain shank as a positioning reference. The heads of the screws need to have a positive drive as they are going to be to a required torque. The angle of the countersink has to be tighter at the top than at the bottom. So as they tighten there will be some metal displacement so there will be no gaps or joints showing. Each screw is then thread locked. With this stage complete the heads can be cut off and the body is then milled true. There is more work in making each screw than one dovetail. But this process has a plus factor by not loading the chassis up with stress.

14 No 982 final torking up of fixing bolts

March 10, 2020

Workshop Blog no 30 – No 984s

Filed under: No 984s,Window to my workshop — Tags: , , , , — admin @ 7:32 pm

I have said little about this variant of the No 984 panel plane. It is to be designated No 984s.

There will be some differences as well as the decrease in length.

With the bottoms only being half worked they are now shelved until I have completed the sides.

I have deliberated long and hard over the design of these sides. I have now decided not to chamfer them. This is by no means an economy and as you can see from the photos the chamfers could have been completed there and then and that would have been the end of it. I have taken a leap of faith and trusted my instincts because I feel that leaving the edges square will work better with the other changes. The profile looks more sharp finned and streamline than the chamfered version. It is all down to waiting for a finished plane. I know it will be the proverbial ‘brick built shithouse’ but this is what I wanted.

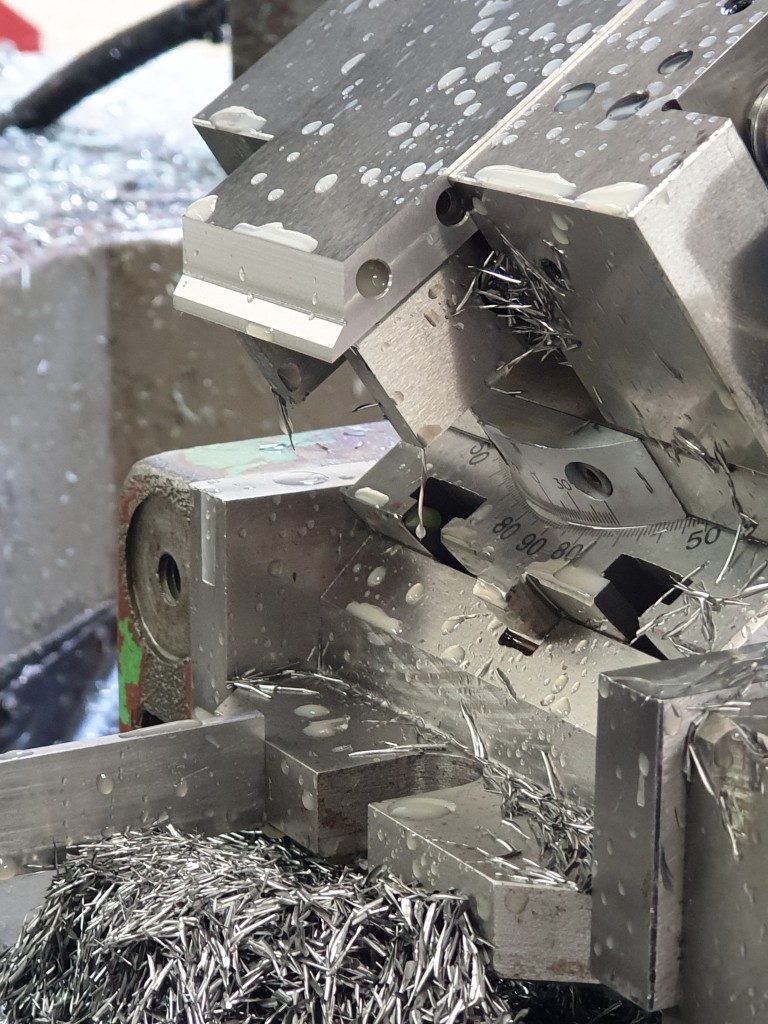
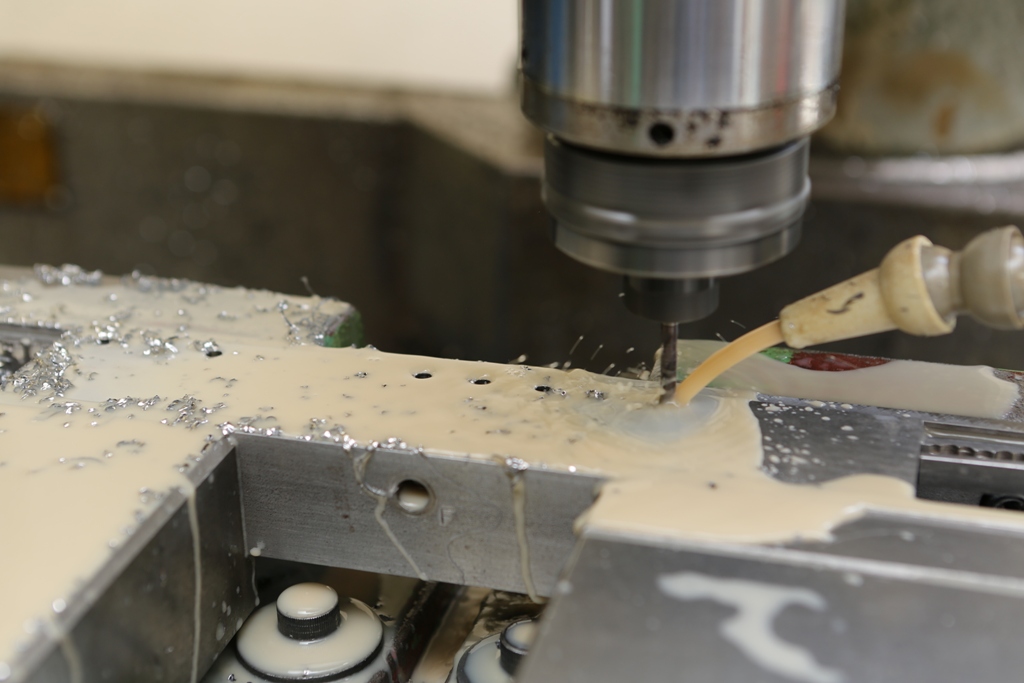
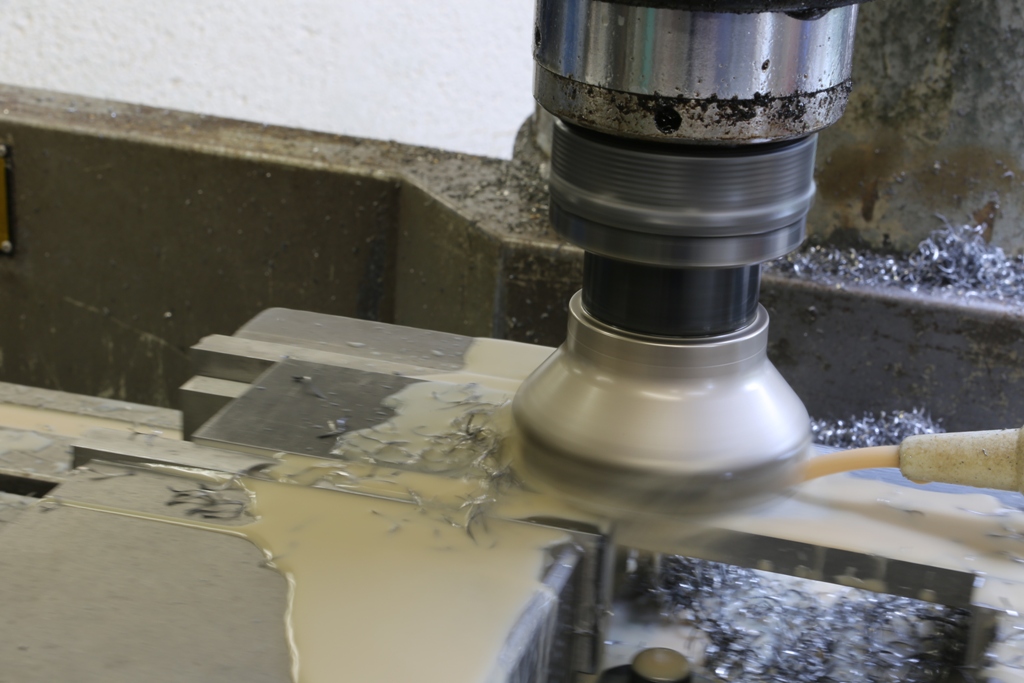
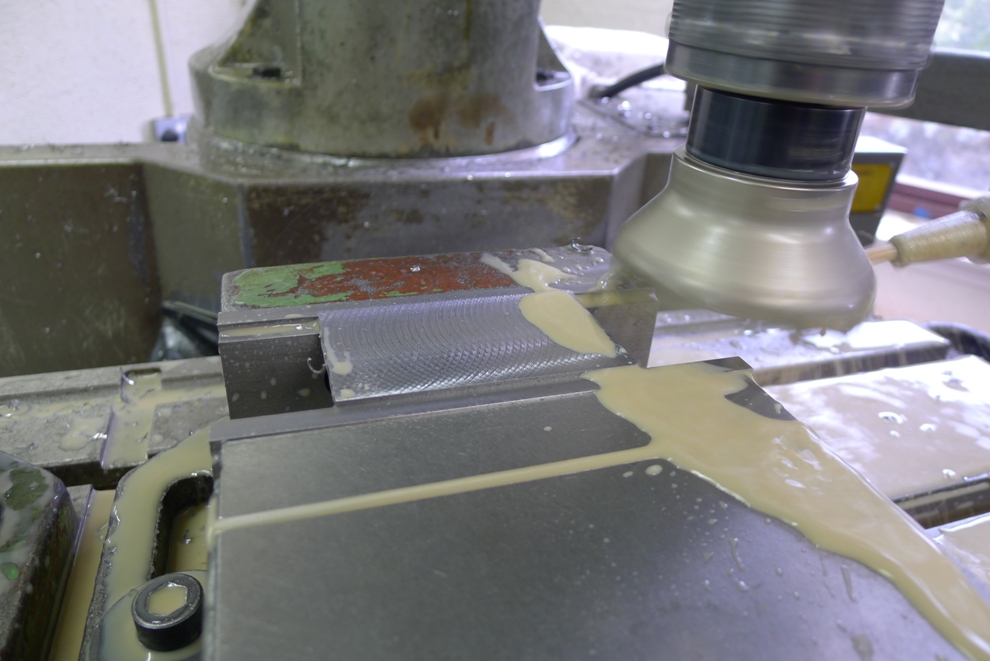
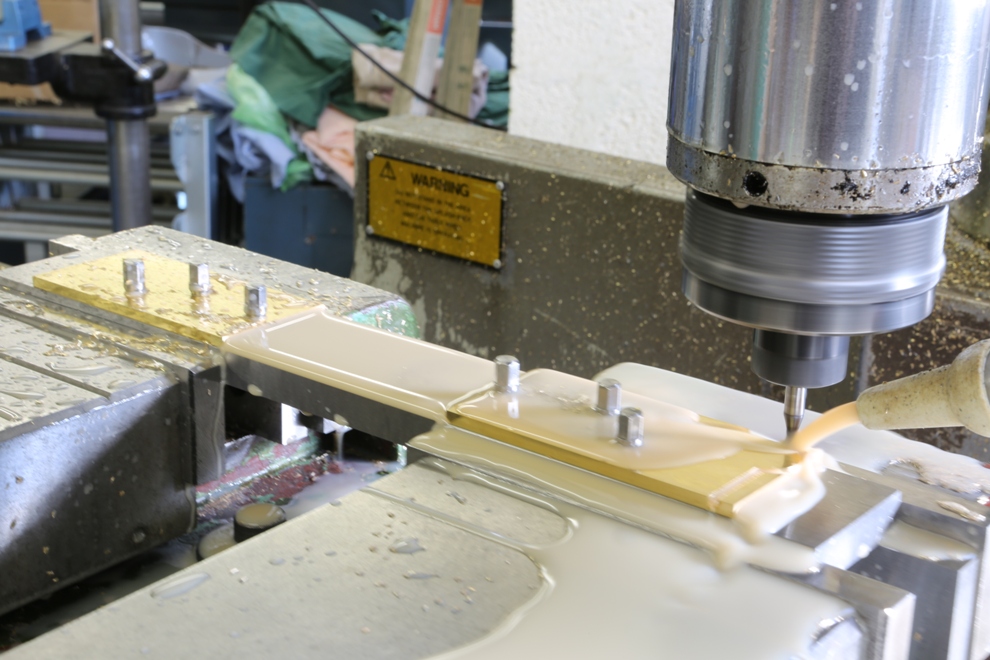
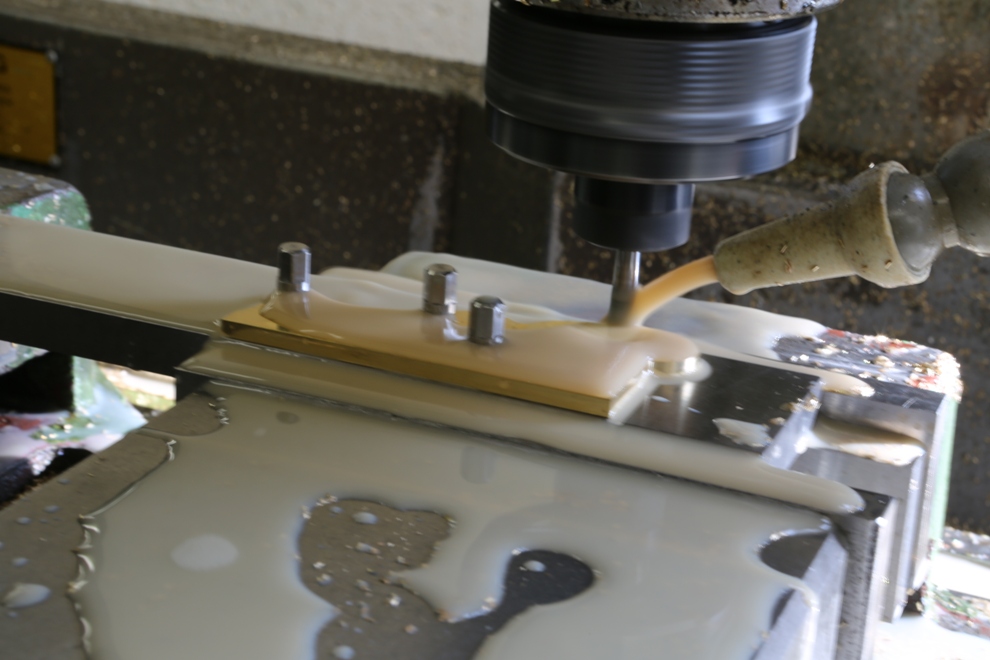
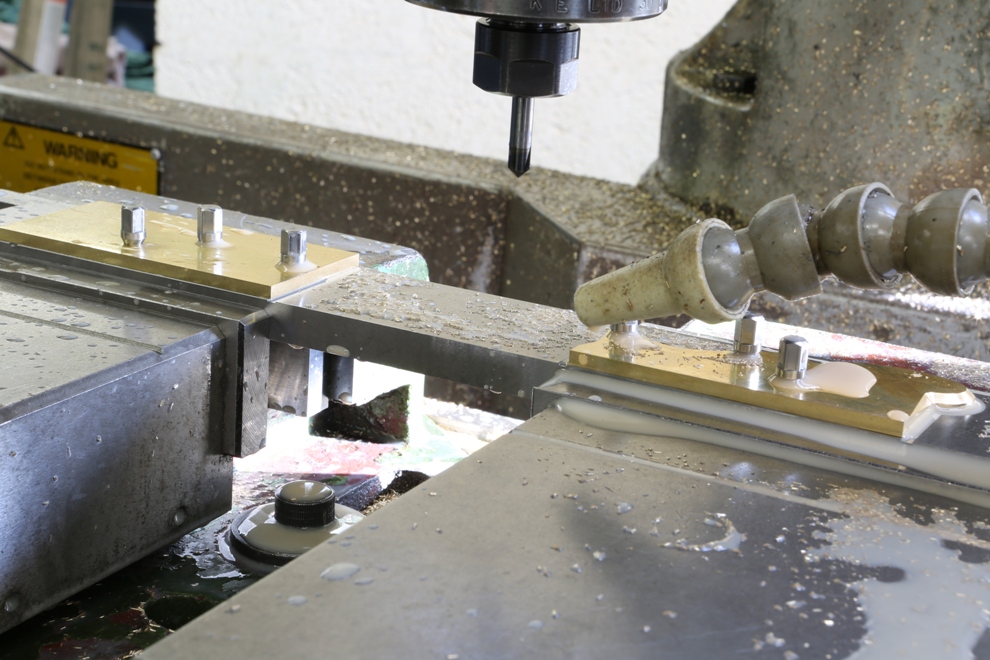
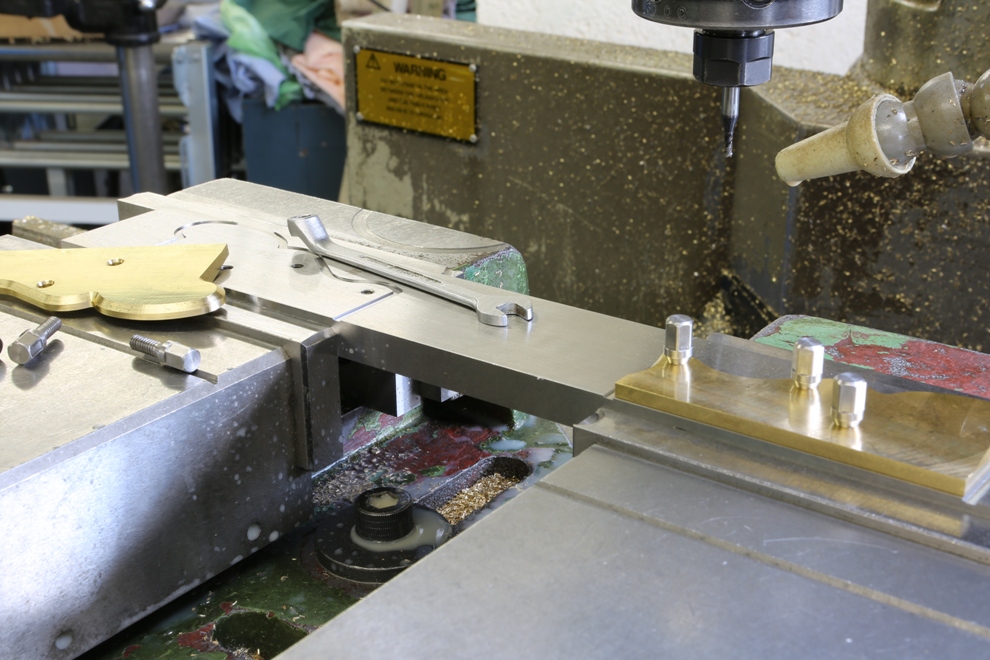
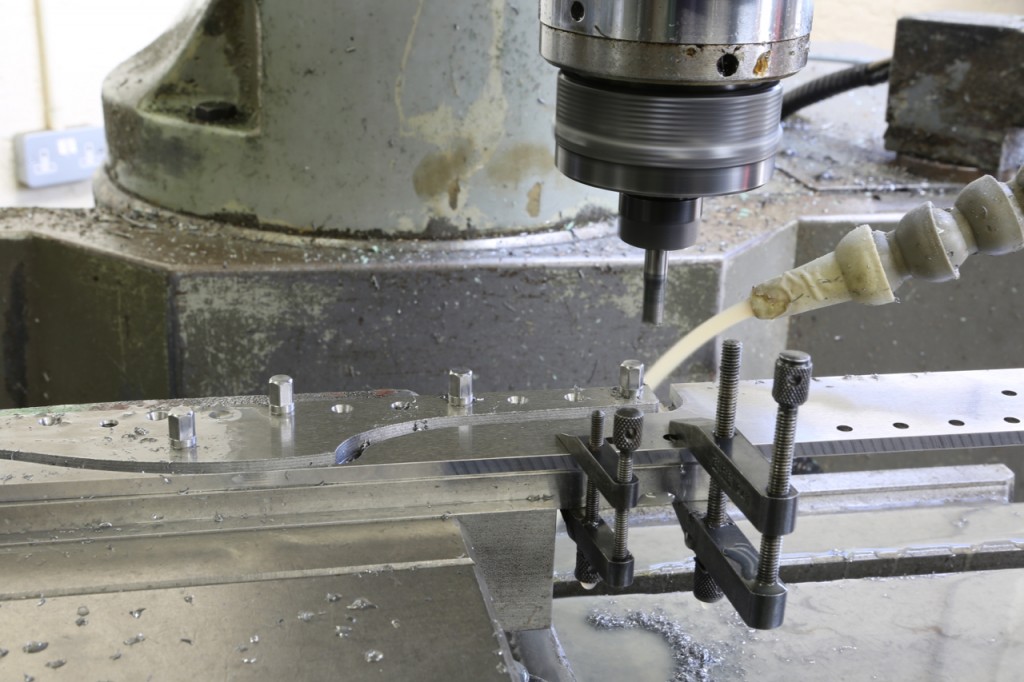
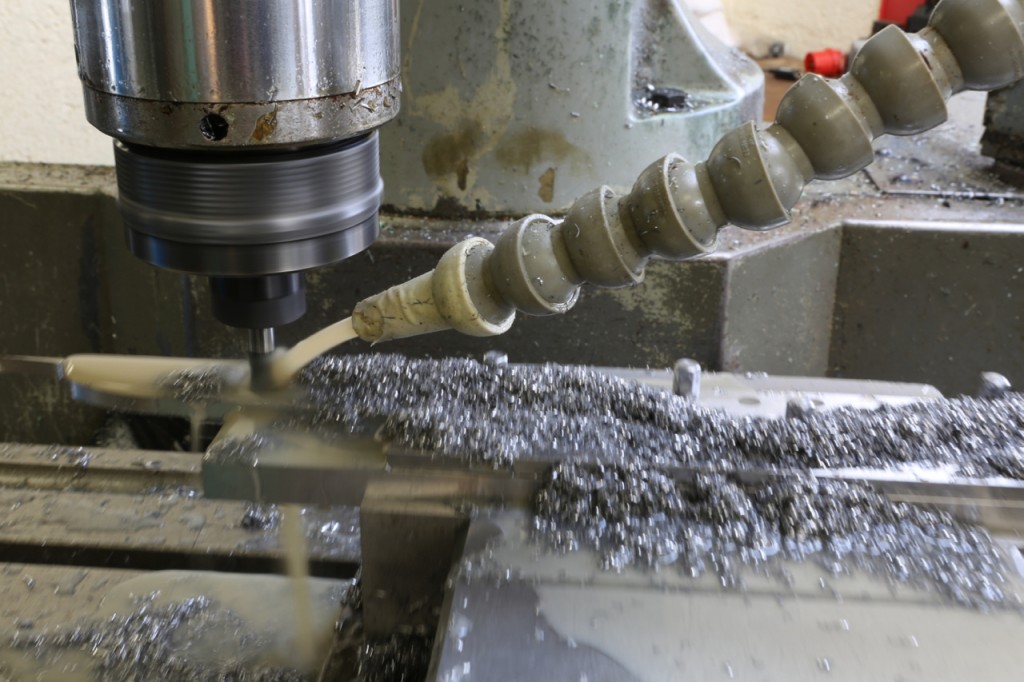
The middle picture shows the stainless steel side being routed with an 8mm ripper which surprisingly went through very quietly with no effort or noise. A single cutter lasted the whole job and still has life left in it. I have left the swarf in for the picture to show the amount of material removed.
CI3A6499

CI3A6509

CI3A6512

August 24, 2019

Workshop Blog 28 – No 985

Filed under: No 985,Window to my workshop — Tags: , , , — admin @ 11:23 am

Showing the bottom blade bed modified to stop the blade passing through the mouth.

20190815_095616

May 23, 2019

Workshop Blog No 24 – No 985

Slipping behind on postings as I have been so busy.

As a follow on from last posting on upper blade bed, the design is similar to the one used in my No 982. I didn’t want to go this far but I can’t think of anything better. It is certainly solid if nothing else. You just have to bite the bullet and get the work done.

CI3A5417


CI3A5402


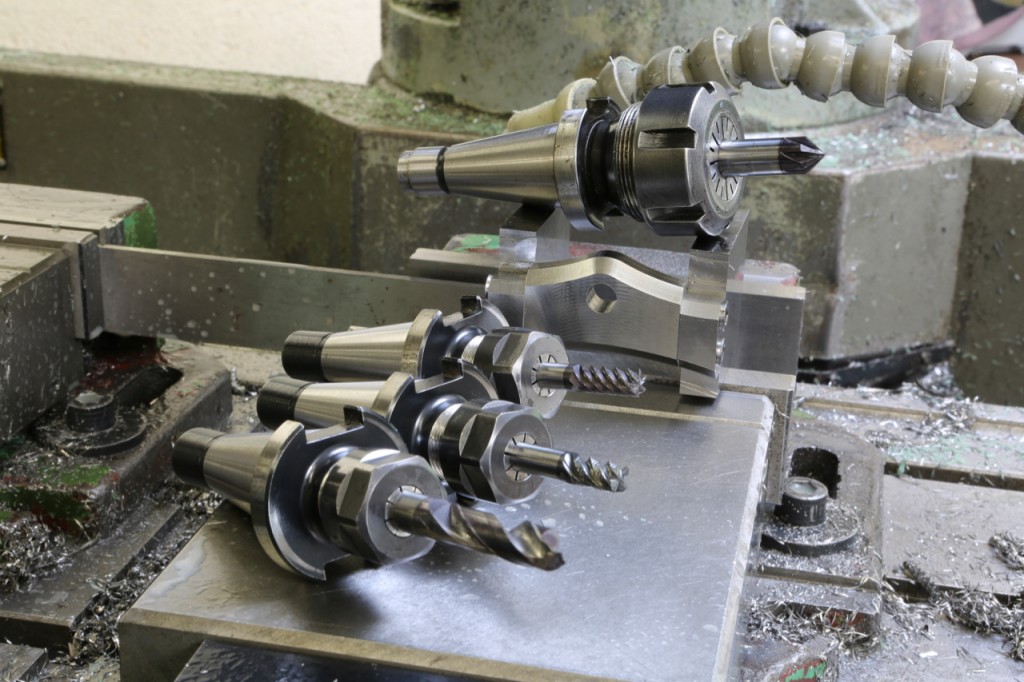
This picture shows the tooling required for the last part of the operation after much preparation. As you can see this kind of tooling doesn’t come cheap. I always keep plenty of backup – if I get a tool failure I want to be able to change it immediately.


CI3A5407

March 18, 2019

Workshop Blog no 17 – No 985

Filed under: No 985,Window to my workshop — Tags: , , , — admin @ 2:57 pm

After a lot of deliberation I have made a decision to screw the front bun directly to the sole which allows me to achieve the design aspect I was looking for.

55516272_10205956891718225_713172228509794304_n

54401918_10205956891278214_436265778447122432_n

53838532_10205956891958231_2837485567329959936_n

You will notice that the profile has been cut showing recesses for the handle tenons. Still a lot of work here as everything is complex just to achieve a simple line. The handle will be secured by one 6mm screw. All my dimensions are critical so precision is the key word. I am longing to get this bottom finished and get on with the rest of the plane. On all my planes the bottom is the mainstay of my work.

54522537_10205956892238238_8477769734358564864_n

June 3, 2016

Window to my Workshop 104

Filed under: No 984 — Tags: , , — admin @ 2:30 pm

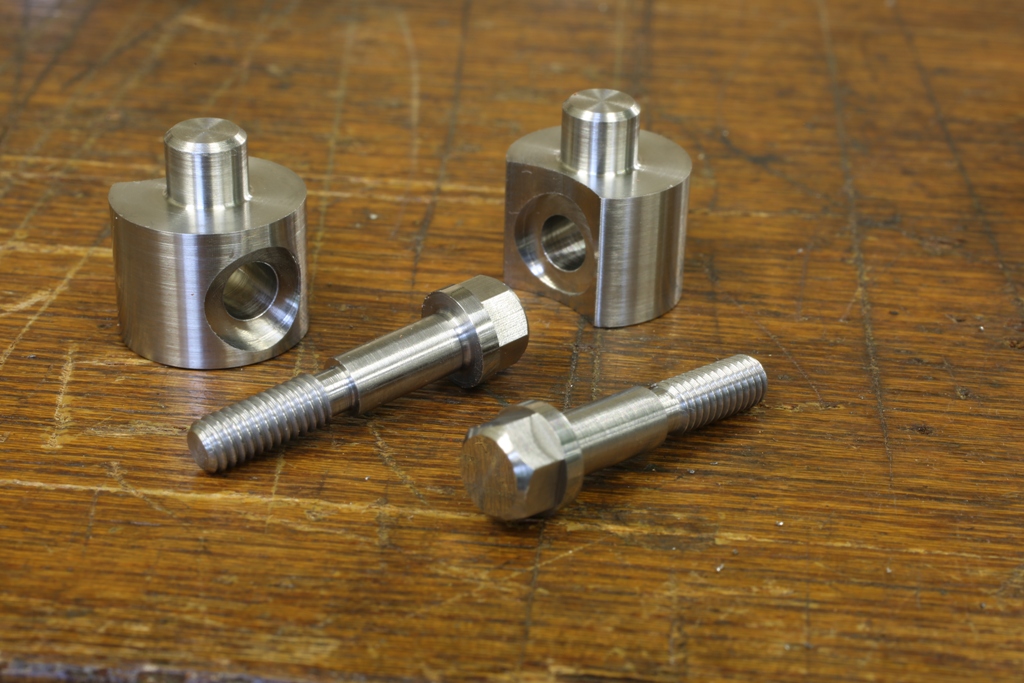
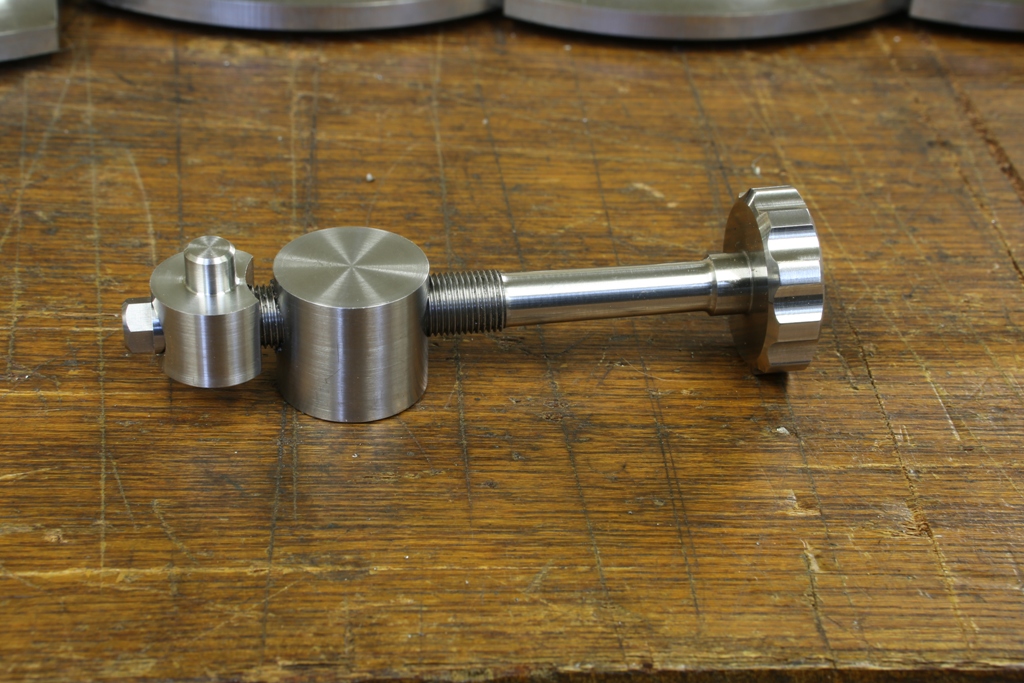
I had hoped to use the adjuster components from the No 983, as I showed in the last blog. However, I wasn’t quite happy using them in this application. We all know what that means – I started again. This has cost me another two weeks.

I had to make a dedicated holding fixture for both lathe and mill. Part of the work on the spindle is individually paired with it’s traveler part keeping the end play down to less than a thou.

Of course there will be some end play in the threads of the main spindle. I work on every component to keep this end play down to a minimum.
 

No 984 adjuster components a


No 984 adjuster components b


This now concludes all the metal parts. I have wooden totes to finish off, will blog these later. There should be completed planes by the end of next week.

July 24, 2015

Window to my workshop No 94

Filed under: No 984,Window to my workshop — Tags: , , — admin @ 10:47 am

Drilling the holes in the No 984 plane pre-prepared and surface ground sides which will receive the integral riveting from the bottom.

Holtey no 984 o
 
Holtey no 984 p
 
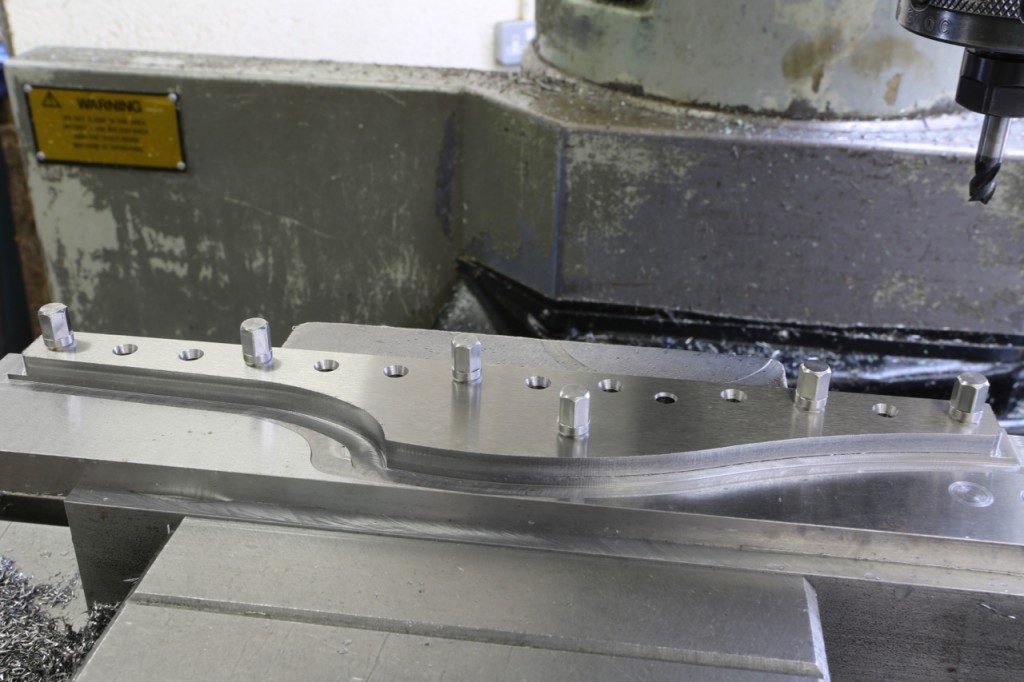
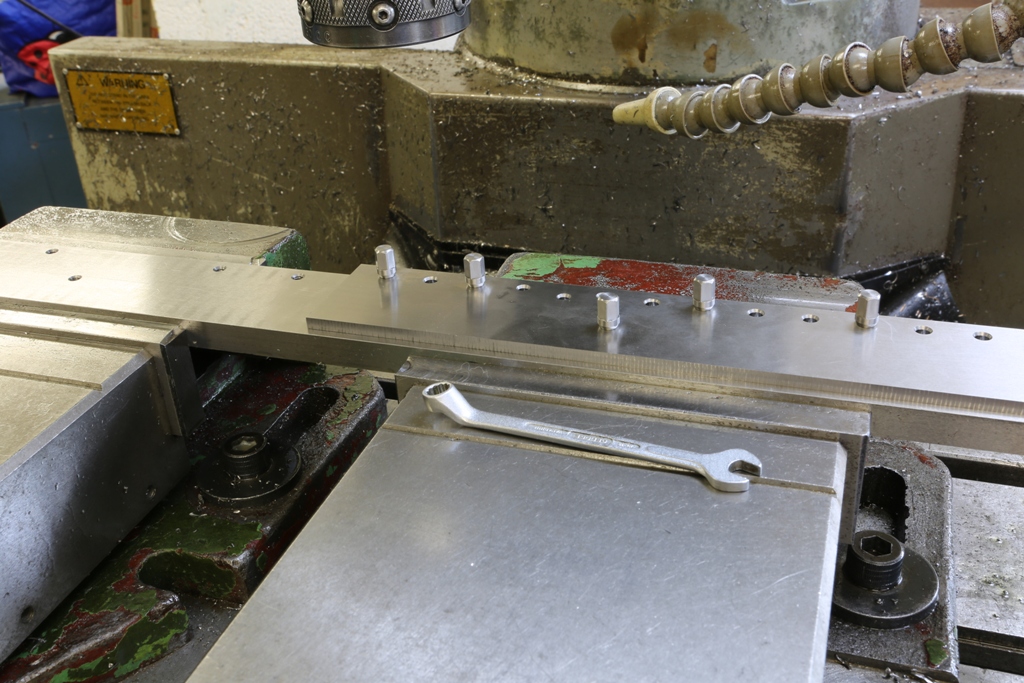
Once the sides have been drilled they are then ready for profiling. This I do by making a holding plate which is drilled and tapped. In the case of this plane I have chosen six of the fifteen holes which were drilled in the plane sides which is sufficient for work holding purposes

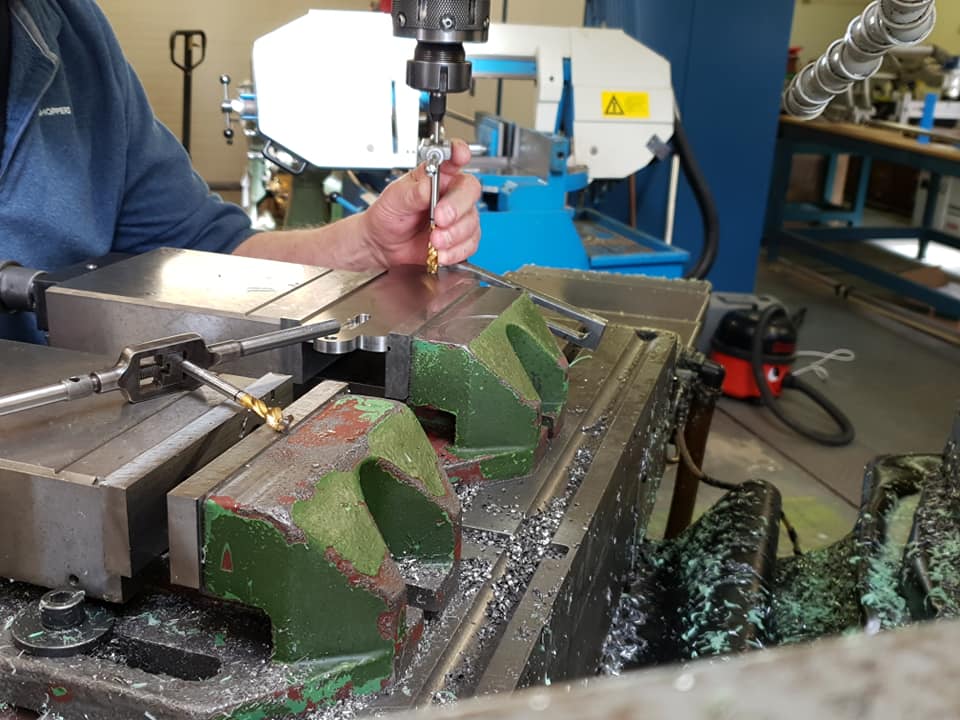
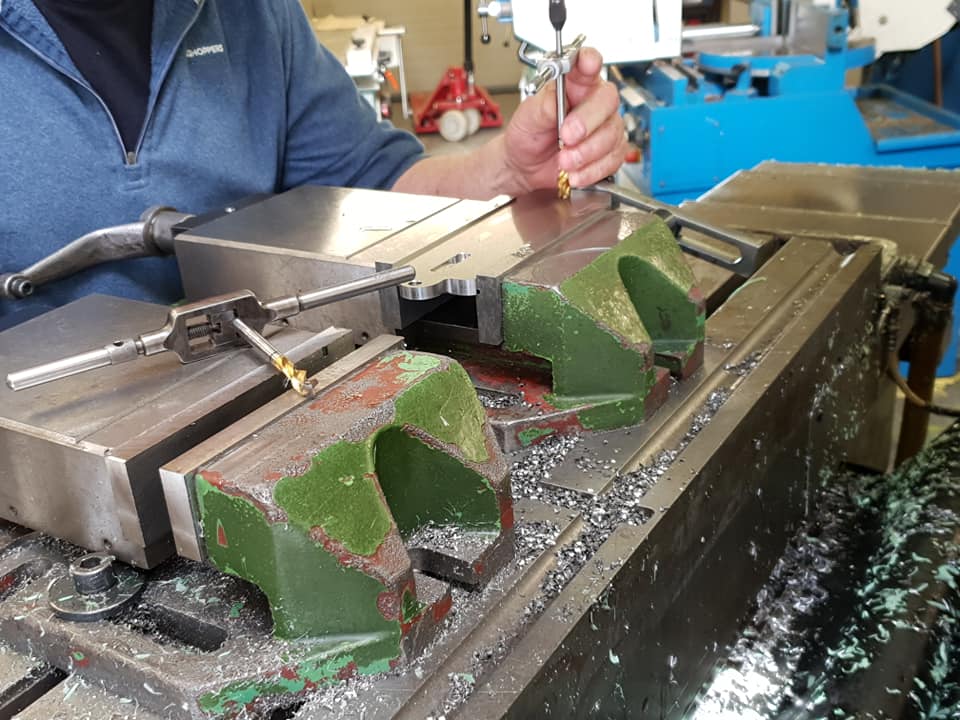
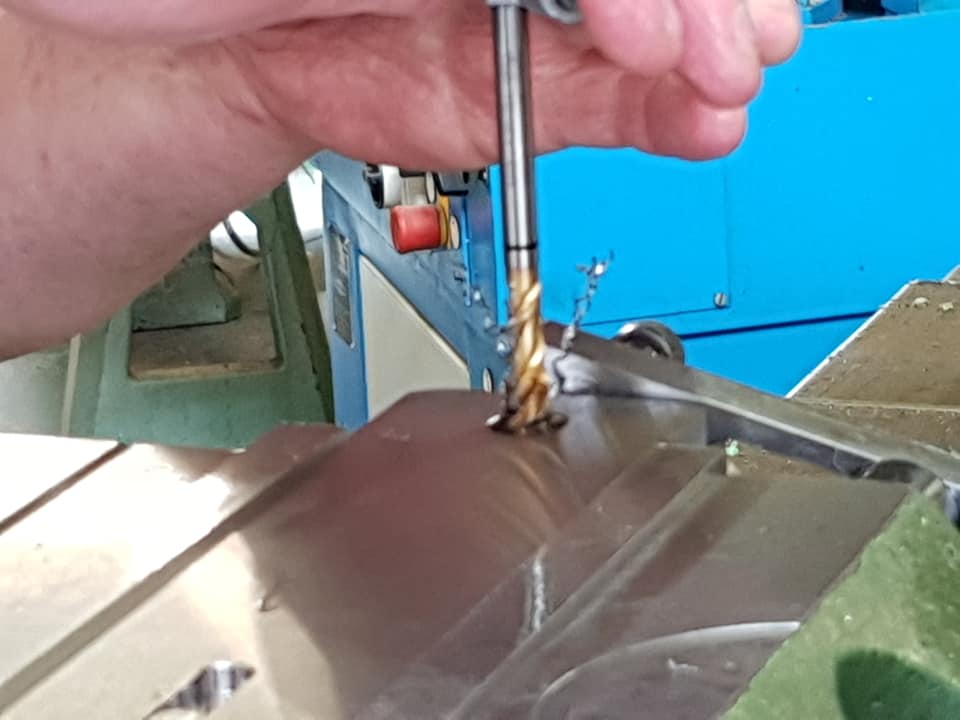
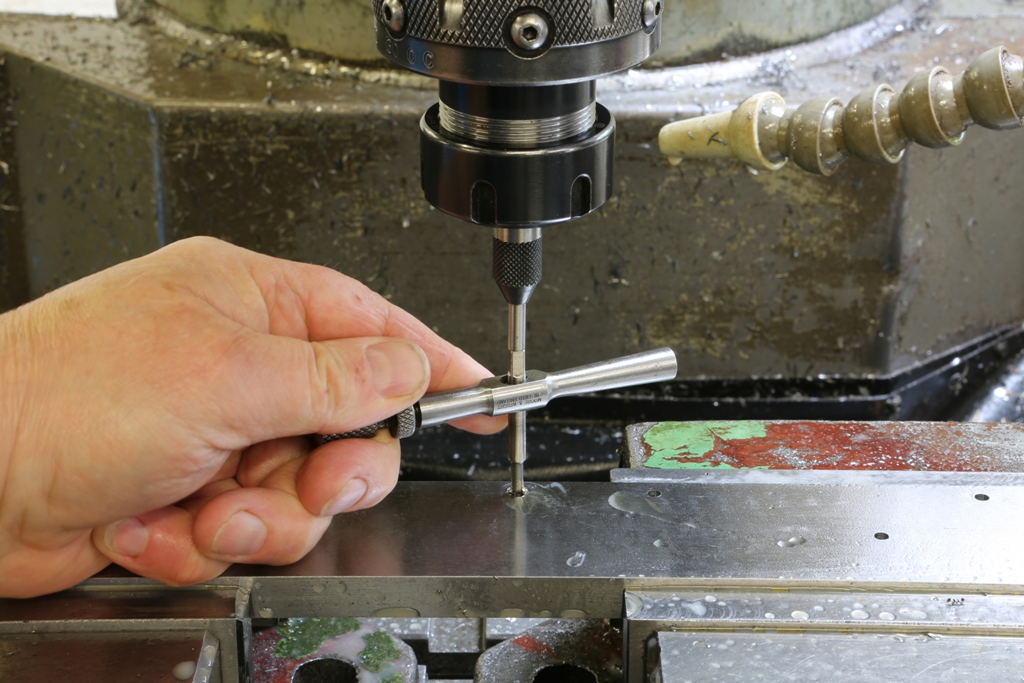
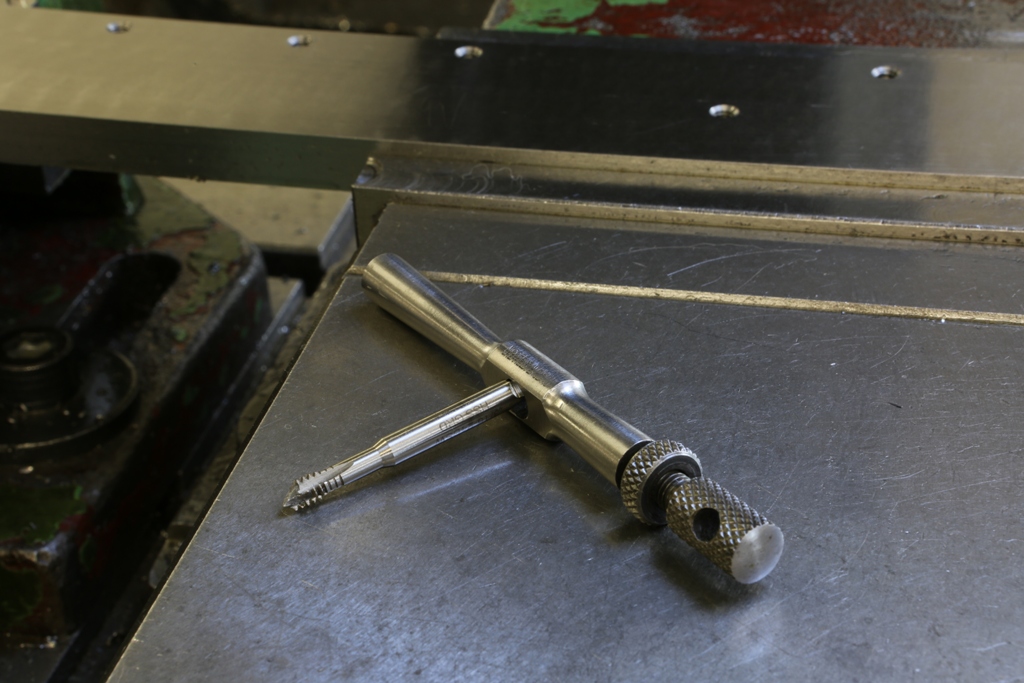
The fixings used here have a 3/16 Whitworth thread to work within the existing holes. I hand cut the threads whilst they are in the milling machine so they are a little small to go through 1/2″ steel. A lot of care and patience is needed here. This means I can only take one or two rotations of cut at a time and then remove the taping tool and blow everything clean, then repeat until I am through.
 
Holtey No 984 q

Now and again I push my luck and this is what happens. This is probably about the worse horror because I have a large piece of the tap seized in the tapping hole with a jagged shard of HSS tap sticking up. If this couldn’t be removed then I would have to spend the best part of a day to grind and drill another holding plate. However, whilst it was in situ I was able to write another programme to mill the broken tap away with a very high quality tungsten carbide end mill. This could have only worked in the CNC as it needed a consistent very slow feed rate. It leaves me on a bit of a high when this works. Not only did I remove the broken tap but the original thread and true axis was maintain. This is extremely important or it would have had to be scrapped.

Sometimes I like to mention this sort of trivia as it is a whole part of the whole process, often unseen. As I have said before, it is not just the tools I make but the tools I make to make them with.


Holtey no 984 r
 
This is the end of the building process for the holding tool, showing the jig screws. Also showing the mirrored side on the left. Mirroring or pair handing is necessary where there is chamfering and countersinking involved.

After use this holding tool will go into my cupboard to join all the others, as each tool is dedicated to its type. It is sad that in the case of this one it will not be coming out again. :-(


June 23, 2015

Window to my workshop 89

As I have said on my web page the No 984 panel plane is to be my last. This is the beginning of the promised blog. I have been a bit slow starting as I have been busy with stock sales and many enquiries. Thank you very much for all your nice comments – I am not actually retiring as most people I knew retired and died, I will keep up the coffin dodging and I have many other things to do. These No 984 planes will keep me going for about 3 months.

Holtey No 984 a

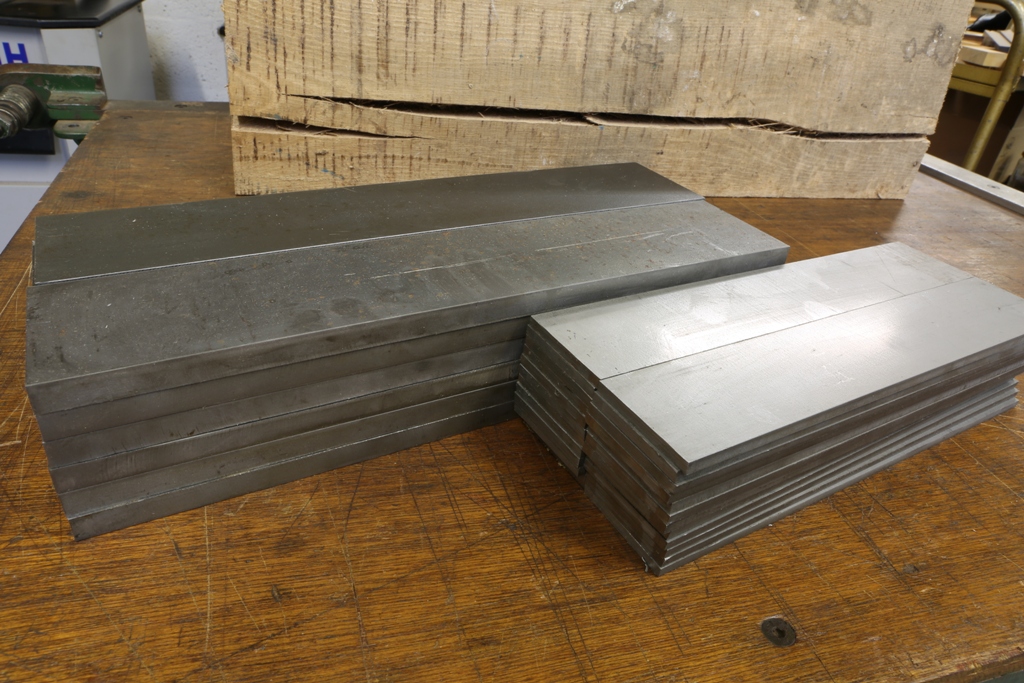
This is the 420 stainless steel that I am using for the bottoms and sides of the plane. The plan is to start knocking some weight off them. I am trying not to let the weight of the finished plane go over 3 kilos. All surfaces will be milled and ground. The steel that I have here is enough to make a limited batch of 12 planes.

Holtey No 984 b

Here begins the slog, there is a lot of material to come away. This picture shows a bottom starting out 12 mm thick and it will end up just over 10 mm in the finished plane.

November 5, 2014

Window to my workshop 82

Filed under: A28,Chariot Plane,Window to my workshop — Tags: , , , , — admin @ 11:33 am

During the working of this A28 plane I have been neglecting this blog but now I am ready to update which I will do over the next few weeks.
 
 
Holtey A28 f
 
All the sections I use are cut out of stock material and brought down to size, by sawing and milling.
 
 
Holtey A28 g
 
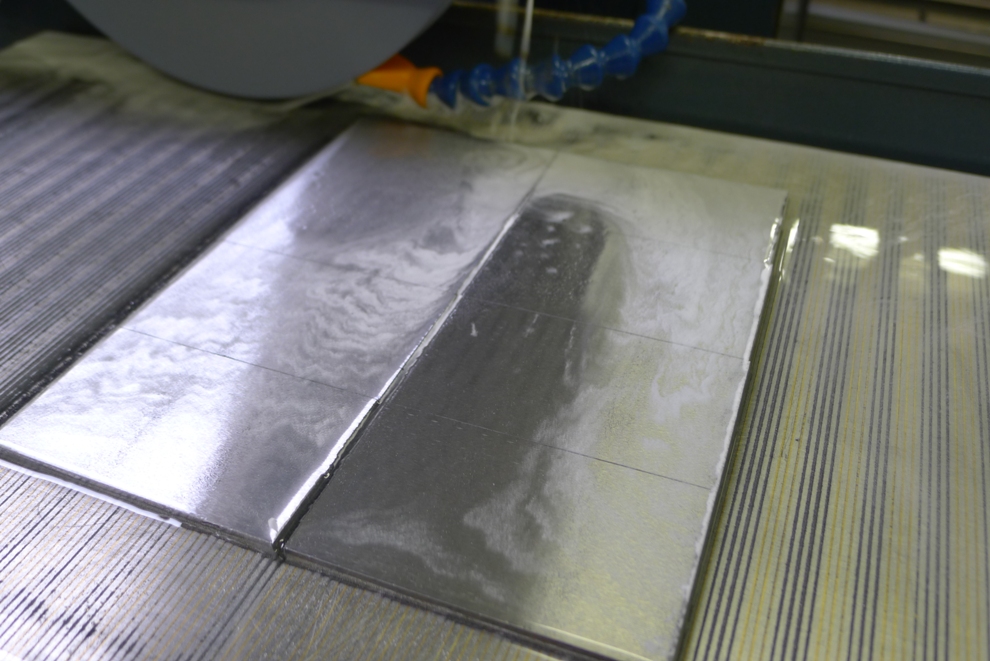
As most of my working and setting out depends on a high degree of precision (which has never existed before) surface grinding in the early stages allows me to achieve my goals.
 
 
Holtey A28 h
 
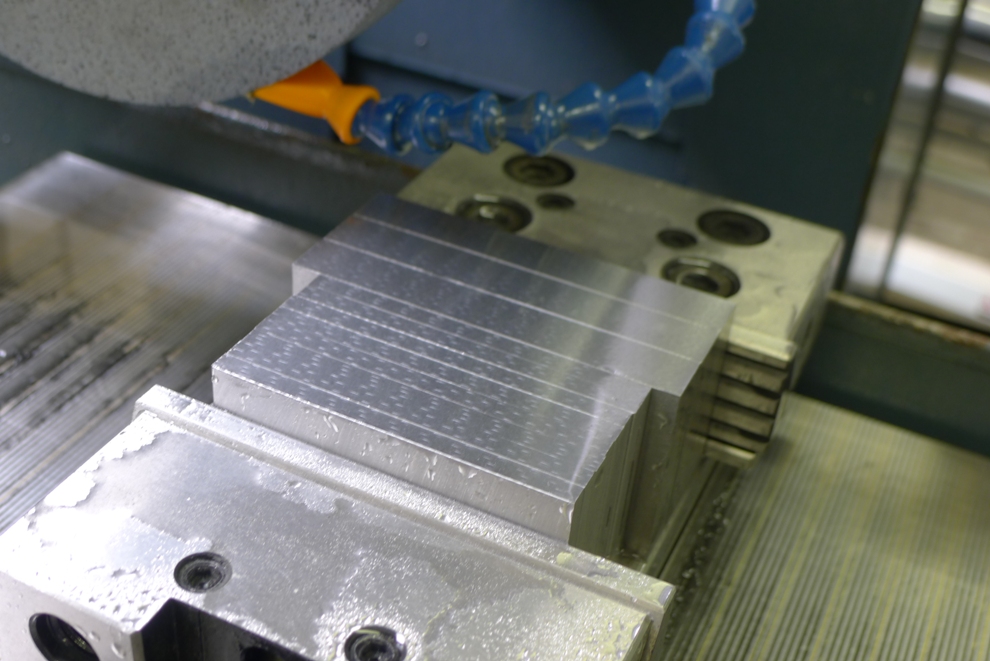
This picture shows the edges being ground. This is also important to have a true pinch dimension. I need this for the dovetailing.
 
 
Holtey A28 b
 
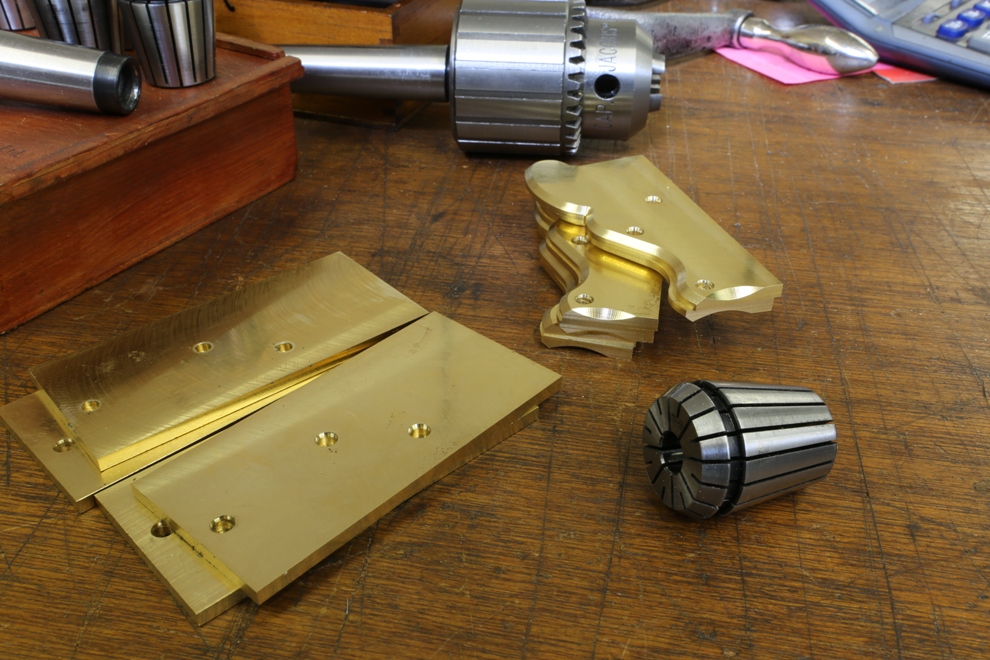
Jigs and work holding fixtures are also all made to precision. After much preparation work to the brass, similar to the steel work as described. Then rivet positions are drilled and I am able to screw these sides with purpose made bolts to the fixture for profiling and chamfering.


Holtey A28 c
 
After routing out the profile then the chamfering is completed whilst the sides are still jigged.
 
 
Holtey A28 d
 
Just overall set up pictures.
 
 
Holtey A28 e


Holtey A28 a
 
Here are the some sides already milled and some pre-prepared waiting for profiling.
 

September 1, 2014

Window to my Workshop 81

Filed under: A28,Chariot Plane,Window to my workshop — Tags: , , , , — admin @ 2:52 pm

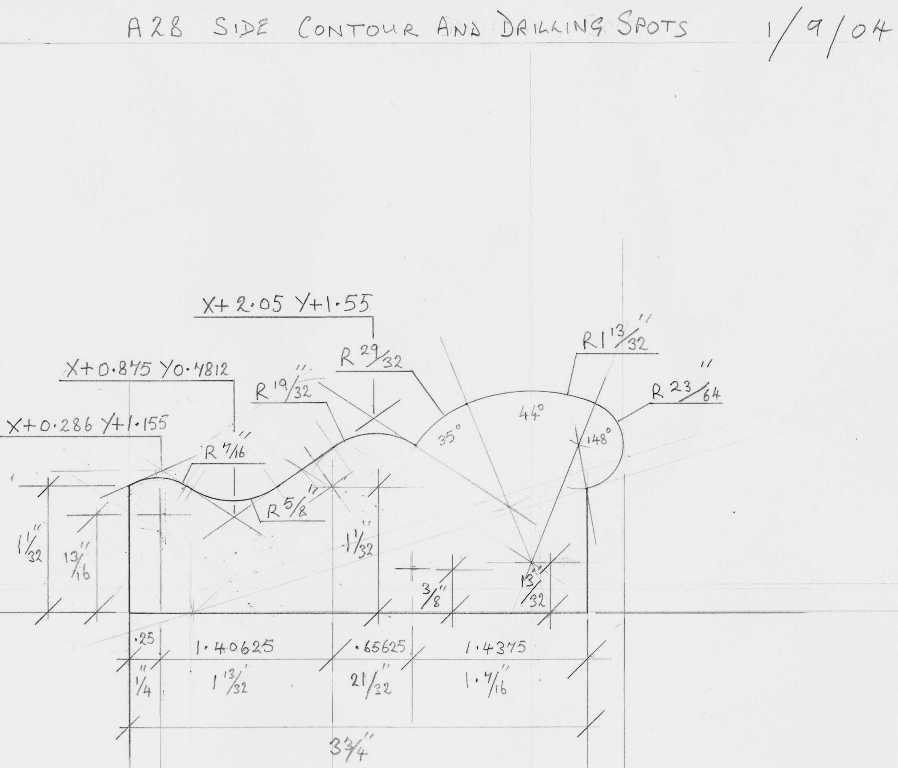
This Chariot is the last item in the series of low angle planes I have been making recently. I have only made a few of these planes and that was a long time ago in my early days of plane making. Then my side profiles were cut by hand and I made up a template which I would scribe round. Now that I CNC these the machine can’t see my template so I have had to re-draw it showing co-ordinates to write a programme from.

This line drawing by today’s standards might look a bit primitive but I have never had the leisure to learn to use a CAD. With a drawing showing contours I can write this in to my control unit. Drawing contours is more instinct than anything and I just know when it is right however long it takes (I would be ashamed to tell you how long these ones took).

Holtey Chariot Plane - Copy

Older Posts »

Powered by WordPress