Some more components for the No 98 plane. Showing the integral rivets being cut in situ
Finished items are the front and rear handle bosses. All in stainless steel as usual.
Some more components for the No 98 plane. Showing the integral rivets being cut in situ
Finished items are the front and rear handle bosses. All in stainless steel as usual.
During the course of finishing off bits and pieces out of the back of the cupboard I decided I would put together some more No 98 planes. I was horrified to find not all the pieces there. However, I had already promised a plane to someone so I need to get on with it.
I am just making components as I need them. I will start with some pictures of the adjuster boss and post as I go. This No 98 plane was the start of my own designs (and the start of bevel up smoothers in general). You will notice from just these few pictures how much work is involved.
An enormous set up for a tiny component
Planing the end off to initiate a 15 deg angle
Milling out the integral rivets at the same 15 deg.
The finished item
You can pick out where this item belongs
Over the years I have and many enquiries for this No 98 plane which I hadn’t been able to fulfill. So those of you who want one this is your only chance to get one. Just making a few. See my website for pricing.
It seems sad that I have only used this blog lately as an obituary for my four legged family. Sadly we have to add Harvey, our eldest and last Belgian Shepherd to the ones who have gone. He is going to leave a large void in our lives which will take some time to get used to.
I want to show off some of the finer detail in the making of my adjuster components and the tooling used to make them.
These are for my low angle planes:

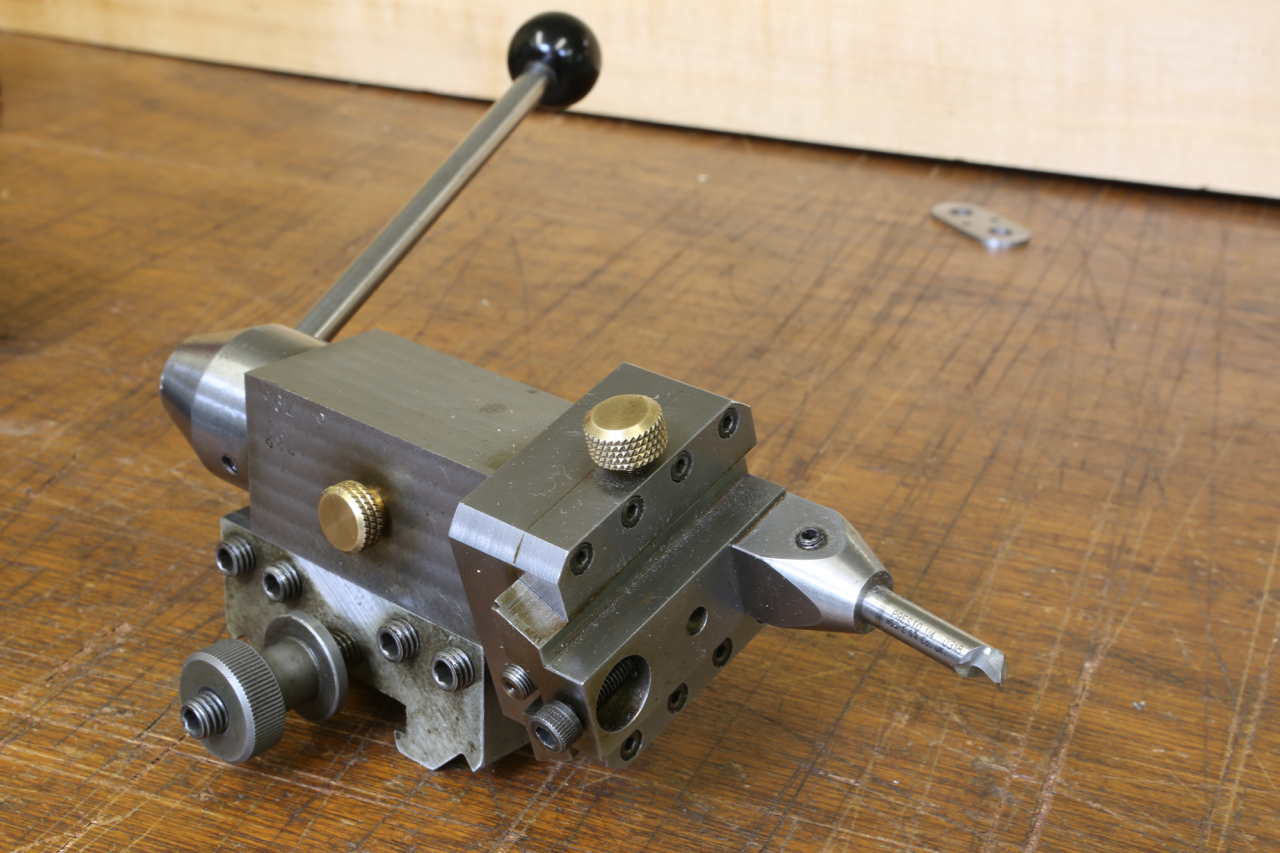
This is a ball turner I made 30 years ago in the days when I was very enthusiastic for making miniature locos. Over time it has been used a lot in the making of my planes.

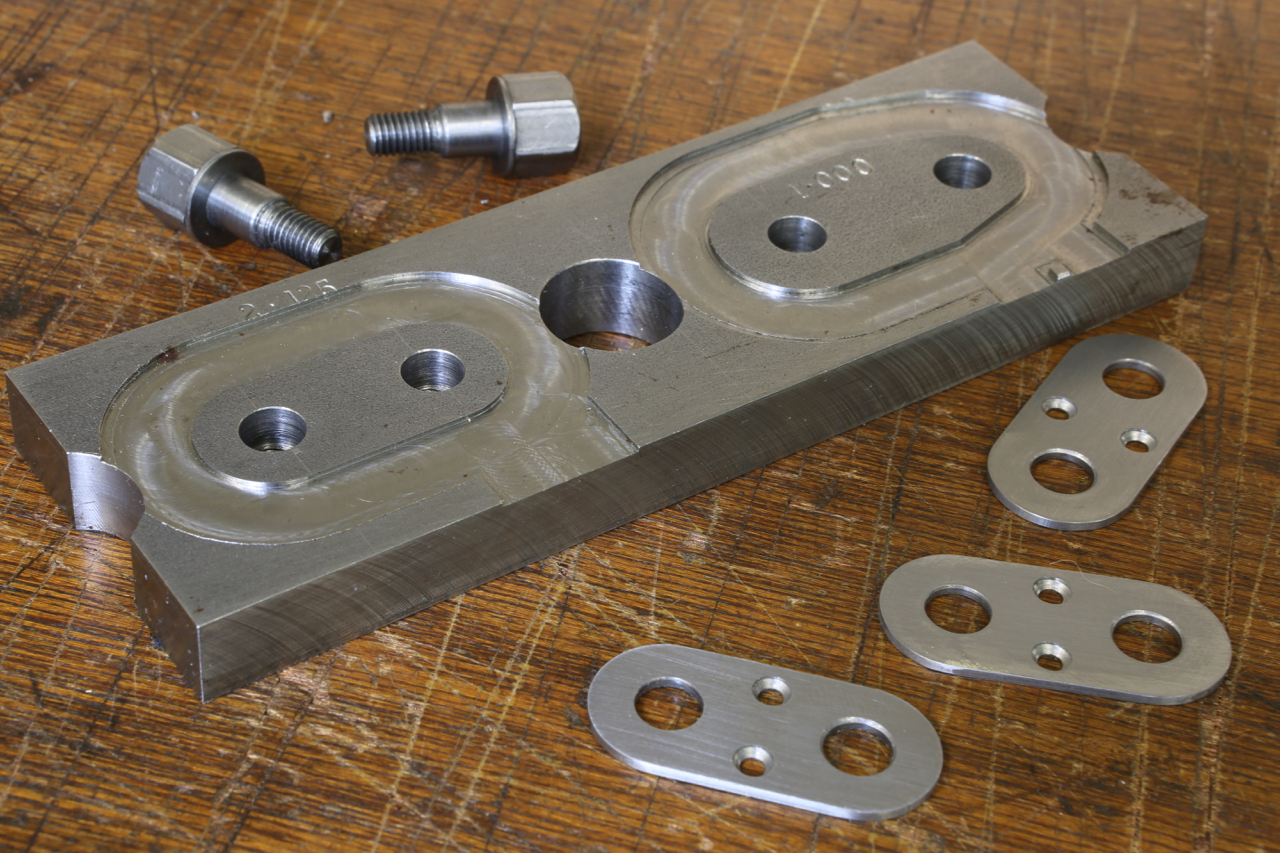
A fixture I made which is used for making my adjuster bases.

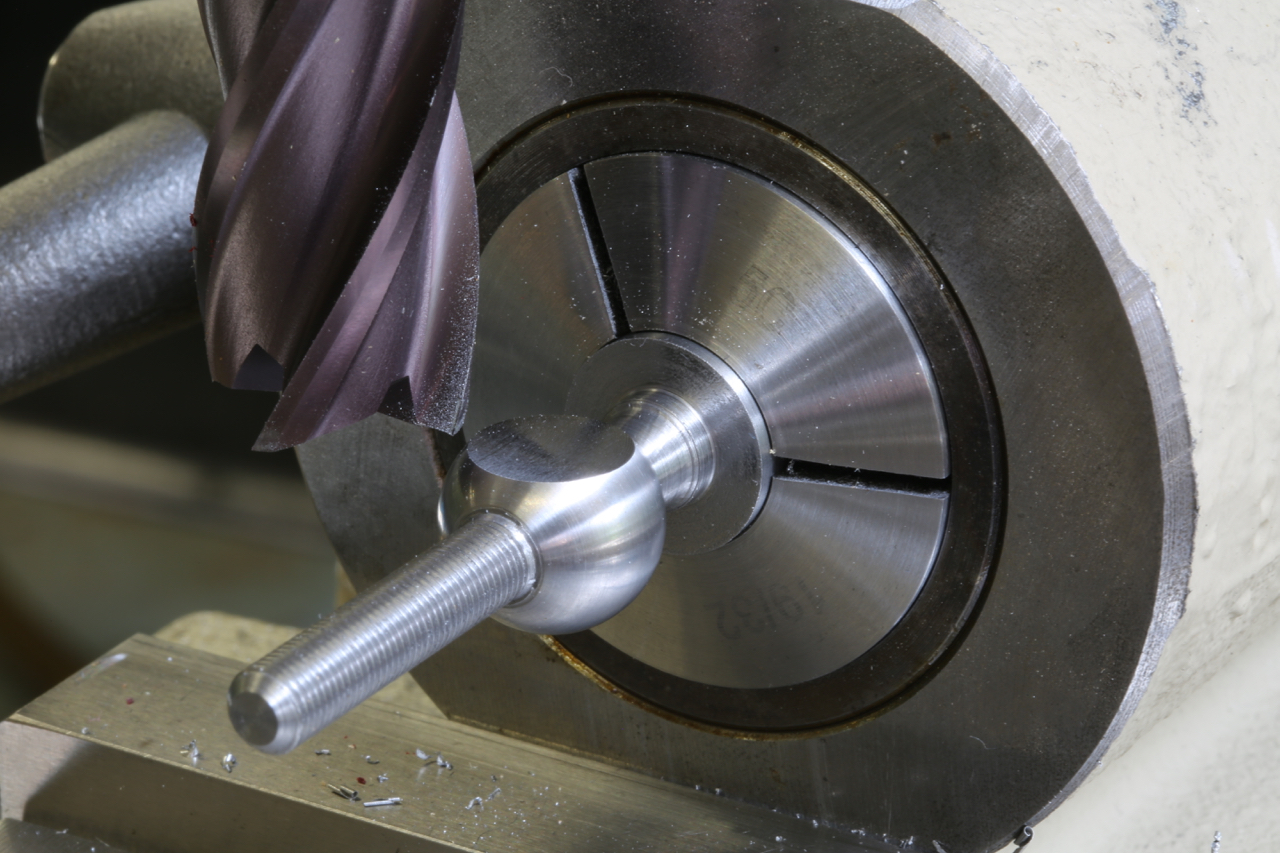
After the threaded stem and body has been ball turned a flat is needed so that it glides freely over the adjuster base and helps to orientate the blade driver. This is the flat after milling.

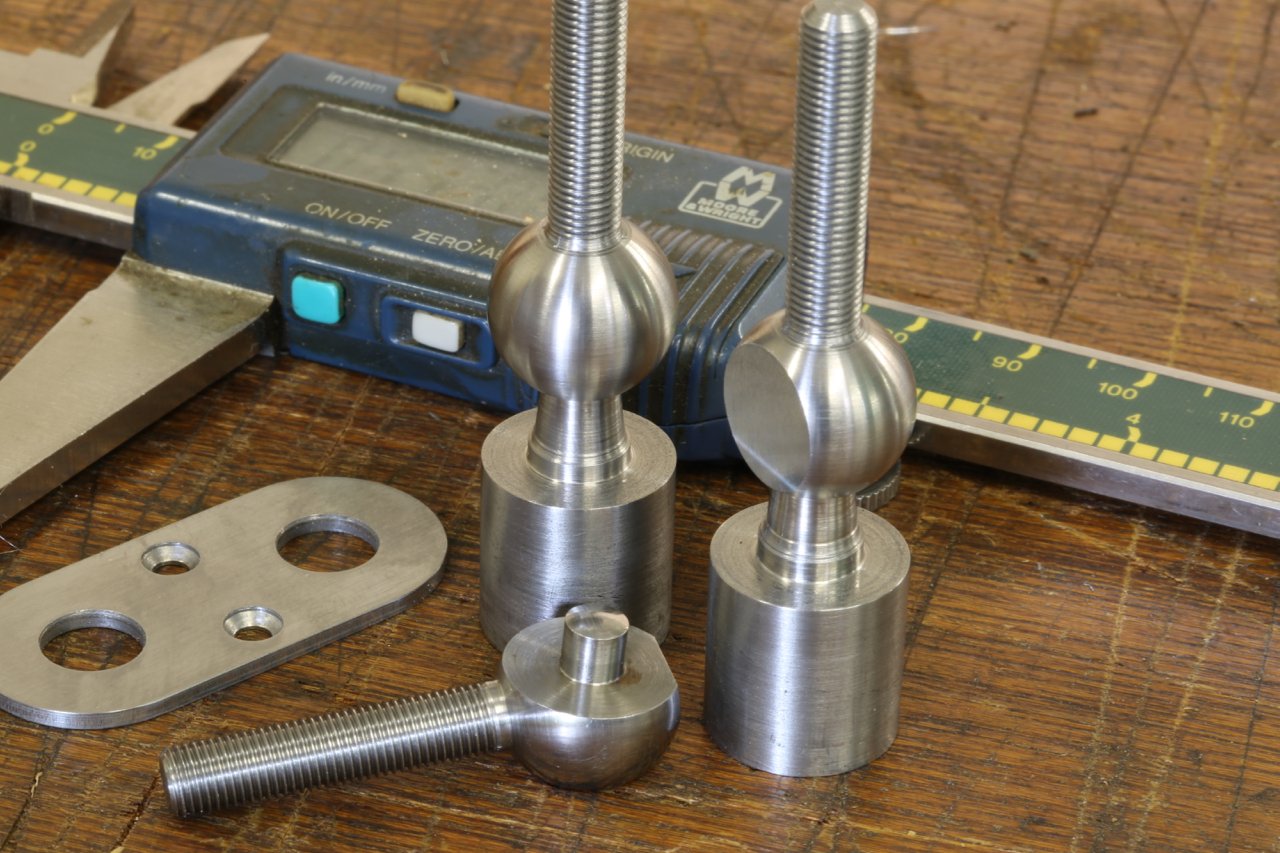
This is the blade drivers at different stages of their making. Two of which are still attached to their carriers, and one finished.
The last stage in the making of this blade driver is to turn the spigot on to its body. I had to make a special collet which was a little bit fussy because the spigot has to be formed 8 degrees from the perpendicular. Unlike the Norris counterpart it is all in one piece. Norris never went this far.
A photo of the infills before they go into their bodies. This Snakewood has had six coats of danish oil. As with previous work using Snakewood it hasn’t cracked whilst building up the danish oil. It does look a bit good.
I have seen my work described in forums as analytical and lacking the warmth of a more rustic finish. However, my personal taste is perfection.
To achieve this perfection on the adjusters for my planes, work is intensive and the inletting for them is also time consuming. The system I use is on the CNC milling machine as the quality of work is essential. It is important to have an uninterrupted feed rate using state of the art tungsten carbide tools. This I think is more desirable than a hole that looks like it has been gnawed by a rodent ![]()
I have been wondering what to with my stock of snake wood, as you can only use it in small pieces. It seemed fitting to use it on these last A31 Thumb planes. This picture shows the nature of the wood after preparation, it will darken down to a nice brown. It has always been a favourite for knife makers and for pistol handle scales.
Powered by WordPress