From the Workshop

March 27, 2019

Workshop blog no 20 – No 985

Filed under: No 985,Window to my workshop — Tags: , , , — admin @ 10:30 am

I was hoping to get my handles underway this week, but decided to complete the chassis first as the handles will need tweaking when I have an assembled plane.

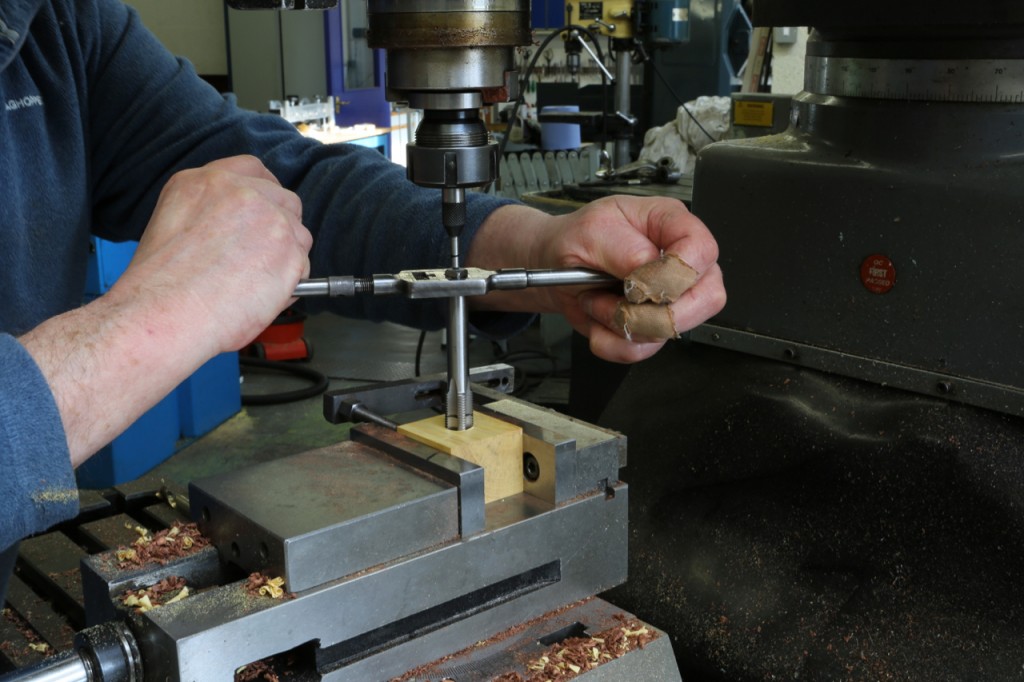
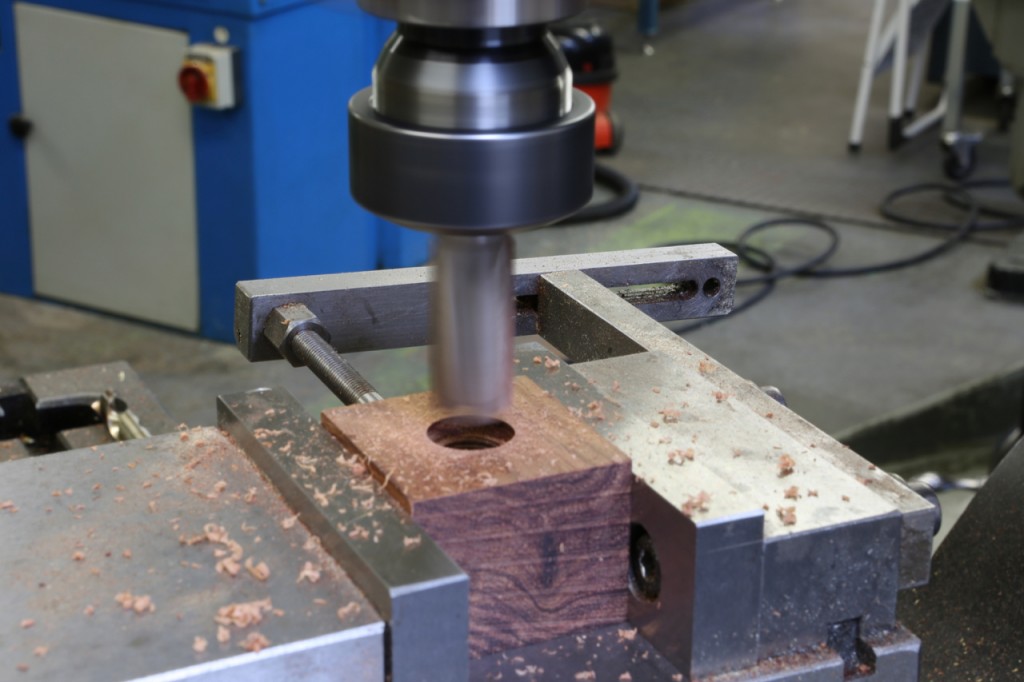
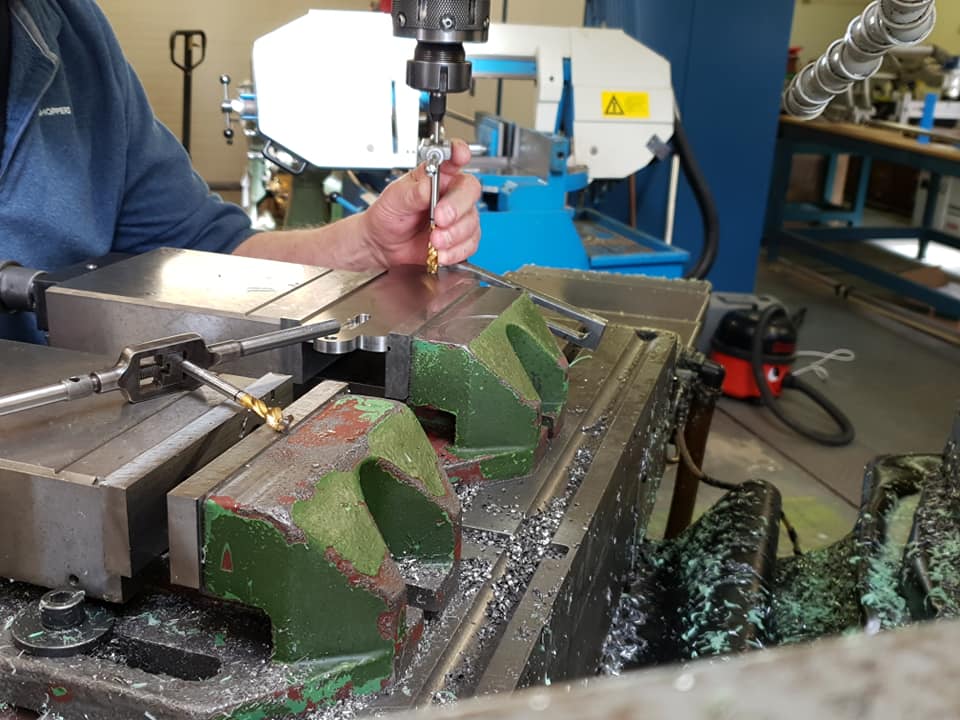
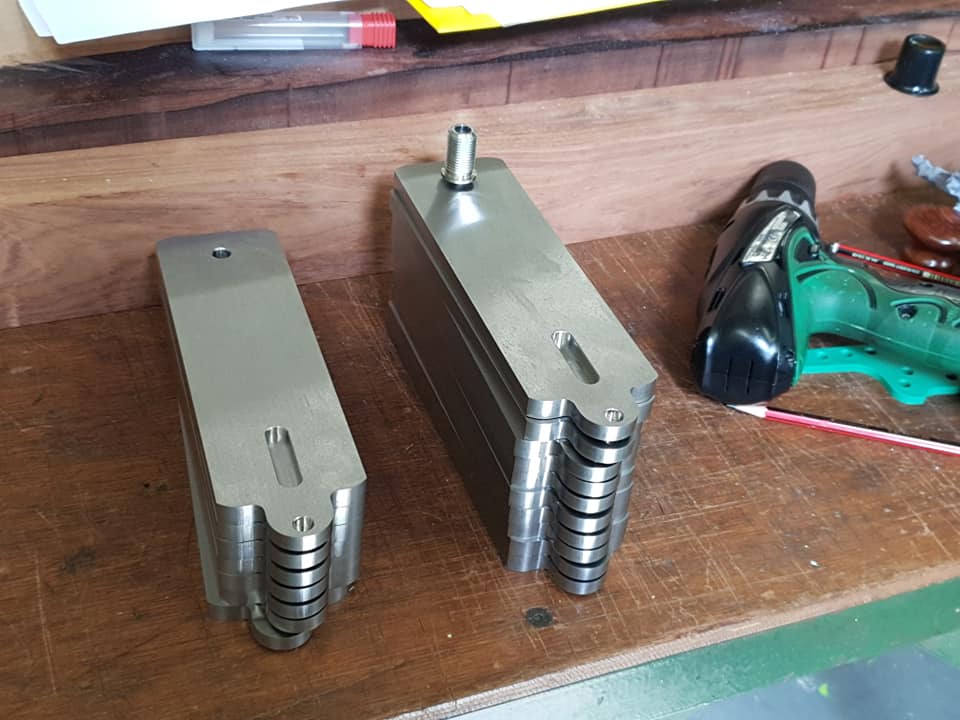
The start of the front bun, drilling, tapping and counter bore ready to go on to the turning abor. This is the same fit as the fixing bush. Which is another hidden job.

CI3A5326

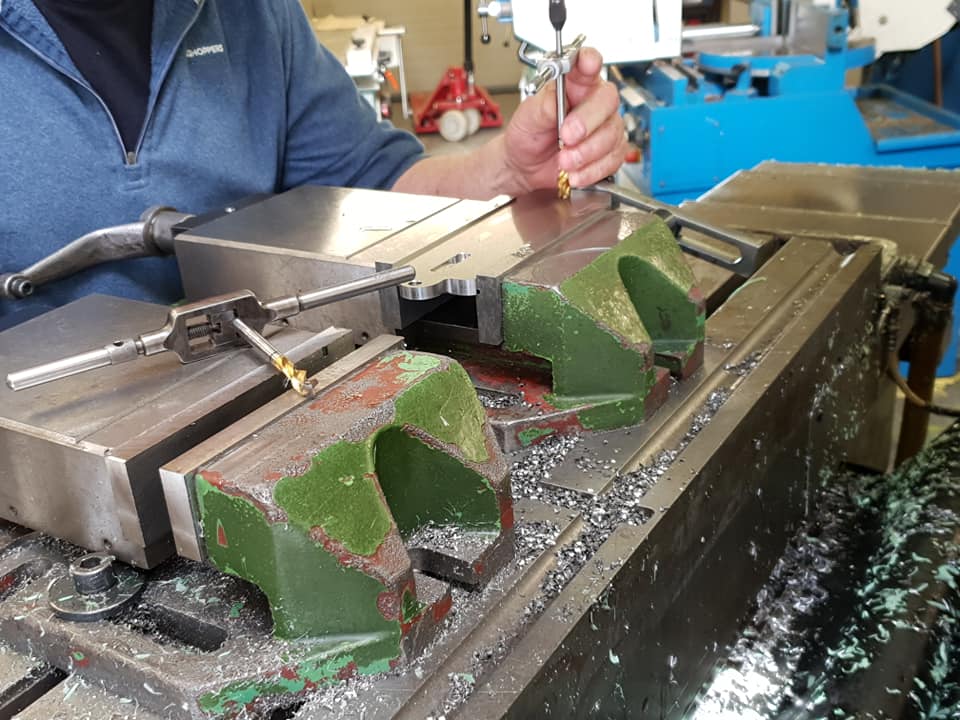
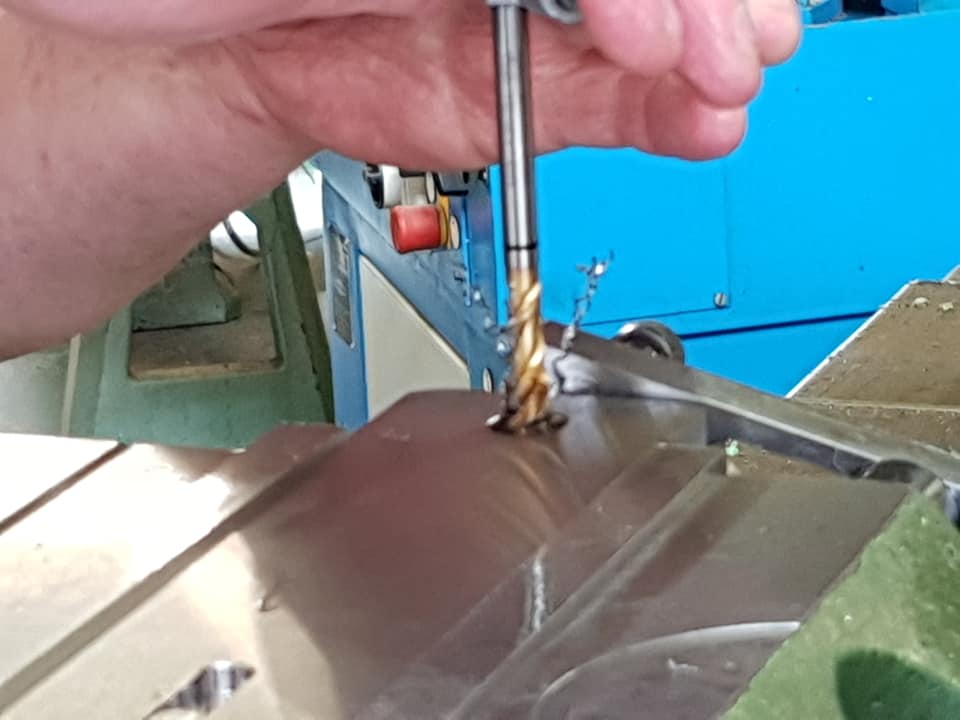
This operation is usually done on the manual mill as the thread cutting is best done by hand for better sensitivity and ensuring sharp and clean threads. More on this later.

CI3A5343

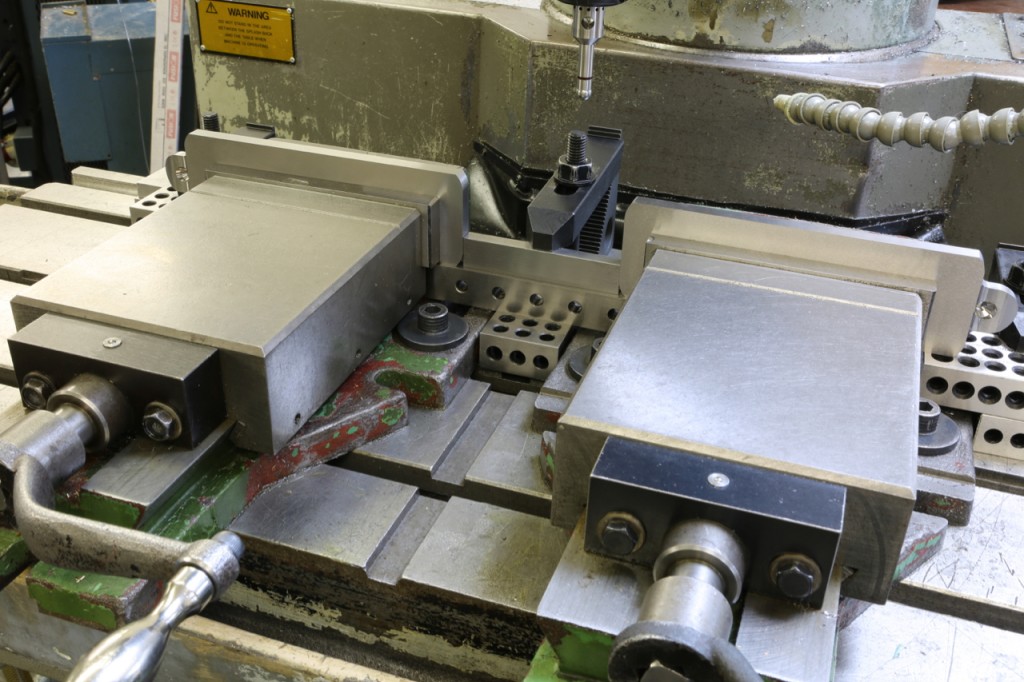
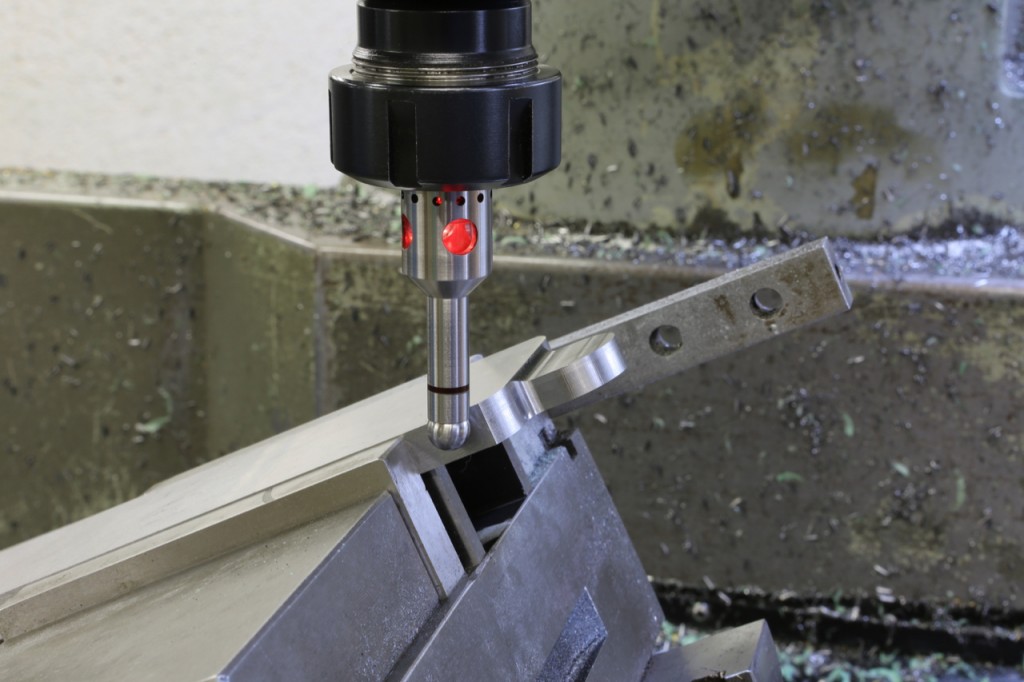
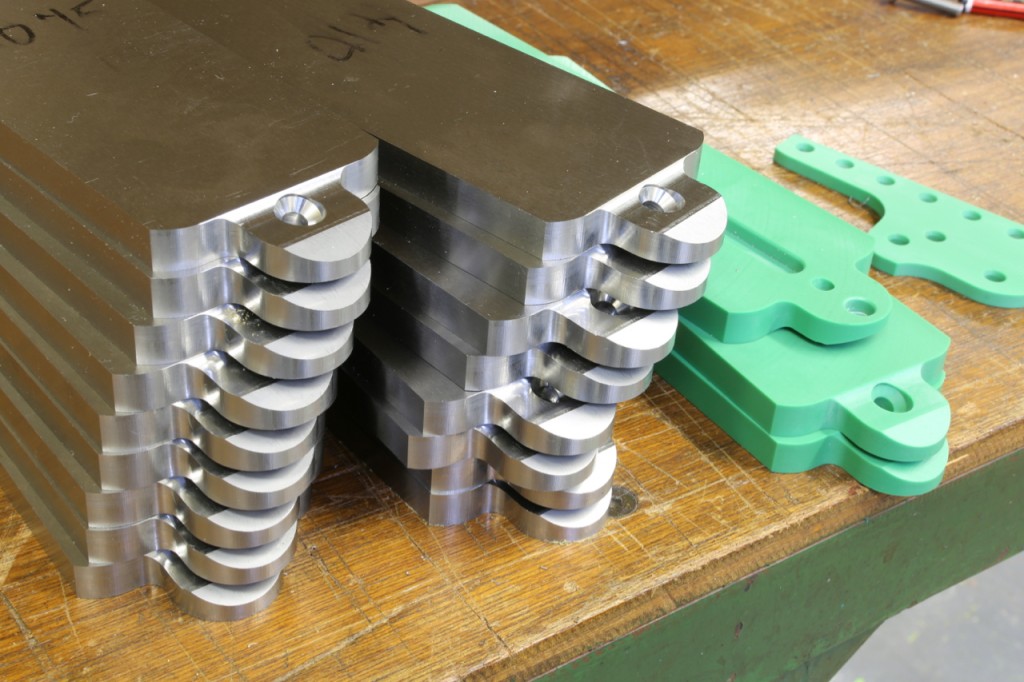
With reluctance I have put the wood working on hold and moved the chassis forward. Here is the holding fixture awaiting programming and tooling.

CI3A5353

March 22, 2019

Workshop Blog no 19 – No 985

One of the things about the smoothing plane is that it is for finishing only and this is better achieved by keeping the plane as short as possible. In the past a smoothing plane was a smoothing plane and usually about 7 1/2″ sole length, obviously here we are not trying to straighten or flatten the wood, this means very fine cutting. You have to follow into imperfect surfaces which bigger planes wouldn’t reach.

For this plane the adjuster had to go. I wanted a full rear handle but had to lose some of its height, which is fine as most people are happy with just holding with three fingers leaving the index finger to rest on the side of the blade for orientation and feedback.

I have had to make a compromise on the length of the sole as I could not get down to 7 1/2″ but settled for 7 7/8″. One of the reasons it was hard to keep the length down is that I managed to retain a 50 degree working angle on the rear tote which makes the plane much more comfortable to use. Not to be confused with the blade angle which is 54 deg.

As mentioned previously the plane is in 416 stainless steel and the wood used for the handles is the same as the No 984 – Dalbergia Stevensonii. This wood has a nice texture, hard, dimensionally stable and retains its contrast and colour.

The lever cap and thumb wheel are in a similar design to my No 984 plane also. The handles are extremely rigid and show no sign of their fixtures (another example of hidden work). As my blog progresses you will see more about them.

This is a designed and engineered tool. I feel that I am fulfilling my object of always surpassing the standard which has gone before.

I thought this was a good stage to let people know what this plane looks like. I have added two drawings though I do get paranoid about being copied.
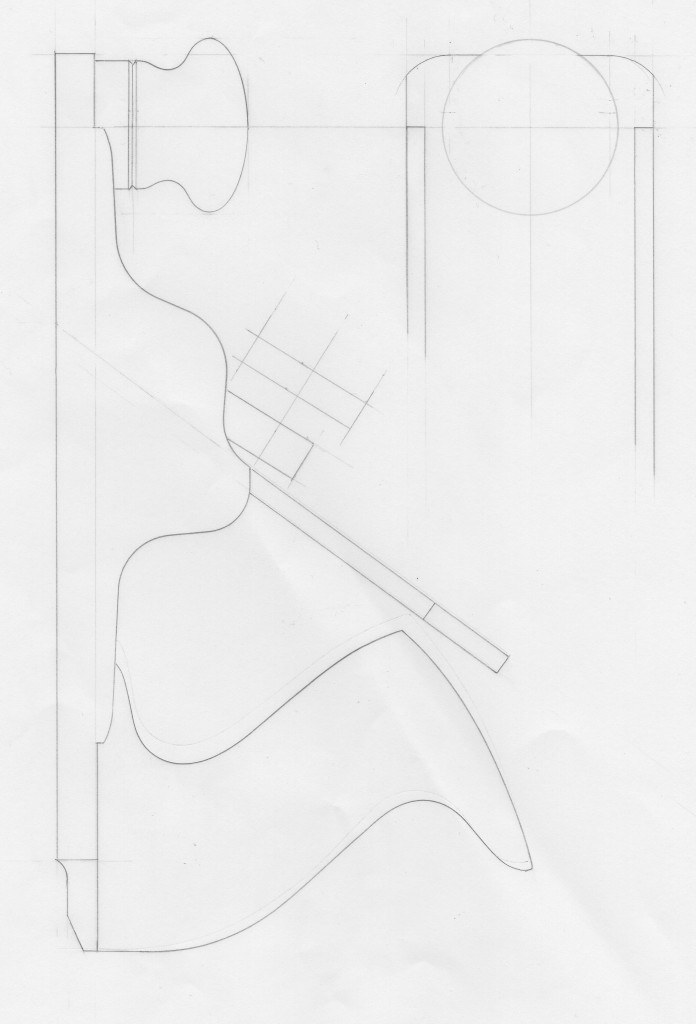
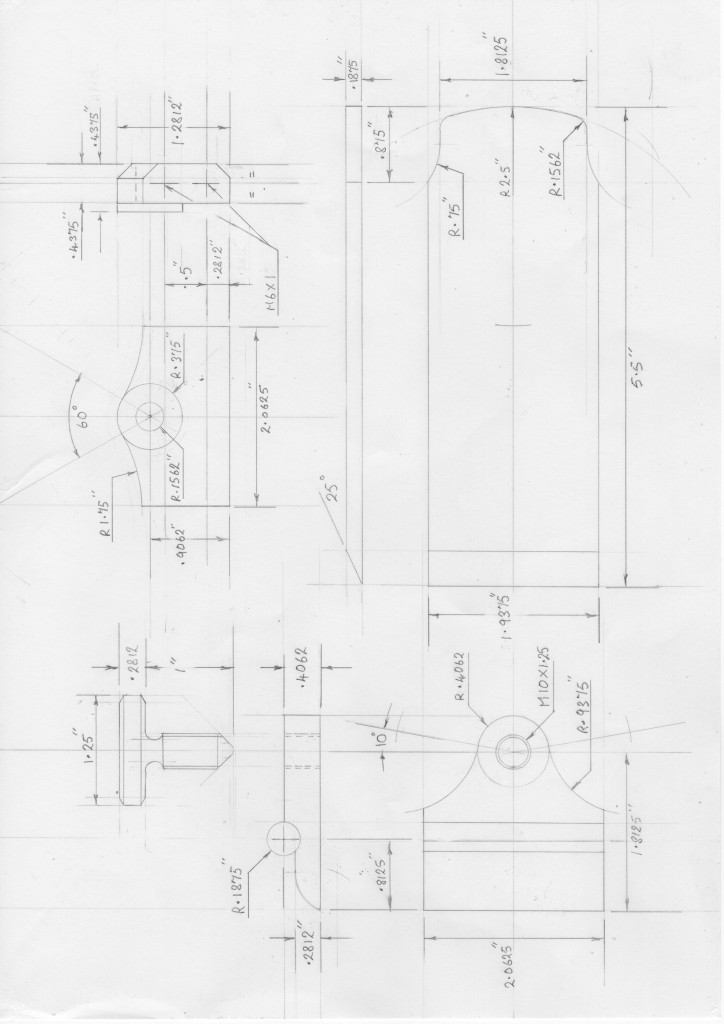
Holtey No 985c

Holtey No 985a

March 19, 2019

Workshop Blog no 18 – No 985

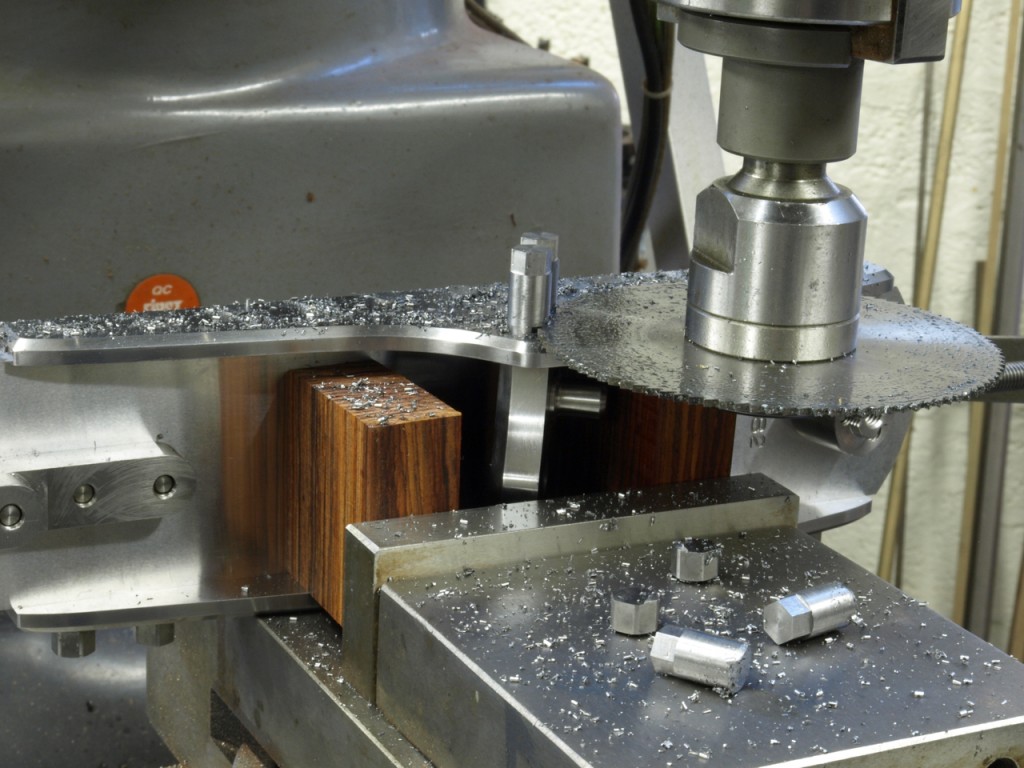
Setting up for the completion of the rear handle carrier.

CI3A5318

The handle carrier now finished with drilling and counterbore and with streamlining facet.

CI3A5324

March 18, 2019

Workshop Blog no 17 – No 985

Filed under: No 985,Window to my workshop — Tags: , , , — admin @ 2:57 pm

After a lot of deliberation I have made a decision to screw the front bun directly to the sole which allows me to achieve the design aspect I was looking for.

55516272_10205956891718225_713172228509794304_n

54401918_10205956891278214_436265778447122432_n

53838532_10205956891958231_2837485567329959936_n

You will notice that the profile has been cut showing recesses for the handle tenons. Still a lot of work here as everything is complex just to achieve a simple line. The handle will be secured by one 6mm screw. All my dimensions are critical so precision is the key word. I am longing to get this bottom finished and get on with the rest of the plane. On all my planes the bottom is the mainstay of my work.

54522537_10205956892238238_8477769734358564864_n

March 12, 2019

Workshop blog no 16 – No 985

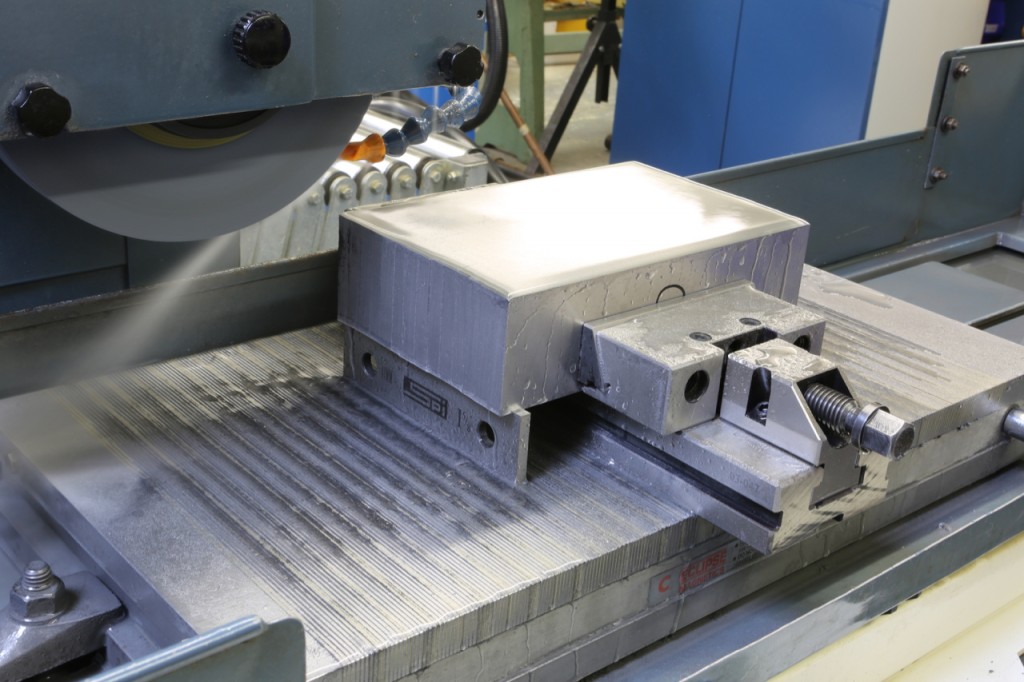
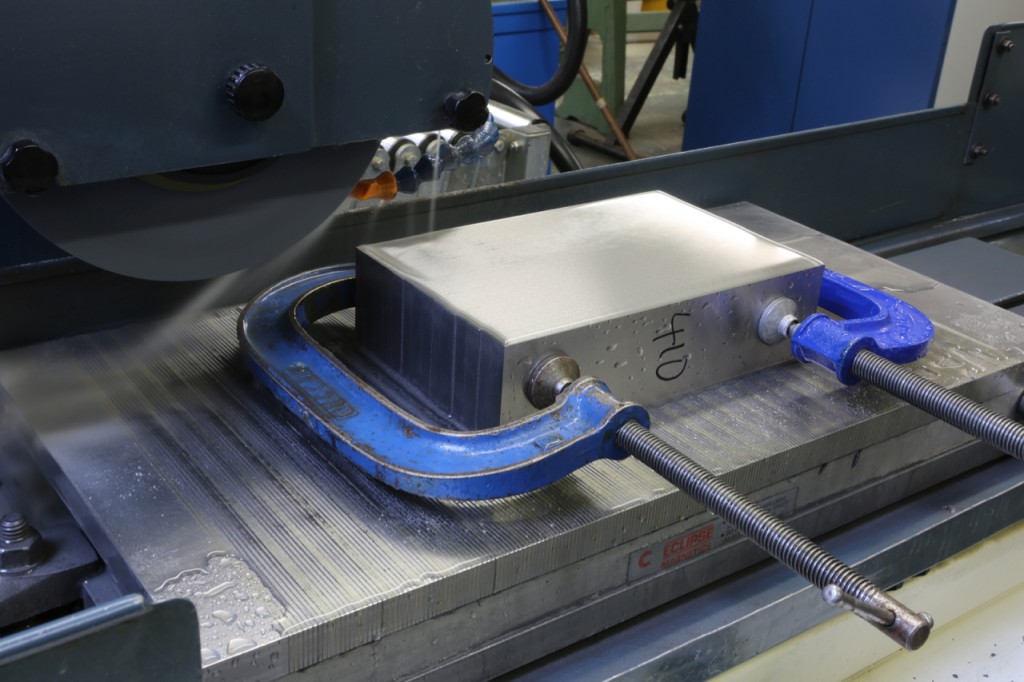
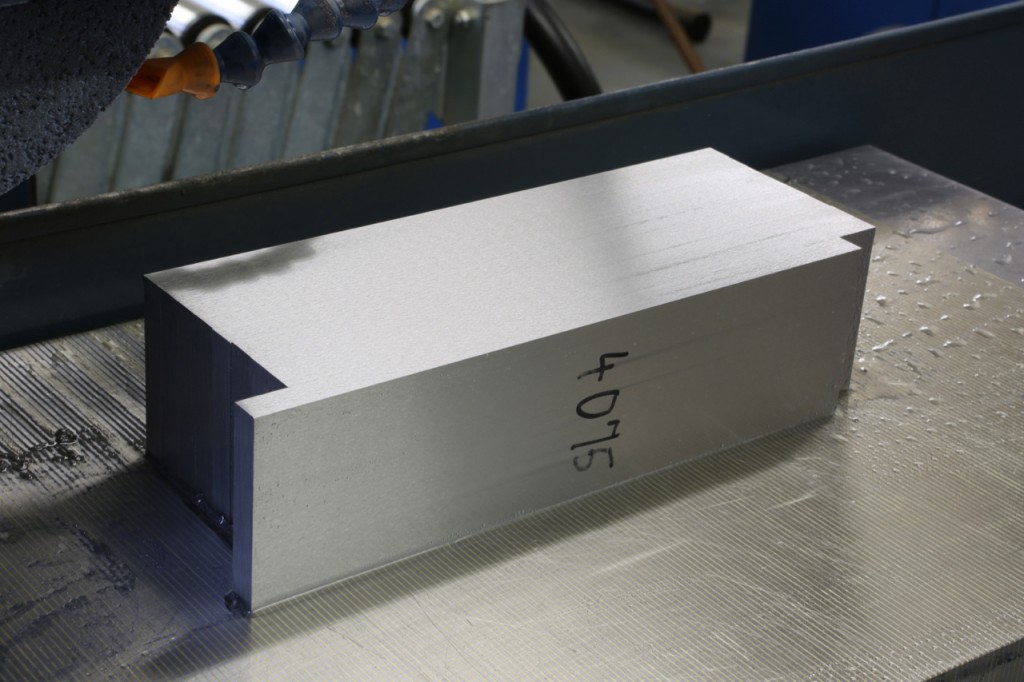
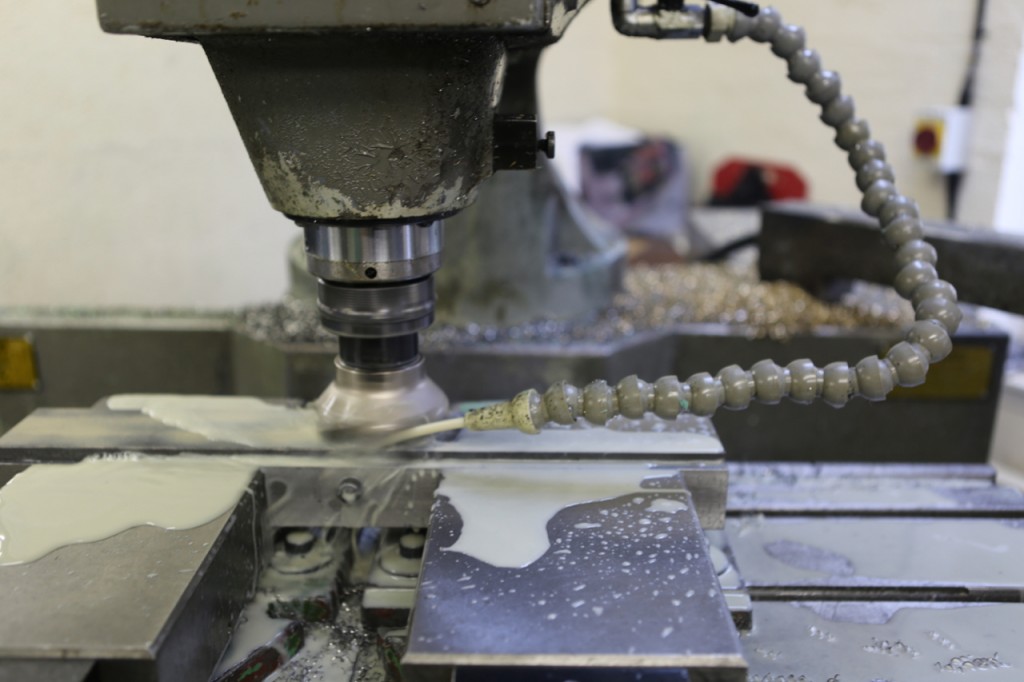
Lots of work and very boring but worth showing. Here are the No 985 bottoms after milling from stock, they go on to be precision surface ground on four sides. This is to maintain sectional precision. The rest of the work to follow is on my CNC mill.

CI3A5310

All the parts are clamped together after milling the edges so they can be rotated for the opposite side without any disturbance.

I think I am the only person on record to work to this standard. It might be over the top for some but the achievements speak for themselves.

CI3A5314

CI3A5317
Now over to the CNC for the next processes.

March 8, 2019

Workshop Blog no 15 – No 985

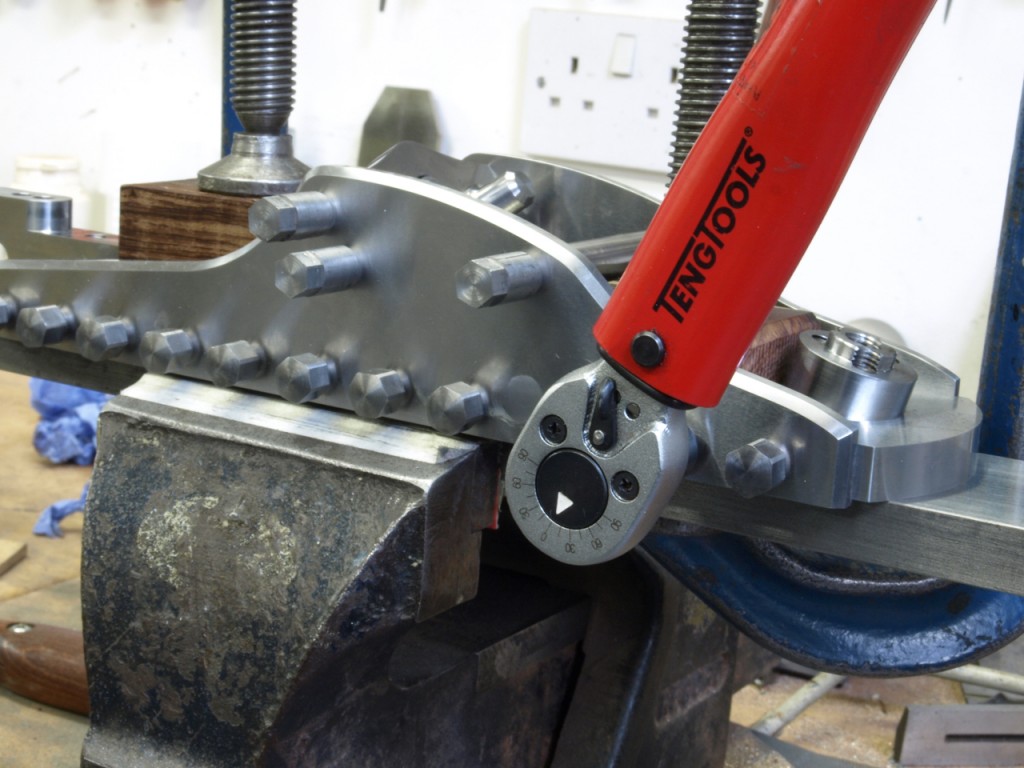
I was hoping to have some more pictures on the No 985 but I had a lot of other work to be done. Here is the same method of fixing on the No 982 plane. Showing the final torque on the screws after applying thread locking compound

OLYMPUS DIGITAL CAMERA

The bolts being trimmed off. This is how I will be doing the No 985 soon!!

OLYMPUS DIGITAL CAMERA

March 1, 2019

Workshop blog no 14 – No 985

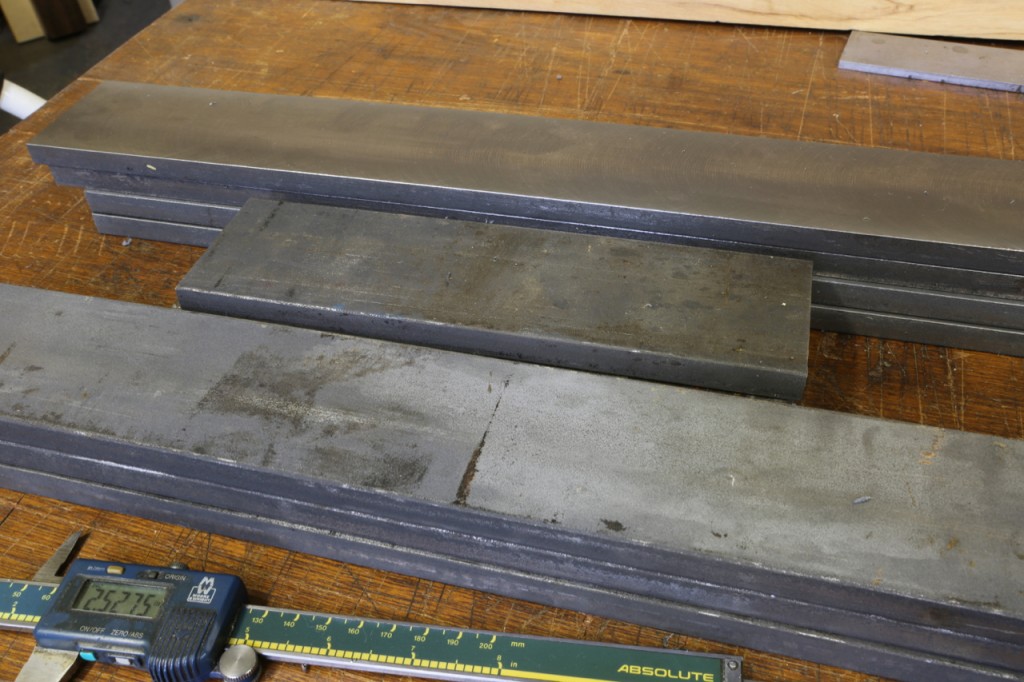
I was hoping to get a little bit further than this but too many interruptions. I have finally made the decision to cut up my 416 bar for the bottoms – scary, can’t go back now. But I have been procrastinating for long enough. Especially since the bar cost £1100. Like most of my materials it is a rolled bar which needs to be planed just as you would with a piece of wood but harder work in stainless steel.

CI3A5235

This is reducing the bar down to its finished size. I am looking forward to the rest of the work.

CI3A5232

Powered by WordPress