Adjuster components for A6
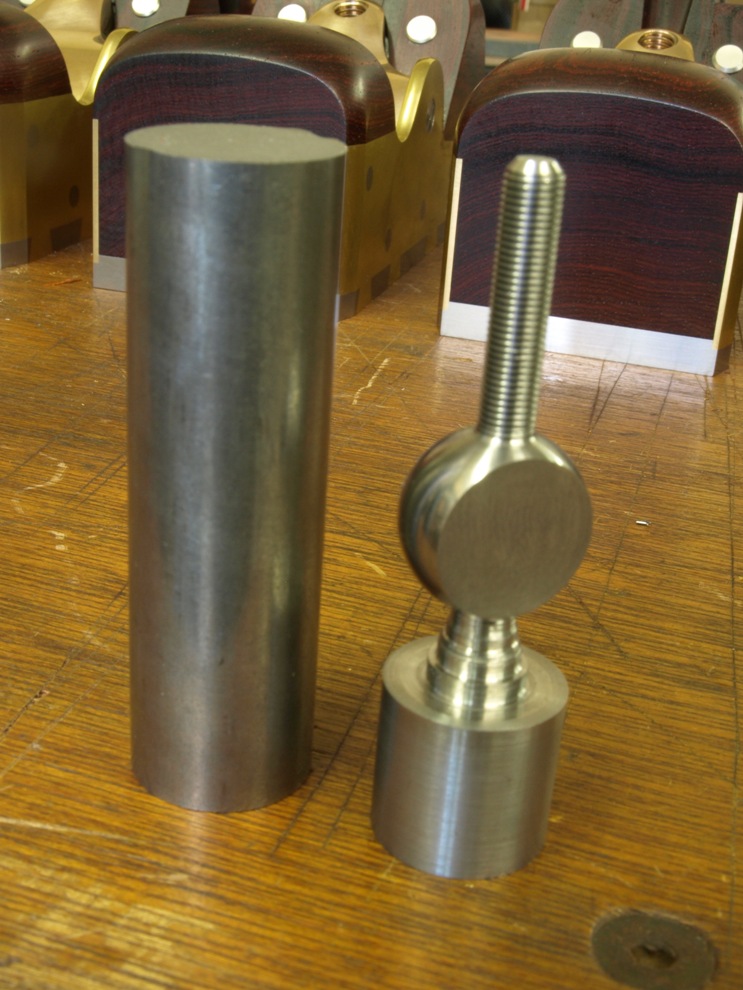
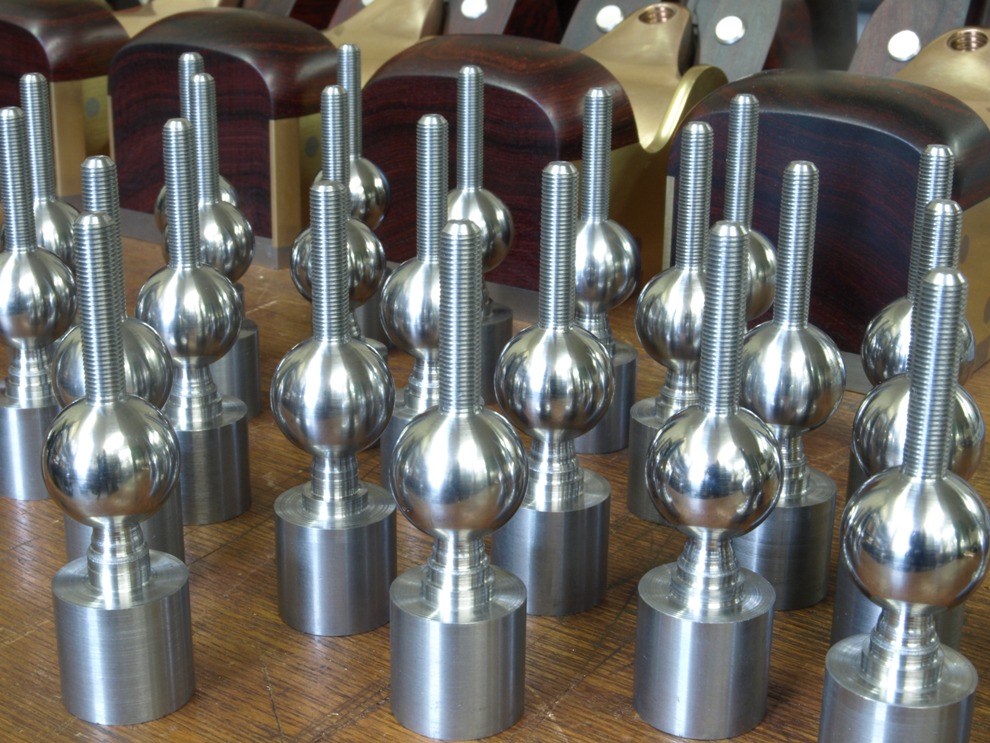
This item is most commonly known as the banjo and it is the most work intensive component in the whole plane. This picture shows that it comes out of a round bar.
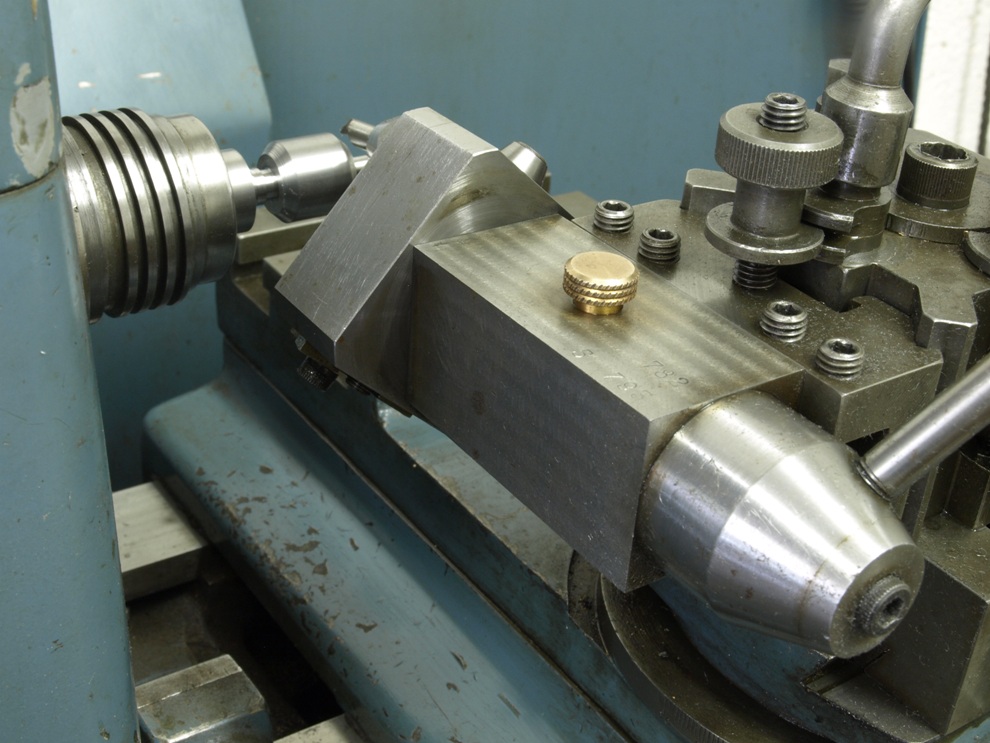
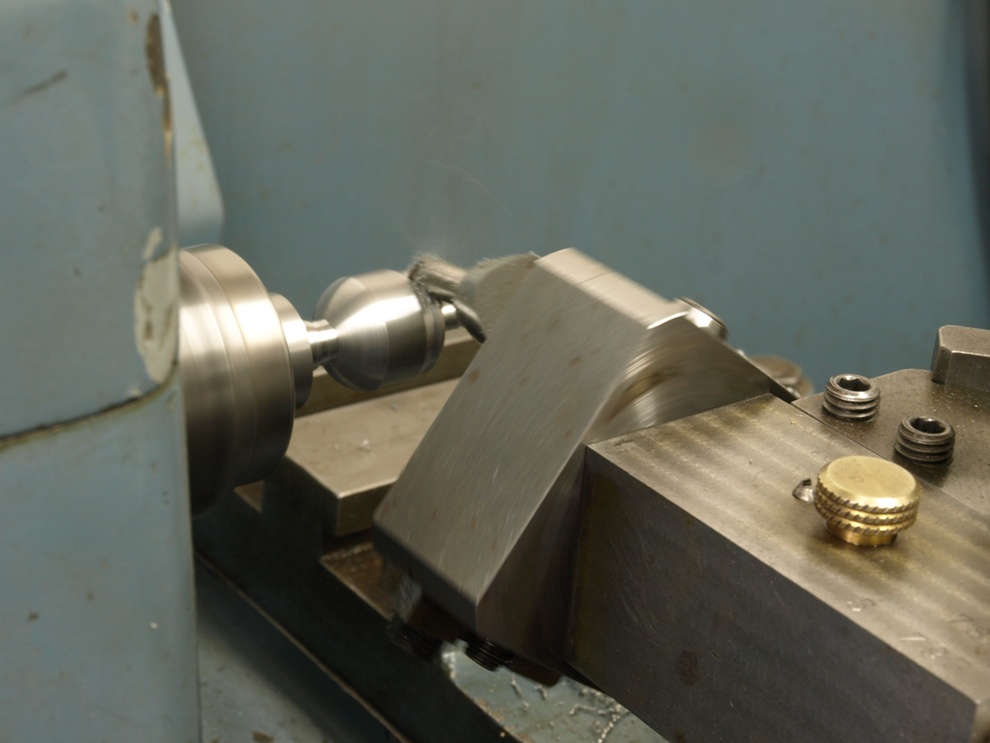
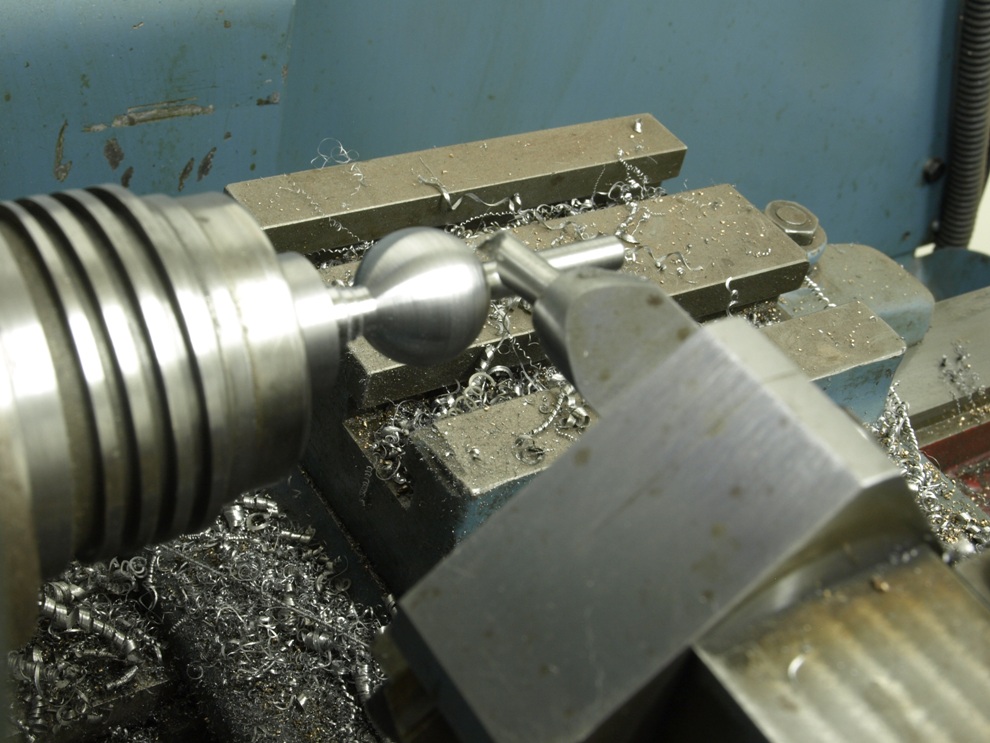
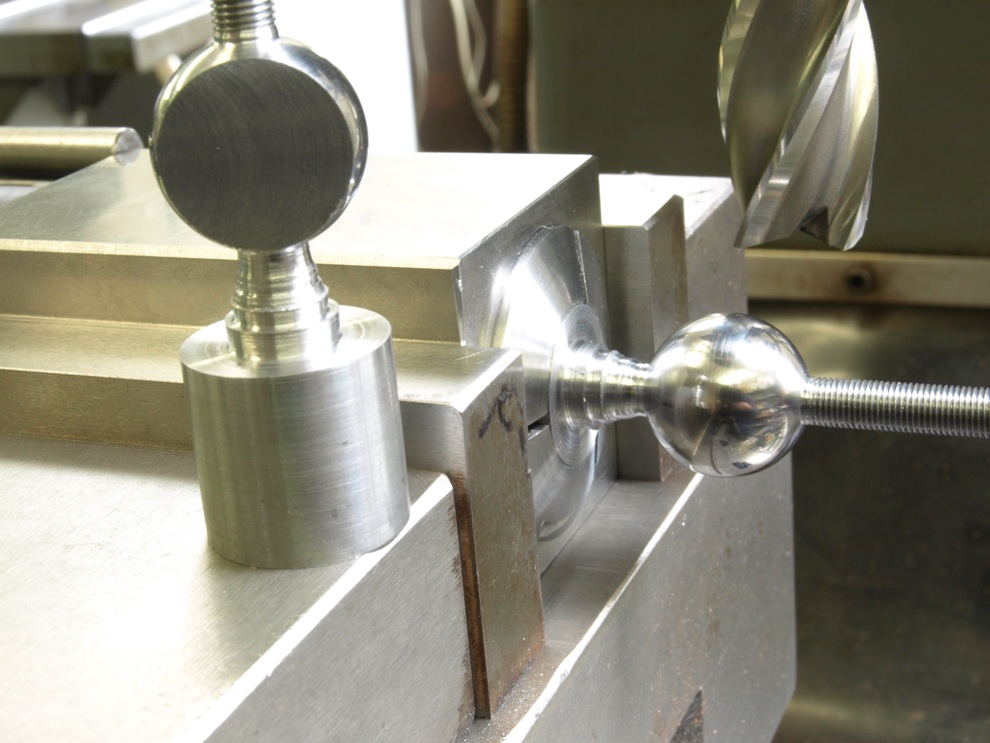
There is a lot of preparation but this is not a step by step instruction manual, it is just a few snapshots. In these pictures, after lots of preparation I start to ball generate the round part of this component.
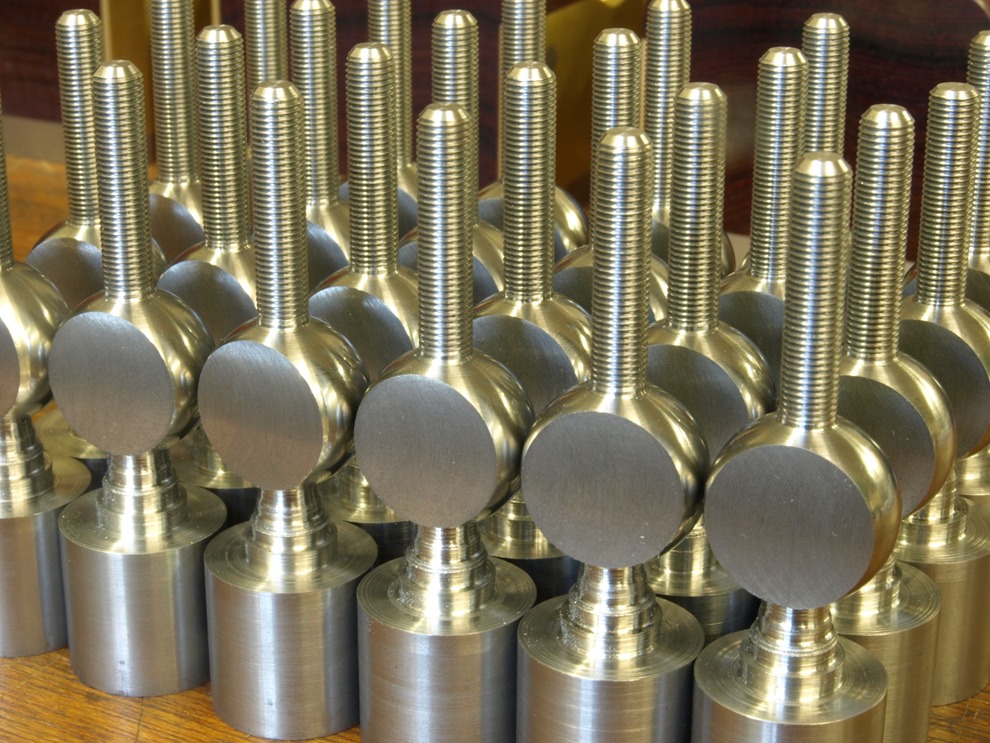
Here are the components after ball turning and threaded for the screw. They are now ready to have their sides milled flat as shown in the next picture.
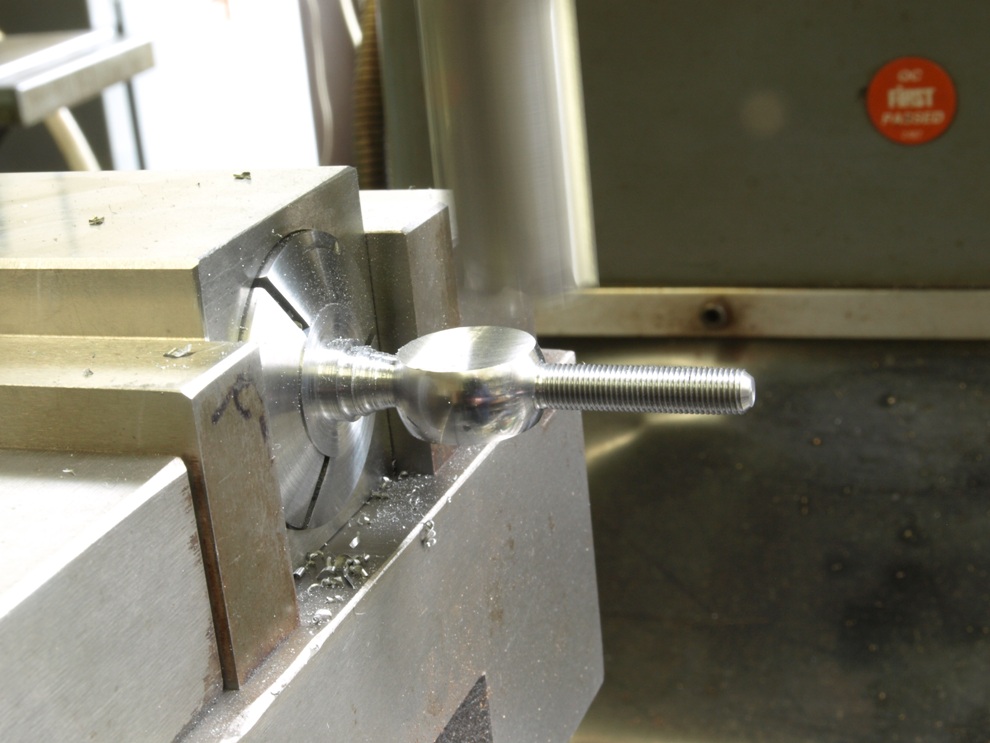
With the sides now flattened. This might look a little alarming with the amount of extension from the vice but this does actually work quite well providing that I mill from the right direction so all the hammer blows are pointing towards the chuck. I certainly wouldn’t recommend boring the hole here.
All lined up ready for parting off and boring.
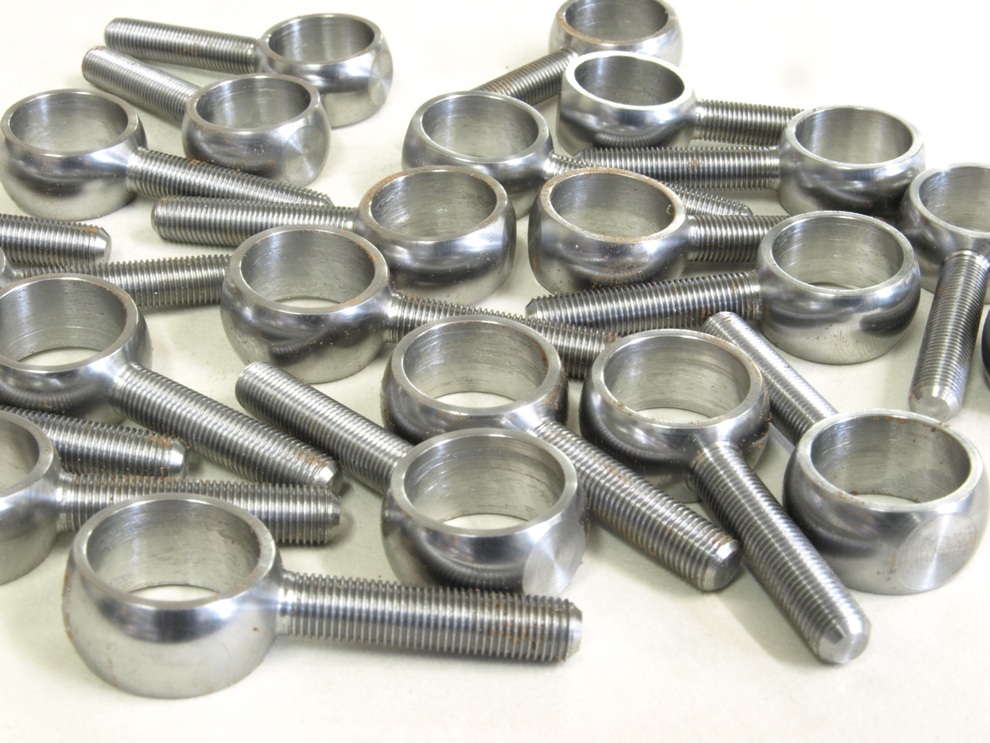
Banjos complete. This is a serious amount of work.
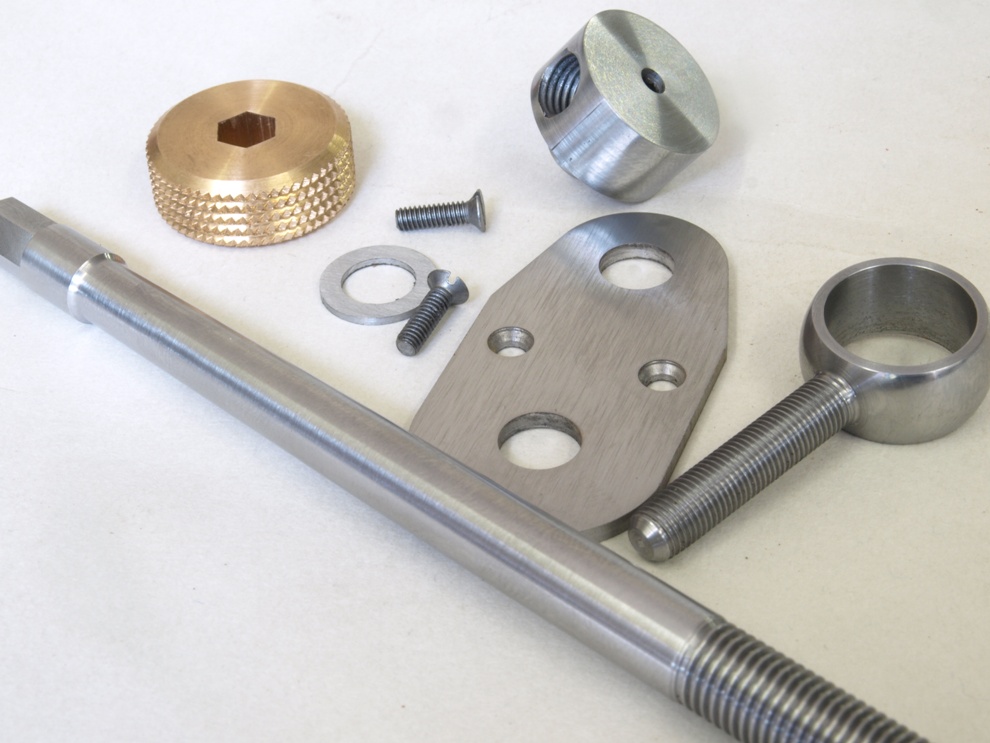
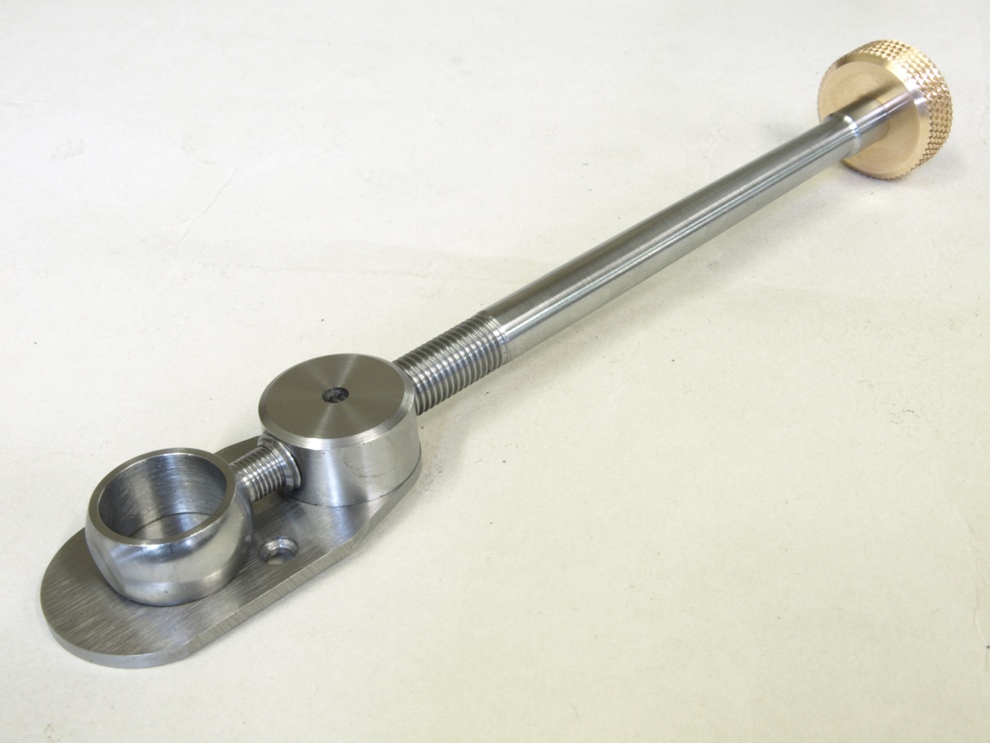
All the components to make up an adjuster – they don’t come cheap. This would make an ideal project for a model engineer.
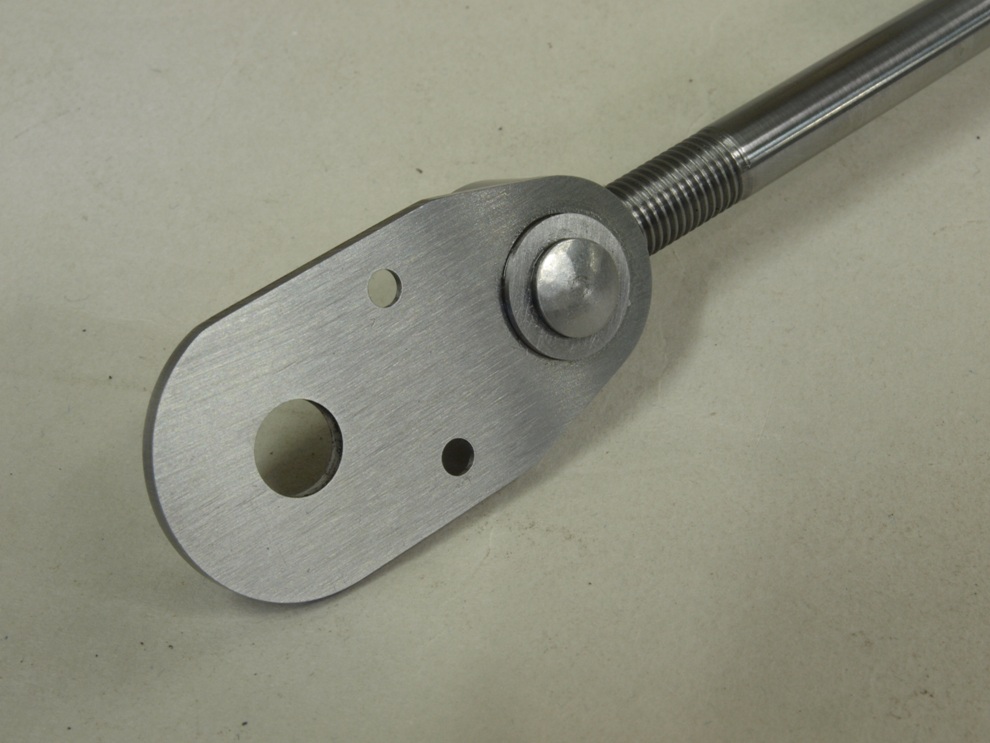
The underside of the adjuster showing the washer/collar in position. These are made in house as all components are.
Karl:
What part does the washer(?), the item adjacent to the two screws anyway, fit into the whole adjuster? Or maybe what is its function?
Thank you
Scott
Comment by Scott — August 9, 2011 @ 8:51 pm
Hi Karl:
A most ingenius way to cut a radius on the banjo. I haven’t seen that way before. Just goes to show there are a lot of different ways of getting the job done.
George.
Comment by George Barnes — August 9, 2011 @ 11:01 pm
Hi Scott
If you are familiar with the Norris adjuster you will know that the 5/16″ spigot on the underside of the nut, which everything rotates, on is passed through the hole in the base plate and peined over to retain it. The washer is also pressed on to the underside over this spigot prior to peining to act as a collar . It is important that this collar should fit as tight as possible.
I am going to insert another photo into this posting so you can see the underside.
k
Comment by admin — August 10, 2011 @ 10:11 am
Hi George
This is just a basic ball turning principle. These would usually be user made as there doesn’t seem to anything on the commercial market. I am curious to know what other ways there are of doing it.
k
Comment by admin — August 10, 2011 @ 10:13 am
Hello Karl ,
many adjusters in the photo ,would these all be for smoothing planes ? Or maybe components for future commissions? Quite a site to see them standing in line ,maybe a new form of Art.
regards Ron Bridge
Comment by TB WELLS — August 12, 2011 @ 6:01 pm
Hi
Yes the adjusters are for smoothing planes. I always keep a few in stock. But I don’t sell them.
k
Comment by admin — September 7, 2011 @ 9:31 am